IMPOR
TANT INFORMA
TION
Read before use
& retain for future reference
For all customer enquiries or for replacement parts, contact:-
0870 609 1901
www.flymo.com
[email protected]
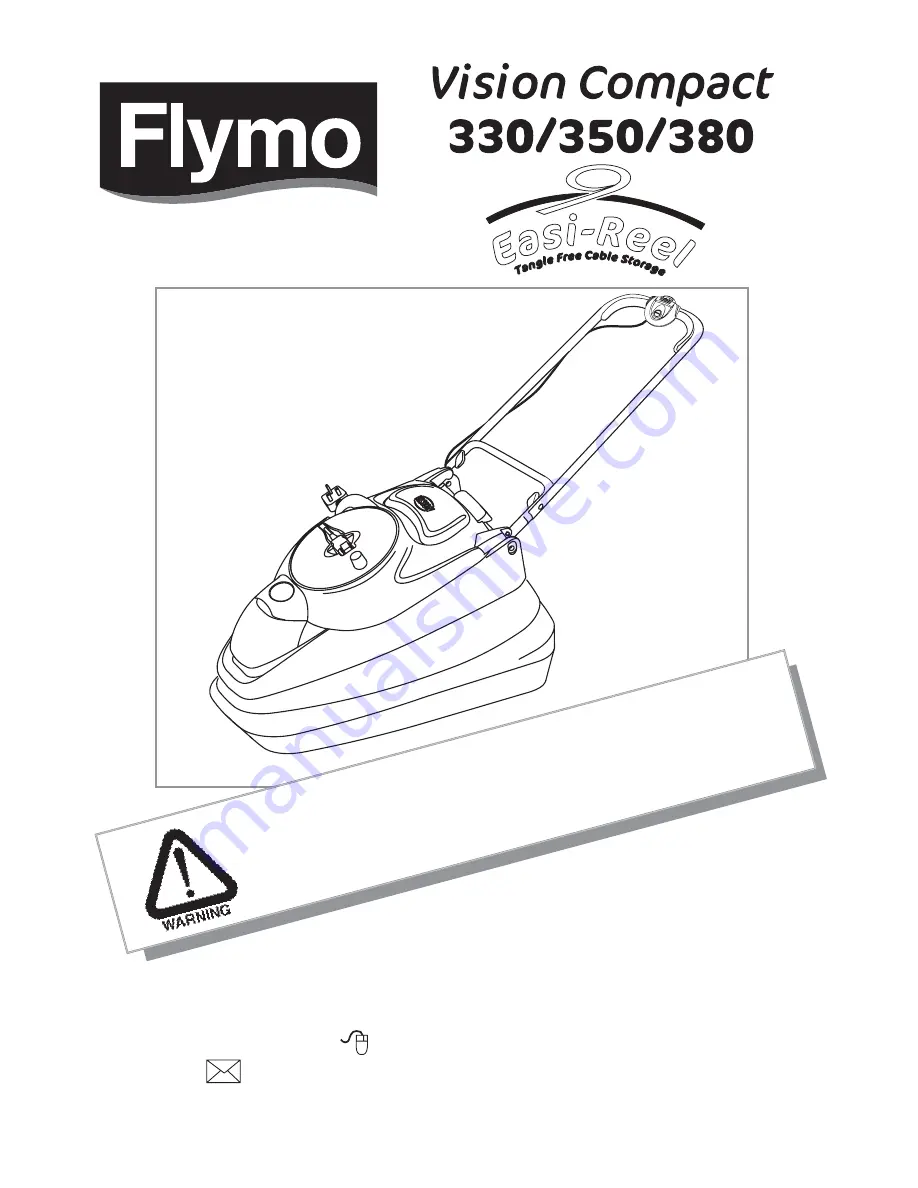
Page 1: ...IMPORTANT INFORMATION Read before use retain for future reference For all customer enquiries or for replacement parts contact 0870 609 1901 www flymo com customer services husqvarna co uk ...
Page 2: ...e of severing toes or hands Do not put hands or feet near a rotating blade Blade continues to rotate after the machine is switched off Wait until all machine components have completely stopped before touching them Do not mow in the rain or leave the lawn mower outdoors while raining Unwind and remove fully before use STOP cutting height spacers 1 fitted to lawnmower 2 in loose parts pack switchbox...
Page 3: ... is operating or still connected to the mains supply 15 Remove the plug from the mains before leaving the mower unattended for any period before clearing a blockage before checking cleaning or working on the appliance if you hit an object Do not use your lawnmower until you are sure that the entire lawnmower is in a safe operating condition if the lawnmower starts to vibrate abnormally Check immed...
Page 4: ...1 Insert the nut into the handle knob B1 2 Align the holes in the upper and lower handles and secure with the bolt washer and wing knob B2 3 Fit the cable to the handle with the clip provided B3 Make sure the cable is not trapped between the upper and lower handles Grassbox lid assembly C 1 Fit one side of the grassbox lid as illustrated in Fig C Repeat for the other side B Assembly Instructions 1...
Page 5: ...achine is started this is quite normal and will not affect the performance of the product 1 Connect female extension cable connector to the back of the switchbox D 2 Form loop in mains cable and push the loop through the slot as illustrated in picture E 3 To secure position loop over the hook and pull the cable back through the slot as illustrated in picture F 4 Connect plug to mains and switch on...
Page 6: ...d is damaged cracked or missing Fitting the Blade and Fan 1 Ensure the fan is located correctly L 2 Place the spacers onto the fan ensuring the pegs have located into the holes L 3 Place the blade onto the spacers ensuring the pegs have located into the holes on the blade and ensuring the blades is positioned as illustrated in Figure L 4 Place the blade bolt through the centre hole of the blade 5 ...
Page 7: ...ble under the cable guide R2 3 Turn the cable winder R3 until all of the cable is wound in R4 Warning When cable is fully wound lid becomes heavy Unwinding the cable before re use 1 Pull the cable by the plug and unwind the cable fully Ensure that the cable is released from the cable guide R2 before using your machine Easi Reel Cable Winder ...
Page 8: ...n with chemicals including petrol or solvents some can destroy critical plastic parts Cleaning the Easi Reel cable winder 1 Lift grassbox lid squeeze together the two catches X1 and remove the cable winder 2 Clean the cable winder and the area it was located with a soft brush X2 X3 3 Replace the cable winder ensuring it clicks into place At the End of the Mowing Season 1 Replace blade bolts nuts o...
Page 9: ... life is dependent on regular maintenance and are therefore not normally subject to a valid warran ty claim Blade Electric Mains cable belt Caution Husqvarna Outdoor Products does not accept liability under the warranty for defects caused in whole or part directly or indirectly by the fitting of replacement parts or additional parts that are not either manufactured or approved by Husqvarna Outdoor...
Page 10: ...conditions was I the undersigned M Bowden of Husqvarna Outdoor Products Aycliffe Industrial Park NEWTON AYCLIFFE Co Durham DL5 6UP Certify that a sample of the above product has been tested using ISO 5349 as a guide The maximum weighted root mean square value of vibra tion recorded at operator s hand position was Newton Aycliffe 10 01 2006 M Bowden Research Development Director EC Declaration of C...