Setting Up the Print Form Using PDM
Editing Print Form Templates Using PDM
58
FISCHERSCOPE
®
X-RAY
9.2
Editing Print Form Templates Using PDM
Starting the Print Form Template Editor
Select from two menu commands:
“Evaluation > Print Form > new” or
“Evaluation > Print Form > modify”
Functions:
Insert variable
Enter any desired text
Insert Bitmap graphics (e.g., company logo)
Insert content of the Windows clipboard
Format print form (font, font color and font attributes, graphics ele-
ments, tabs and indents, paragraph formats)
The inserted text and the graphics remain stored in the print form
template as well.
File Name of the Print Form
When saving the print form template, the user will give it any
desired file name.
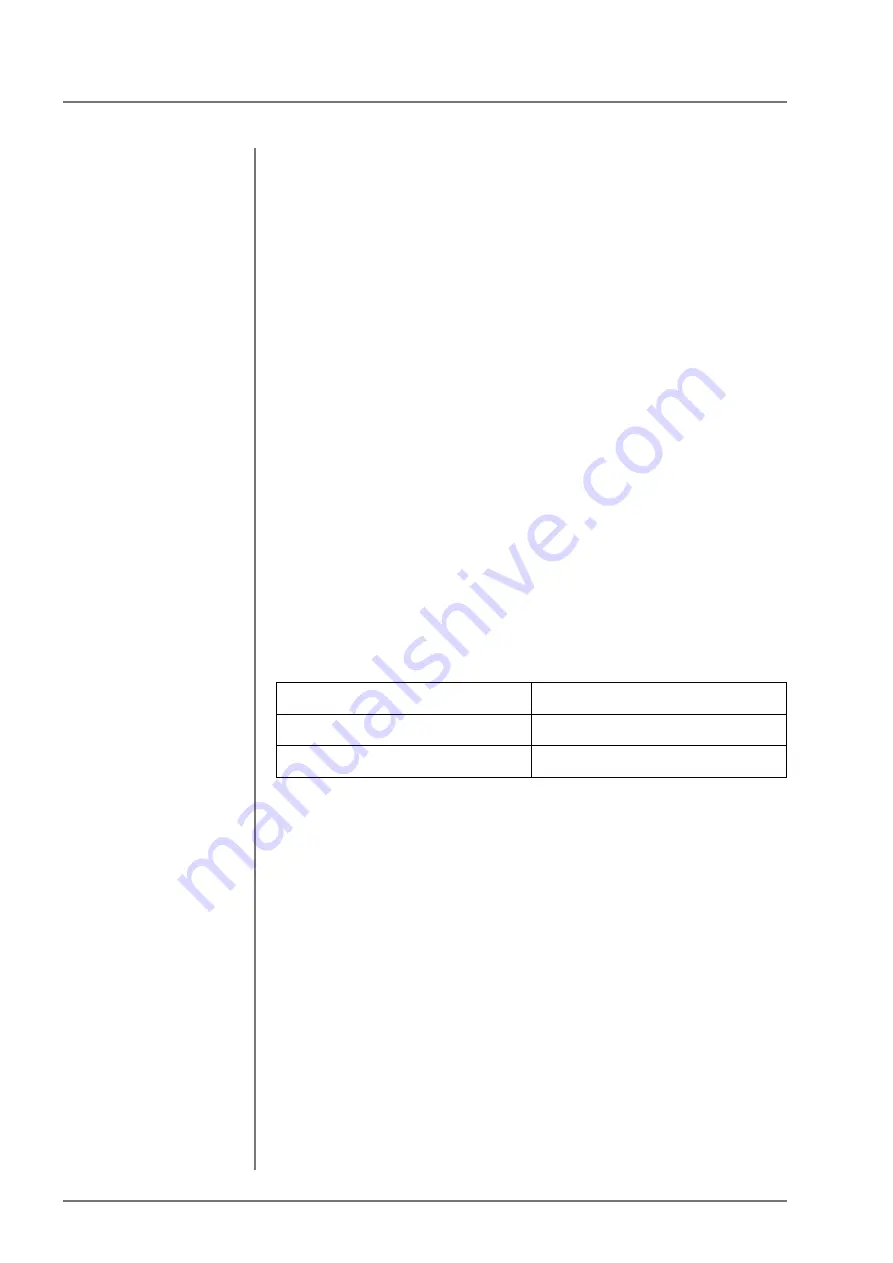
The file extension is added automatically corresponding to the type
of print form:
Path for Saving the File
By default, the created print form template files will be stored in the
sub-folder
...\Report1
.
Exiting the Print Form Template Editor
Use the command button “Exit” (cf. graphics to the side).
If changes have been made to the current print form template prior
to exiting the editor, the user will be prompted in a dialog window to
confirm or discard these changes:
Type of Print Form Template
File Extension
Block Print Form Templates
*.rp2
Final Print Form Templates
*.rp1
Summary of Contents for FISCHERSCOPE X-RAY 5000 Series
Page 22: ...22 FISCHERSCOPE X RAY Performing Manual Measurements Deleting Measurement Readings...
Page 36: ...36 FISCHERSCOPE X RAY User Interface of the WinFTM Software The Spectrum Window...
Page 40: ...40 FISCHERSCOPE X RAY WinFTM File Structure Product...
Page 118: ...118 FISCHERSCOPE X RAY Def MA Display the Measurement Mode...
Page 124: ...124 FISCHERSCOPE X RAY Calibration...
Page 142: ...142 FISCHERSCOPE X RAY Addendum Periodic Table of the Elements with X Ray Properties...
Page 156: ...156 FISCHERSCOPE X RAY Addendum Assignment of the Electrical Connections...
Page 183: ...WinFTM 183...


