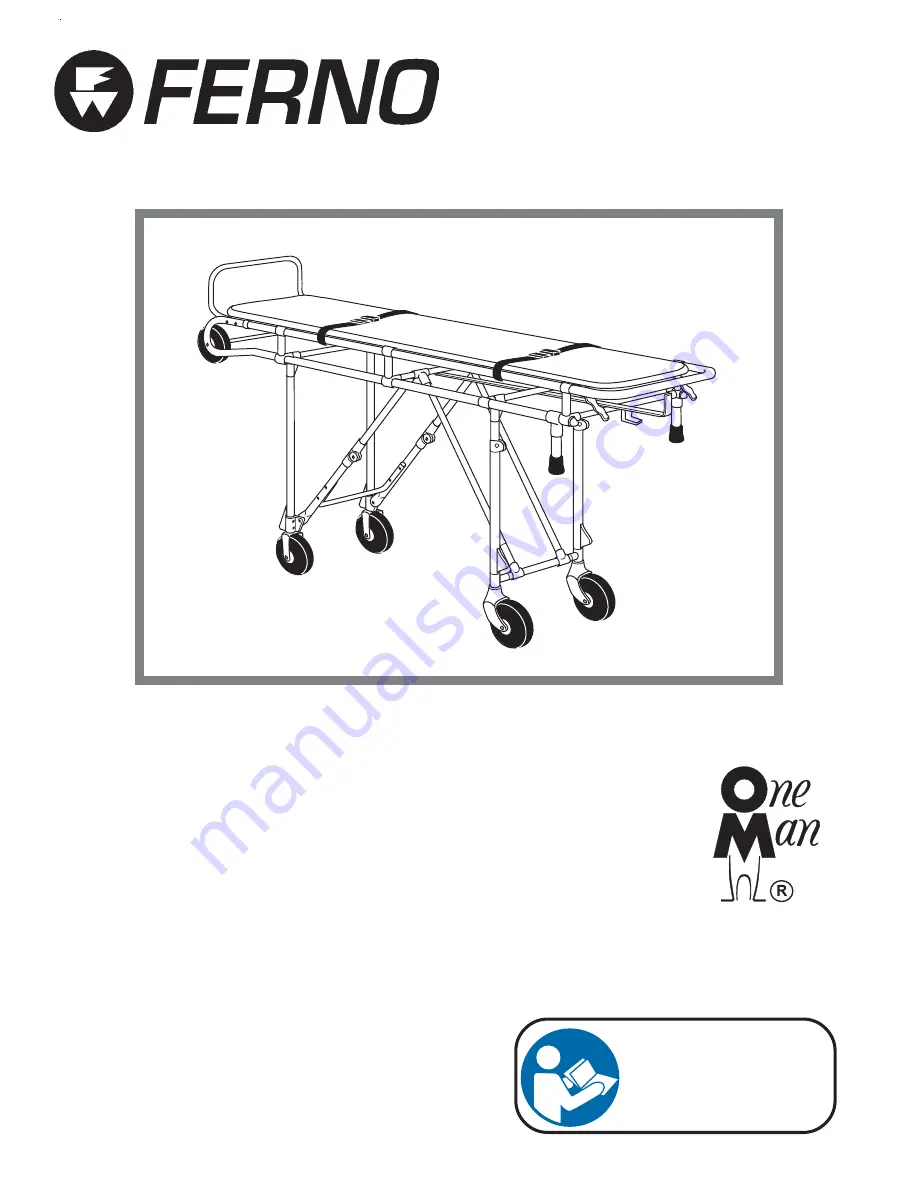
Model 23Roll-In Style Mortuary Cot
Users’ Manual
Read this Manual
and Retain for
Future Reference
November 2007 GLO
Pub. No. 234-0059-05
Page 1: ...Model 23 Roll In Style Mortuary Cot Users Manual Read this Manual and Retain for Future Reference November 2007 GLO Pub No 234 0059 05 ...
Page 2: ...tion use rights and sales use rights thereto and to any article disclosed therein except to the extent those rights are expressly granted to others or where not applicable to vendor proprietary parts Limited Warranty Statement The products sold by Ferno are covered by a limited warranty which is printed on the invoice you received when you purchased this product Please refer to the warranty terms ...
Page 3: ...Changing Cot Positions 8 9 4 4 Transferring the Body Onto the Cot 9 TABLE OF CONTENTS Section Page Section Page 4 5 Rolling and Maneuvering the Cot 9 4 5 Loading the Cot Into a Vehicle 10 4 6 Unloading the Cot From a Vehicle 10 5 Maintenance 11 12 5 1 Maintenance Schedule 11 5 2 Disinfecting and Cleaning the Restraints 11 5 3 Disinfecting and Cleaning the Mattress 11 5 4 Disinfecting the Cot 11 5 ...
Page 4: ...n this manual An unrestrained body can fall off the cot Use restraints to secure the body on the cot Improper maintenance can cause injury Maintain the cot only as described in this manual Improper parts and service can cause injury Use only Ferno parts and Ferno approved service on the cot Modifying the cot can cause injury and damage Use the cot only as designed by Ferno Attaching improper items...
Page 5: ...uary professionals to transport a body in a vehicle The cot is for professional use only It is designed for use with Model 5 Ferno cot fastener not included COT FEATURES 2 Height positions raised lowered Loading range 24 26 in 62 67 cm Foot stop Leg lock Two 5 inch swivel transport wheels operator end Two 5 inch fixed transport wheels loading end Leg protecting scuff blocks Sidearms optional INCLU...
Page 6: ...idearm pull the release pin Figure 1 and swing the sidearm down To raise a sidearm rotate the sidearm upward until the pin locks into place Important Sidearms are not designed for lifting Use only the main frame to lift the cot 3 3 Components Swivel Transport Wheel 2 Loading End Leg Control Handle Loading Wheel 2 Operator End Leg Control Handle Leg Lock Operator End Leg 2 Cot Main Frame Loading En...
Page 7: ...ure 4 To disengage the leg lock push the handle toward the loading end of the cot Note Leg locks on cots with serial numbers lower than L 728486 operate in the opposite direction Pushing the handle engages the leg lock and pulling the handle disengages it 3 6 Leg Control Handles The cot has two leg control handles that are used when lowering the cot or loading it into a vehicle Squeeze the handle ...
Page 8: ...the cot Using the Cot 4 1 Before Placing the Cot in Service Personnel who will work with the cot need to read this manual Set up the cot following the instructions in Cot Setup page 14 Confirm that the cot operates properly See Inspecting the Cot page 12 The vehicle transporting the cot must have a Ferno cot fastener system installed 4 3 Changing Cot Positions To lower the cot with one operator 1 ...
Page 9: ... rolling it 2 Stand at the cot operator end grasp the main frame and push the cot forward Use additional help as needed to steer the cot When working in confined area or on stairs 1 Fold the cot and engage the leg lock 2 Lift the operator end of the cot and roll the cot on its loading wheels Figure 7 4 4 Transferring the Body Onto the Cot Ferno recommends that you position the body with the head a...
Page 10: ...e cot in the vehicle with an approved Ferno cot fastener 4 7 Unloading the Cot From a Vehicle Use additional help as needed to unload a cot when it is carrying a heavy load To unload the cot from the vehicle do not use the control handles Do the following 1 Disengage the cot from the cot fastener 2 Verify that the leg lock is disengaged 3 Grasp the operator end of the cot and begin pulling the cot...
Page 11: ...ear water 5 Hang the mattress to dry or dry it with a towel 5 2 Disinfecting and Cleaning the Restraints Remove the restraints form the cot Disinfect and clean only as directed in the restraint users manuals provided with the restraints Additional free users manuals can be obtained from Ferno Customer Relations page 2 5 4 Disinfecting the Cot Wipe all surfaces with disinfectant Follow the disinfec...
Page 12: ...k properly without interfering with cot operation Is the vehicle properly prepared for the cot with an approved fastener mortuary cups and or roller system installed INSPECTION CHECKLIST Maintenance 5 8 Lubricating the Cot Disinfect and clean the cot before applying lubricant Use the lubricants designated below Do not lubricate points marked with the do not lubricate symbol LUBRICATION POINTS Use ...
Page 13: ...cot can cause injury and damage Use the cot only as designed by Ferno Parts and Service 1 2 3 4 5 6 7 8 9 11 10 10 6 3 Parts List Ref Part Description Qty 1 090 3446 5 Wheel fork w bearing no shank pin 1 2 090 0060 Wheel w bearings axle bolt nut 1 3 090 0180 Axle bolt and nut 1 4 090 5522 Wheel conversion kit Ultra Glide no tread wheel complete 1 5 090 0560 Post tip 2 6 090 2810 U brace w hardware...
Page 14: ...ighten Do not overtighten the lock nut Repeat with the other carriage bolts and lock nuts WARNING Modifying the cot can cause injury and damage Use the cot only as designed by Ferno WARNING Attaching improper items to the cot can cause injury Use only Ferno approved items on the cot 7 1 Restraints Mattress and Accessories Before placing the cot in service assign appropriate personnel to install th...
Page 15: ... Ferno Washington Inc 234 0059 05 November 2007 15 Model 23 Cot MAINTENANCE RECORD By Date Maintenance Performed Training Method TRAINING RECORD Date Name ...