Faronics Core User Guide
32
|
Configuring Core Console Manually
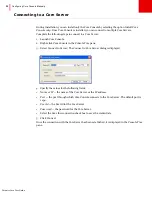
Connecting to a Core Server
During installation, you can install only the Core Console by selecting the option
Install Core
Console only
. Once Core Console is installed, you can connect to multiple Core Servers.
Complete the following steps to connect to a Core Server:
1. Launch Core Console.
2. Right-click
Core Console
in the
Console Tree
pane.
3. Select
Connect to Server
. The
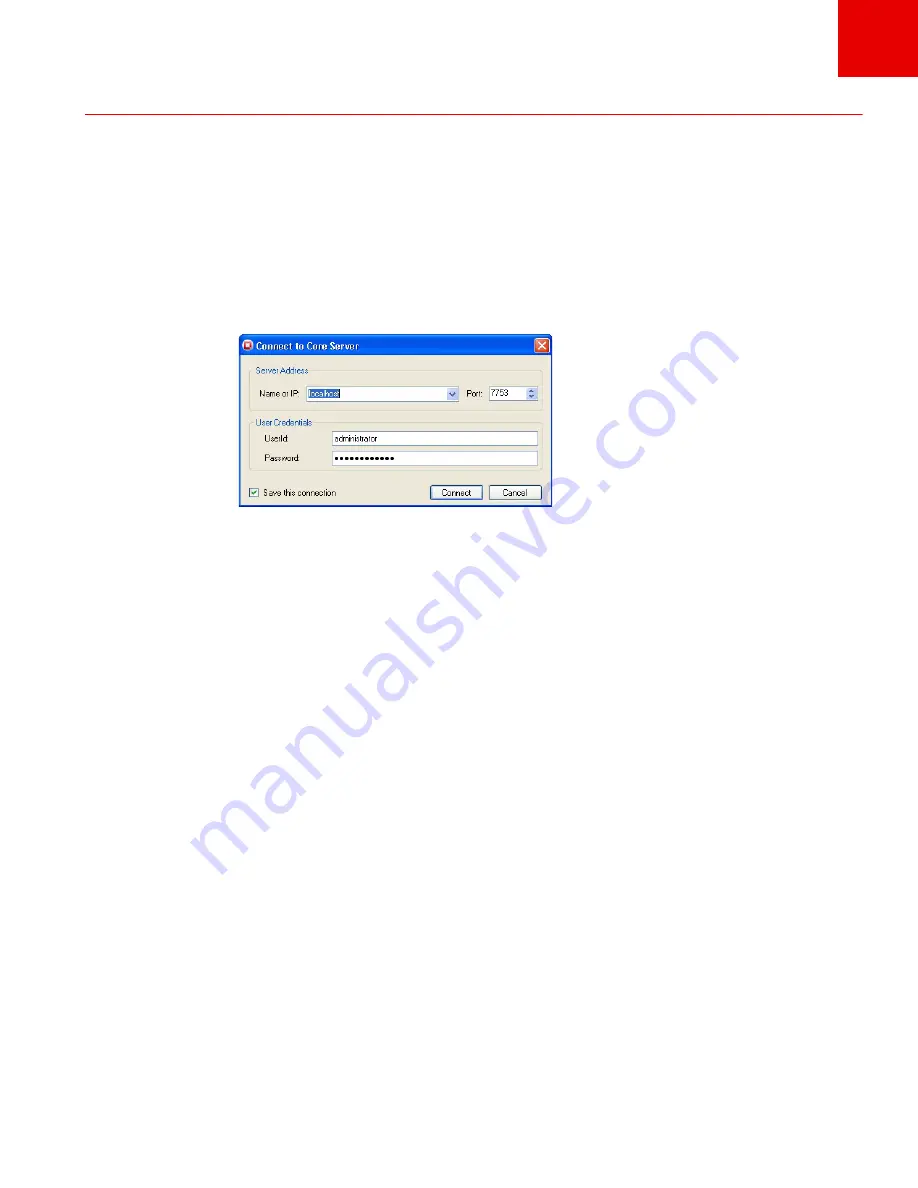
Connect to Core Server
dialog is displayed.
4. Specify the values for the following fields:
•
Name or IP
— the name of the Core Server or the IP address.
•
Port
— the port through which Core Console connects to the Core Server. The default port is
1234
.
•
UserId
— the UserId for the Core Server.
•
Password
— the password for the Core Server.
•
Select the
Save this connection
check box to save the credentials.
5. Click
Connect
.
Once the connection with the Core Server has been established, it is displayed in the
Console Tree
pane.
Summary of Contents for CORE
Page 1: ...Faronics Core User Guide 1 CaS 5cWRS...
Page 6: ...Faronics Core Console User Guide 6 Contents...
Page 18: ...Faronics Core User Guide 18 Introduction...
Page 24: ...Faronics Core User Guide 24 Installing Faronics Core...
Page 30: ...Faronics Core User Guide 30 Configuring Faronics Core via the Configuration Wizard...
Page 50: ...Faronics Core User Guide 50 Configuring Core Server Manually...
Page 56: ...Faronics Core User Guide 56 Using Advanced Options...
Page 88: ...Faronics Core User Guide 88 Using Core Console...
Page 96: ...Faronics Core User Guide 96 Appendix A Single Subnet Single Core Server...
Page 98: ...Faronics Core User Guide 98 Appendix B Single Subnet Multiple Core Servers...


