CARTS AND WAGONS
1
Revision date: 07.15.09
©2009 FarmTek
®
All Rights Reserved. Reproduction
is prohibited without permission.
WD8045
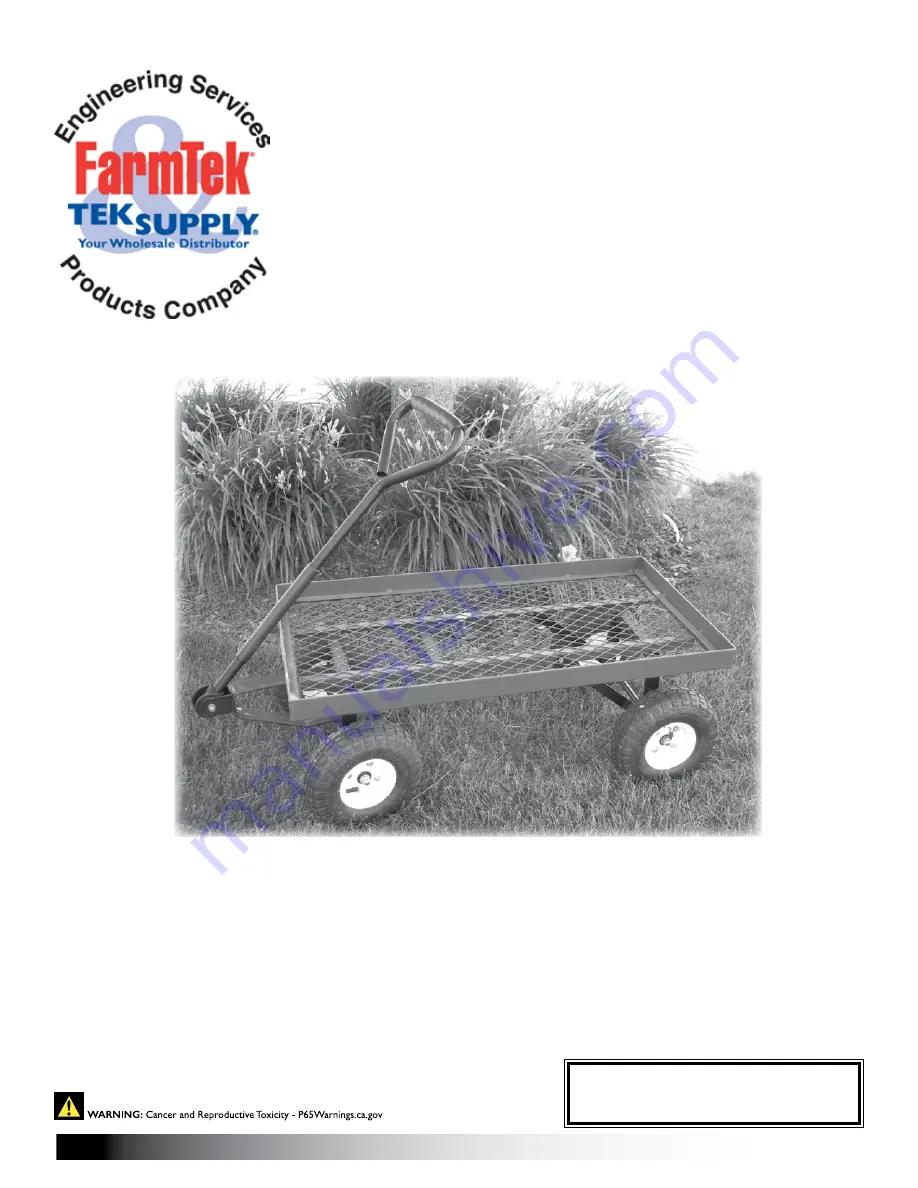
Nursery Wagon
12197
STK#
Description
WD8045
Nursery Wagon
Wagon shown above may differ slightly in design from actual wagon.


