Room Scheduling System • CollegeNet 25Live
44
CollegeNET 25Live
Setup
Calendar Setup
1
1
1
2
2
2
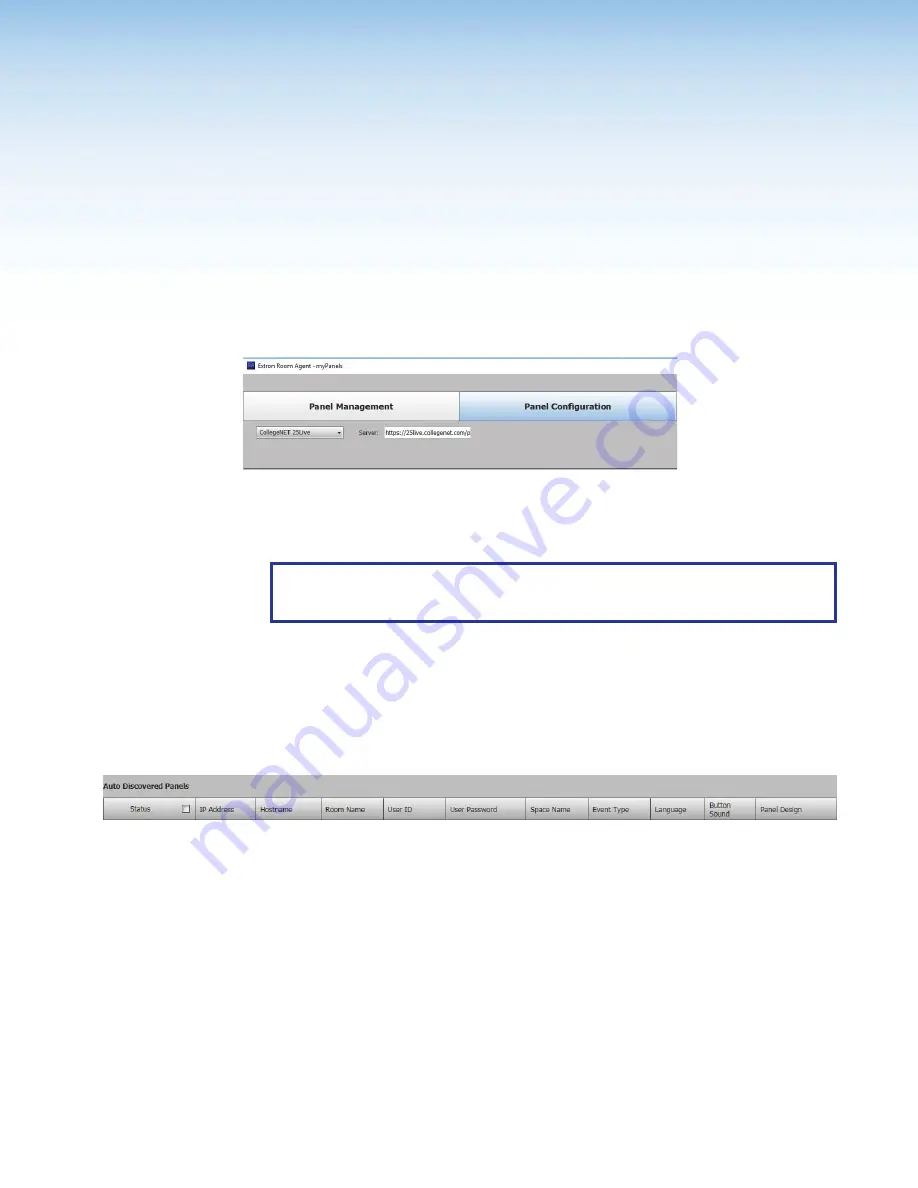
Figure 41.
Selecting the CollegeNET 25Live Calendar
1.
Select
CollegeNET
25Live
from the
Select
a
Calendar
Type
drop-down list(
1
).
2.
Enter the name of the 25Live server in the
Server
field (
2
).
NOTE:
This value is the full URL of the address you use to log in to your regular
CollegeNET 25Live account and has the format:
https://25live.collegenet.com/
<college-name>
.
If you use https:// the Proxy Server must be setup as “TLS Pass Through”. This is
required for the TLS to validate the calendar server’s SSL certificate (see
Panel Setup
The following column headings are available for touchpanels with CollegeNET 25Live:
Figure 42.
Room Agent Column Headings with CollegeNET 25Live
•
Status
— Use this check box to select individual panels for configuration.
•
IP Address
— This cell contains the IP address of the touchlink panel.
•
Hostname
— The host name is a fully qualified domain name that uniquely identifies
the computer. It is required for the computer to communicate with other devices on the
network.
•
Room Name
— enter the name that is displayed on the touchpanel.
•
User ID
— enter the ID for an account that has access to the 25Live webservices link.
This is typically an administrator account.
•
User Password
— enter the password for an account that has access to the 25Live
webservices link. This is typically an administrator account.


