User’s Manual
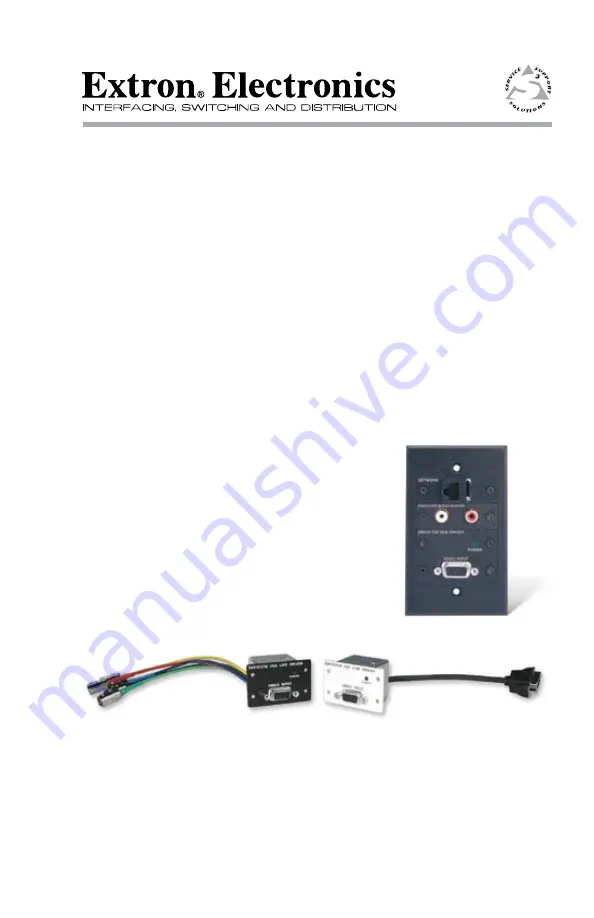
VGA Line Drivers and Audio Buffers
68-757-01
Rev. D
11 08
DAV101CM Series, DAS101CM Series
PRELIMINARY
Front cover
Page 1: ...User s Manual VGA Line Drivers and Audio Buffers 68 757 01 Rev D 11 08 DAV101CM Series DAS101CM Series PRELIMINARY...
Page 2: ...machen da im Inneren des Geh uses dieses Produktesgef hrlicheSpannungen dienichtisoliert sind und die einen elektrischen Schock verursachen k nnen herrschen Achtung Lesen der Anleitungen Bevor Sie das...
Page 3: ...vide reasonable protection against harmful interference when the equipment is operated in a commercial environment This equipment generates uses and can radiate radio frequency energy and if not insta...
Page 4: ...DAV101CM DAS101CM Safety and Compliances...
Page 5: ...yet Connect output cables See the diagrams here and on pages 2 4 to 2 6 C For unbalanced output connect the sleeve to ground Gnd _ Connecting the sleeve to a negative terminal will damage the audio o...
Page 6: ...then restore power Step 6 For a DAV101CM set the sharpness peaking control using a small screwdriver as shown at right See page 2 8 Step 7 Disconnect power from the module s and other devices Step 8 F...
Page 7: ...ling a Wall Box or Wall Bracket 2 2 Mounting the Module Into a Connector Module Frame or Rack mountable Frame 2 3 Rear Panel Features and Cabling 2 4 DAV101CM Series 2 4 DAS101CM Series and DAV DAS in...
Page 8: ...ii DAV101CM DAS101CM Table of Contents Table of Contents cont d...
Page 9: ...DAV101CM DAS101CM 1 Chapter One Introduction About This Manual About the DAV DAS101CM Series Features...
Page 10: ...M 3 4 or 6 or one 15 pin HD connector DAV101CM 1 2 or 5 and sent 150 feet or more on Extron Mini HR cable The Extron DAS101CM Series modules are compact audio buffers Each module accepts one unbalance...
Page 11: ...long cable runs The DAV101CM can drive signals for up to 150 feet of Extron Mini HR cable or 250 feet of Extron SHR cable The variable sharpness control lets you select the best peaking setting for th...
Page 12: ...DAV101CM DAS101CM Introduction Introduction cont d 1 4 video can be input buffered and driven from the same location...
Page 13: ...and Operation Installing a Wall Box or Wall Bracket Mounting the Module Into a Connector Module Frame or Rack mountable Frame Rear Panel Features and Cabling Front Panel Features and Cabling Adjustin...
Page 14: ...ines for the opening on the wall or furniture 2 Cut out the material from the marked area 3 Insert the wall box bracket to check the opening s size and fit Enlarge or smooth the edges of the opening i...
Page 15: ...all furniture or rack mounting installations DAV and DAS modules must be attached to a faceplate frame or CPM Series rack mountable frame and cabled before being installed 1 Insert the module into the...
Page 16: ...LINE DR IVER VIDE O INPU T PO WER DAV10 1C M VG A LINE DR IVER VIDE O INPU T PO WER DAV101CM w CPM112R 1_10 16 03 eps P E A K IN G P E A K IN G Attaching a DAS DAV to a CPM rack mountable frame Rear P...
Page 17: ...BNC computer video output DAV101CM 3 4 6 Attach these five male BNC connectors to the display s BNC input connectors DAS101CM Series and DAV DAS interconnection 12VDC 0 1 A 12VDC 0 1 A DAS101CM 1 2 5...
Page 18: ...er In Loop Out to DAV101CM or CIA Interface DAV DAS power interconnection c Audio output Wire this 5 pole 3 5 mm direct insertion captive screw connector as shown below for either balanced or unbalanc...
Page 19: ...pin HD connector which provides ID bit termination on pins 4 and 11 DAS101CM Series DAS101CM AUDIO BUFFER DAS101CM AUDIO BUFFER 1 2 3 DAS101CM 1 2 5 DAS101CM 3 4 6 a Stereo audio input DAS101CM 1 2 5...
Page 20: ...R cable While viewing the output image use a small screwdriver to rotate this potentiometer to select the setting that gives the clearest pictures C Using a larger screwdriver can break the potentiome...
Page 21: ...peration 2 9 Wall furniture mounting Mount the frame and module s to the wall or furniture as shown below DAV DAS101CM 1 w CPM101_10 16 03 eps DAV101CM VGA LINE DRIVER Video Input Power P E A K I N G...
Page 22: ...rack as shown below Restore power to the devices You have completed the installation DAV10 1C M VG A LINE DR IVER VIDE O INPU T PO WER DAV10 1C M VG A LINE DR IVER VIDE O IN PU T PO WER DAV10 1C M VG...
Page 23: ...DAV101CM DAS101CM A Appendix A Specifications Part Numbers and Accessories Specifications Included Parts Accessories Cables...
Page 24: ...o 150 Hz Return loss 40 dB 5 MHz Video output DAV101CM Number signal type 1 VGA QXGA RGBHV RGBS RGsB RsGsBs or HDTV component video Connectors DAV101CM 1 2 5 1 15 pin HD female on a 6 15 cm pigtail DA...
Page 25: ...DAS101CM Number signal type 1 stereo unbalanced line level Connectors DAS101CM 1 2 5 1 3 5 mm mini audio jack tip ring sleeve female DAS101CM 3 4 6 1 pair of RCA tip ring jacks female Impedance 10 koh...
Page 26: ...unvented Rack mount Yes with optional rack shelf and face plates Also wall or furniture mountable with optional faceplates Enclosure type Metal Enclosure dimensions DAV101CM Faceplate 1 4 H x 2 2 W x...
Page 27: ...ck white RAL9010 white 60 611 11 21 51 12VDC 1 A external power supply DAV only 70 055 01 3 32 hex wrench 4 40 hex socket cap screws 4 per DAV 2 per DAS User s manual Accessories Accessories Part numb...
Page 28: ...DAV101CM DAS101CM Specifications Part s Accessories Specifications Part Numbers and Accessories A 6...
Page 29: ...bai This Limited Warranty does not apply if the fault has been caused by misuse improper handling care electrical or mechanical abuse abnormal operating conditions or non Extron authorized modificatio...
Page 30: ...SA Canada Only 1 919 863 1794 1 919 863 1797 FAX Extron Europe 800 3987 6673 Inside Europe Only 31 33 453 4040 31 33 453 4050 FAX Extron Asia 800 7339 8766 Inside Asia Only 65 6383 4400 65 6383 4664 F...