Exinda Network Orchestrator
4 Settings
|
518
1.
On your browser, open the Exinda Web UI (
https://UI_IP_address
).
2.
Key-in the
User Name
and
Password
.
3.
Click
Login
. The Exinda Web UI appears.
5.
Click
Configuration > System > Authentication > Local User Accounts
.
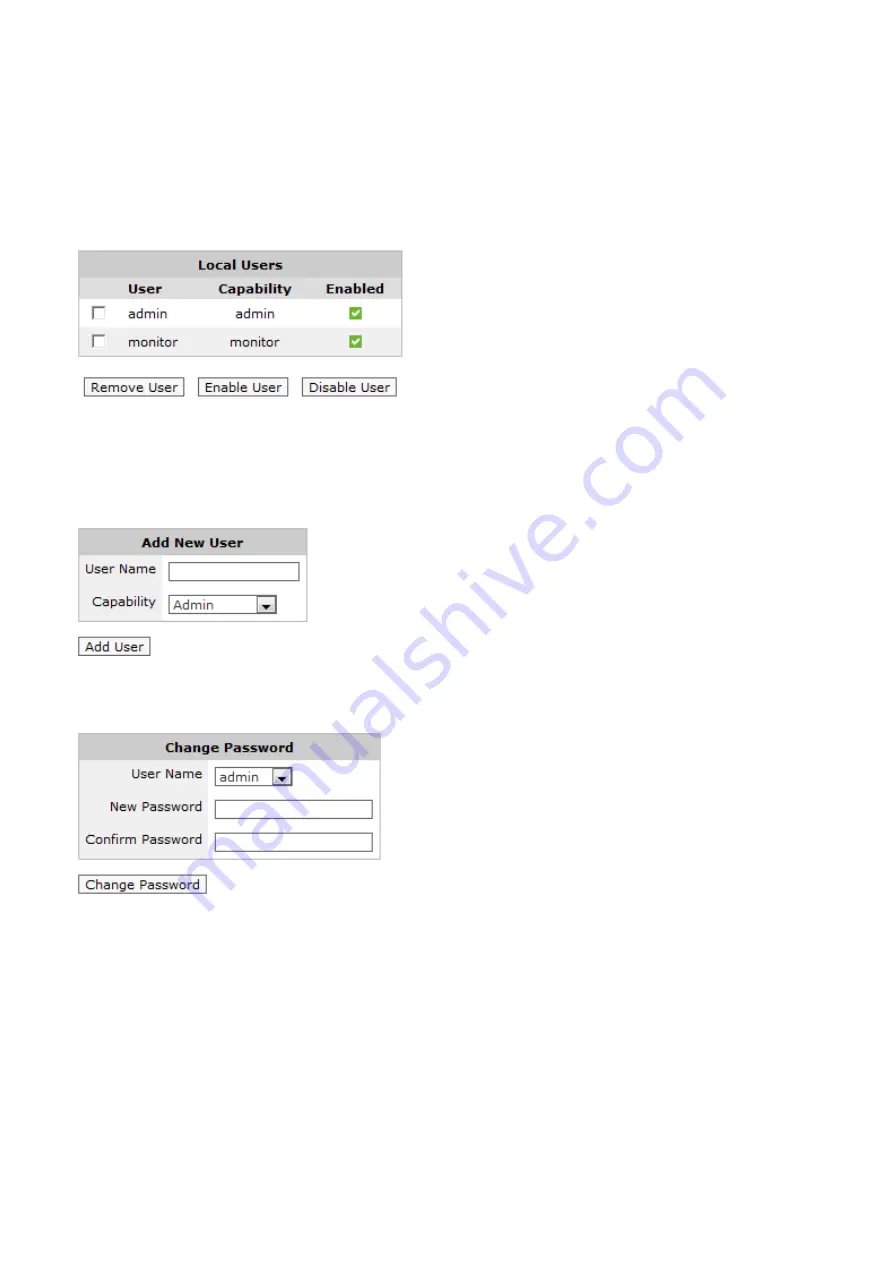
The table at the top of the page lists the configured local users and their capabilities.
6.
To remove local user accounts from the Exinda appliance or to temporarily disable an account, select the checkbox for
the user and click
Remove User
or
Disable User
.
7.
To add a new Local User Account, specify a username and select a capability. Click
Add User
. Admin users have full
read-write access to the Exinda appliance. Monitor users have read-only access.
8.
Create a password for a new user, or change the password for an existing user by selecting the username you wish to
create or change the password for and enter a new password. Click
Change Password
.
4.5.3 AAA
AAA configures how remote users should authenticate to the Exinda appliance and what privileges they should receive.
1.
To configure AAA, navigate to
Configuration > System > Authentication > AAA
on the Web UI, advanced mode.
2.
Specify the order in which users are authenticated. When a user logs in, the Exinda appliance will try to authenticate
them using the authentication methods specified here, in the order they are configured.
Summary of Contents for EXNV-10063
Page 369: ...Exinda Network Orchestrator 4 Settings 369 ...
Page 411: ...Exinda Network Orchestrator 4 Settings 411 Screenshot 168 P2P OverflowVirtualCircuit ...
Page 420: ...Exinda Network Orchestrator 4 Settings 420 Screenshot 175 Students OverflowVirtualCircuit ...


