3. Mechanical installation
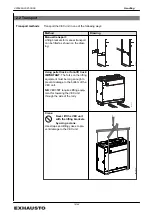
3.1 Installing the VEX unit
NB:
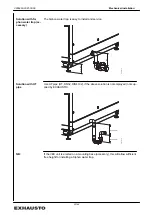
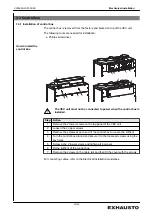
It is important that the VEX unit is installed on a level surface, as this affects
the collection and draining of the condensate.
3.1.1 Installation directly on floor
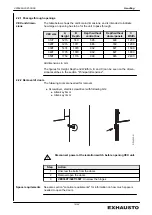
The requirements for the floor surface must be met, see the section entitled "Re-
quirements for underlying surface".
NB:
After installation, check the VEX unit is completely level.
3.1.2 Installation on mounting base
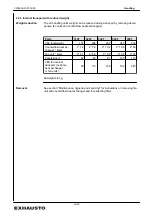
The EXHAUSTO mounting base enables the VEX unit to be installed correctly. The
base is equipped with adjustable levelling screws, so that the VEX unit can be fitted
horizontally on a surface that is not level ( +/- 20 mm per metre). See the separate
instructions for installing the mounting base.
3.2 Condensation outlet
Connection of the condensation outlet must be made by an au-
thorised plumber.
Drain the condensation outlet into a floor gully or similar. The
condensation outlet must be fitted with a water trap. See below.
Risk of frost
Where there is a risk of frost: It is recommended to protect the
condensation outlet against frost damage. Fit a SIPHONE electri-
cal heat tracing device on the outlet before the pipes are insula-
ted. For fitting, see the device’s fitting instructions.
3.2.1 Establishment of condensation outlet
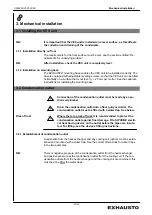
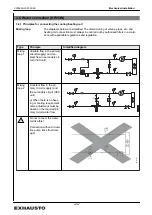
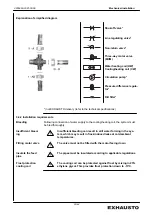
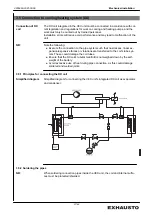
Condensate from the heat exchanger and any cooling coil (option) must be estab-
lished and mounted with a water trap. See the correct dimensions for water traps
in the two examples.
NB:
There is negative pressure at the condensation outlet from the heat exchanger
and positive pressure at the condensation outlet from the cooling coil. If the con-
densation outlets from the heat exchanger and the cooling coil are combined, this
must be done after the water traps.
3005993-2021-03-09
Mechanical installation
21/44
Summary of Contents for VEX300 Series
Page 44: ......

