7881TSM-IP
User Manual
Version 1.0
Page - 15
4.
7881TSM-IP ON VISTALINK PRO (FOR SWITCH)
With the proxy IP configured from the web interface and the appropriate jar file installed, the 7881TSM-IP can
be completely configured on VistaLINK PRO. To do this, begin by launching VistaLINK PRO.
Figure 4-1: VistaLINK PRO – Login Screen
For login and password, type in “
customer
”.
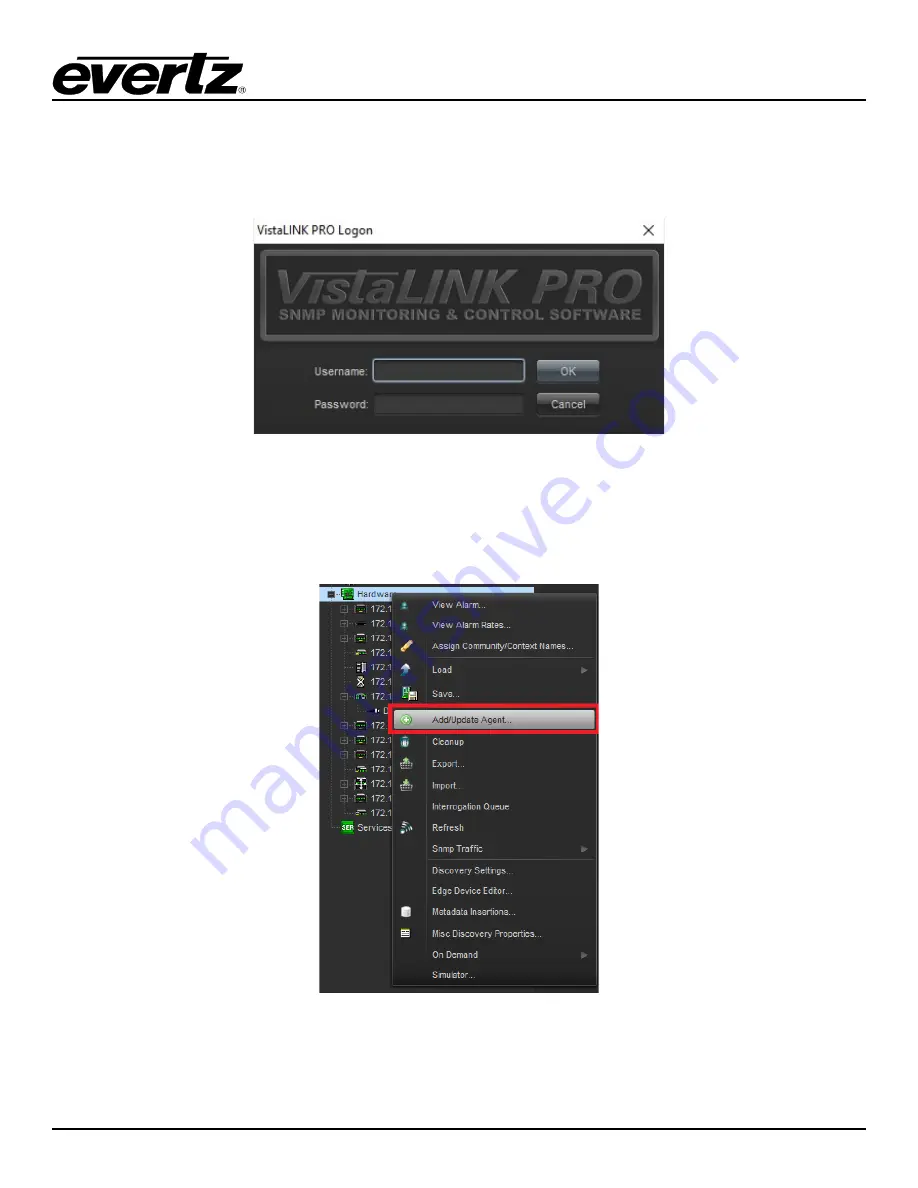
Upon entering the correct credentials, the user will need to enter the proxy IP address of the 7881TSM-IP. To
do this, right-click the “Hardware tab” in the navigation tree and select “Add/Change Agent”.
Figure 4-2: VistaLINK PRO – Hardware Contextual Menu
Expand the “Hardware” tab if not done so already. Double-click on the proxy IP of the 7881TSM-IP-GE or by
right-clicking and selecting “Vew Configuration”. All settings of the 7881TSM-IP will then appear on the right
(Image below).
Summary of Contents for 7881TSM-IP
Page 2: ...This page left intentionally blank ...
Page 6: ...7881TSM IP User Manual Page ii Version 1 0 This page left intentionally blank ...
Page 12: ...7881TSM IP User Manual Page 2 Version 1 0 Figure 1 1 7881TSM IP Card ...
Page 24: ...7881TSM IP User Manual Page 14 Version 1 0 This page left intentionally blank ...
Page 27: ...7881TSM IP User Manual Version 1 0 Page 17 Figure 4 5 VistaLINK PRO System ...
Page 28: ...7881TSM IP User Manual Page 18 Version 1 0 Figure 4 6 VistaLINK PRO VLAN Configuration ...
Page 29: ...7881TSM IP User Manual Version 1 0 Page 19 Figure 4 7 VistaLINK PRO Port Monitoring ...
Page 30: ...7881TSM IP User Manual Page 20 Version 1 0 Figure 4 8 VistaLINK PRO Notify ...
Page 37: ...7881TSM IP User Manual Version 1 0 Page 27 Figure 5 9 VistaLINK PRO Disk Folder Manager Tab ...
Page 38: ...7881TSM IP User Manual Page 28 Version 1 0 This page left intentionally blank ...
Page 56: ...7881TSM IP User Manual Page 46 Version 1 0 This page left intentionally blank ...


