A. Function
C. Setting Procedures
B. Get Started
Type: EMW303WF-1
Instruction Manual for
Wi-Fi Smart Socket
D. LED Flashing Guideline
LED
Flashes slowly
(once per second)
Flashes quickly
(few times per
second)
On or OFF
Description
- Smart socket is searching for the Wi-Fi network.
- Press and hold the button until the LED flashes quickly (few times per second),
socket turns into the connection mode.
- Follow the procedure on the APP to activate the new device and enter the Wi-Fi
password for connection.
- Smart socket is in connection Mode.
- Follow the instruction “ACTIVATE NEW DEVICE” and enter the Wi-Fi password for connection.
- When the connection is successful, the LED will stay ON or OFF, without flashing.
- Power on /off status indicator.
- Connection successful (after connection mode as above).
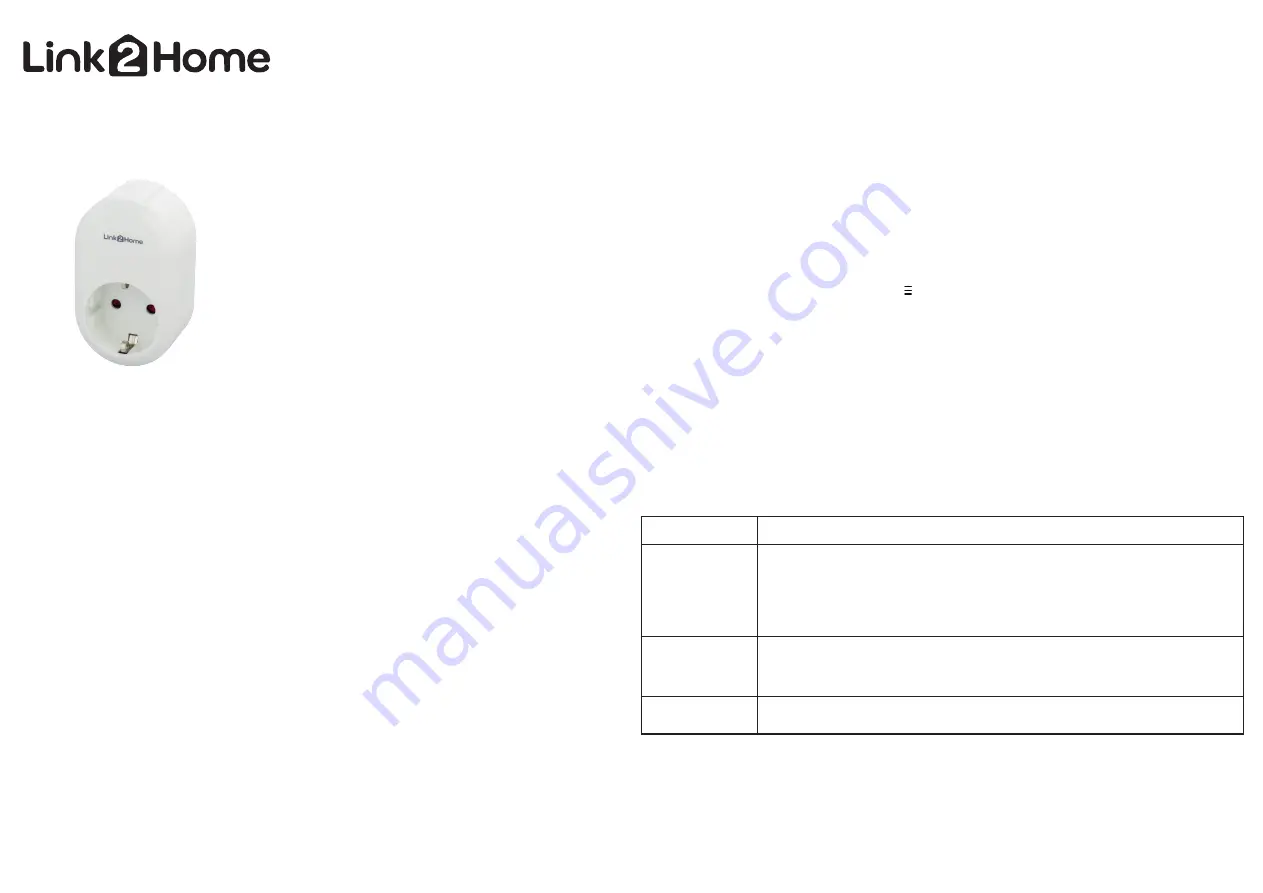
1. The Link2Home Wi-Fi socket connects your
home Wi-Fi network to your appliances for easy
control of home automation, energy saving and
home security.
2. App controls any connected electrical
appliances via your smart device. Wherever and
whenever you choose to control the on/off,
timer setting and group setting. Applicable for
both IOS and Android system.
3. With push button, control power on/off
manually.
Download the Link2Home from APP store or
Google Play on your smart phone, open the APP
and follow the procedure to register your
account with a valid email address.
a) Tap the ••• on Device Square to enter
individual device interface
b) Tap device name to edit
c) Tap device icon to reset a new image
d) More setting of the device, tap the menu
button on top right eg. "Delete device"
4. Timer Setting
a) On the individual device interface
b) Tap the + icon or "Add timer" from the Menu
on top right
c) Choose the normal time or sunrise/sunset
time to control the power on/off. The times for
sunrise/sunset, depending on your location.
Every time you refresh the page (pull down),
there is an automatic update of the time circuit.
Tap the circle to select the operation. Tap
“Save” to save and back to device interface
d) Tap the button on the right side of the timer
to activate or deactivate this timer
e) Tap the existing timer to edit
f) Delete unneeded time circuits by sliding the
timer bar to the left and tap "Delete"
5. Countdown Setting
a) On Device List Page, tap the Countdown
bar to set the countdown time for the device.
( The device enters the countdown mode, and
will switch on/off when reaches the time)
b) Click the on/off button to exit countdown
mode
6. Group Setting
Group Setting allows you to combine differ
-
ent devices into the same on/off timer. Ideal
for special occasion on/off control, eg.
Control all the lamps in a living room
a) Tap GROUP button on the first page to see
Group List
b) Tap "Add group" on the group page or you
can find it on top right Menu button
c) Choose Icon for special occasion.
d) Choose devices you would like to put in this
group, tap "OK" to save this group
e) You can set the timer, countdown for the
group using the same procedure as the single
device's
Group setting notes:
a) To avoid confusion, we suggest to de-activate
the timer setting function in the DEVICE page
7. Firmware Update
a) On the individual device interface
b) Tap the Menu button on top right, select
"Firmware update", the version detail of the
device will be displayed
c) Tap Update button if the APP recognize the
firmware is not the latest version
d) The update may take several minutes
8. Reset
a) Press and hold the manual button on the
device for 10 seconds, it will clear ALL the
previous setting, LED flashes quickly, and the
reset device is then ready for user to “add new
device”
b) To change user account to control the devise,
go to the specific device page, select “Delete
Device”, then the device is free for any other
new account to add
1. For safety, always switch off your appliances
before connecting.
2. For indoor use only.
Cautions:
3. Whenever you change a Wi-Fi network,
reconnection is required.
4. Do not plug in and out the device continually.
Always wait for an interval of 10 seconds
5. Do not connect with the following load
1. General Setting
a) When you enter the APP, tap the More
button on the bottom left to open General
Information Page
b) You can find your personal information and
change some basic setting here
2. Add a New Device
a) After signing in your account on the APP, plug
in the device to a main socket, LED flashes
quickly continuously (few times per second)
b) Tap "Add device" on the device page or you
can find it on top right after tapping Menu( )
button
c) Follow the procedures on the APP to
complete
d) Scroll down the Device List Page to refresh
the device status
3. Personalize your device


