Studio Pro 14
Installation and Operating Manual
North American Model
Jan 2019
Page
6
of
10
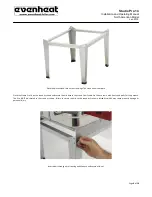
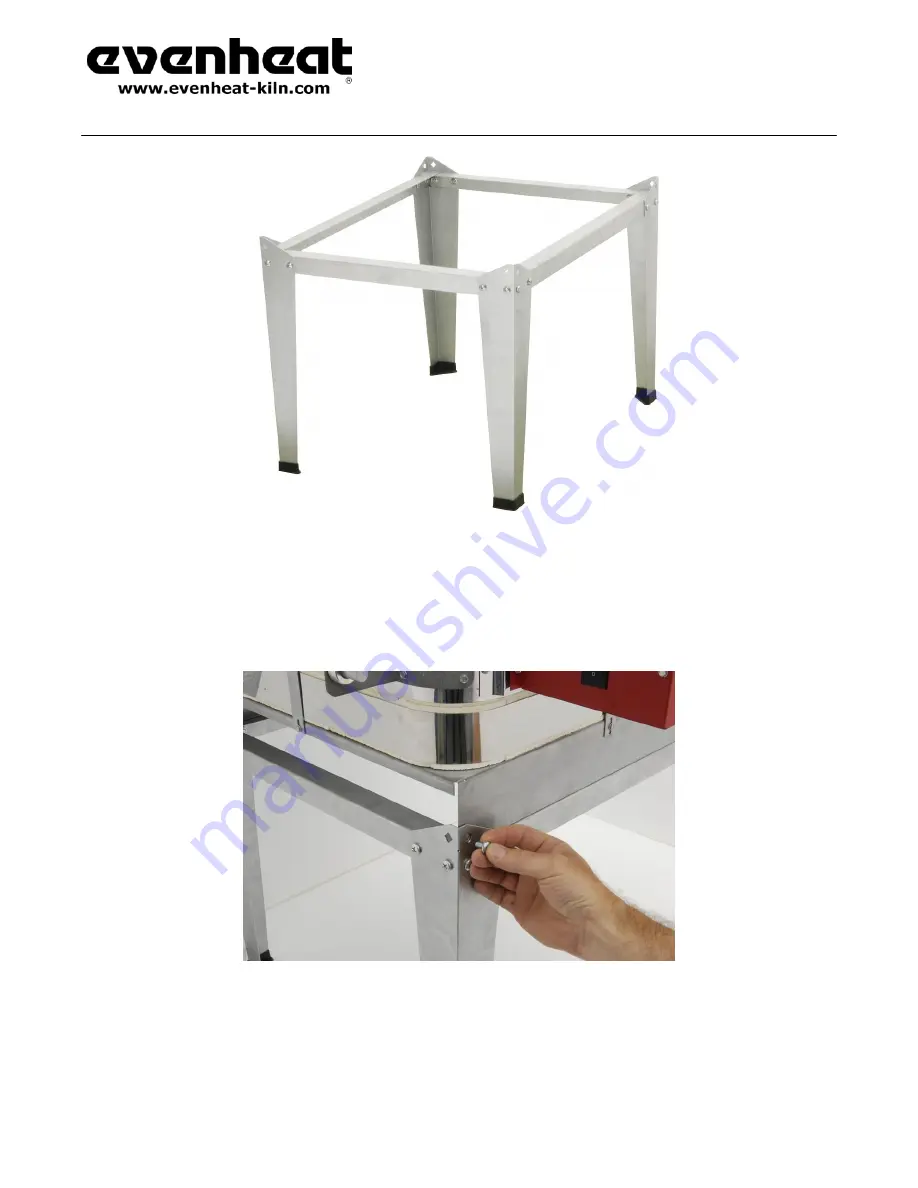
Place the plastic stand feet on the stand legs. The stand is now complete.
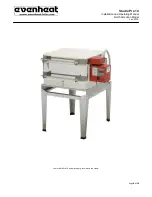
Place the Studio Pro 14 on the stand as shown and secure the kiln base to the stand. Your Studio Pro 14 base came with 4 nuts and bolts for this purpose.
The kiln MUST be secured to the stand as shown. Failure to secure the kiln to the stand will result in instability which may cause property damage or
personal injury.
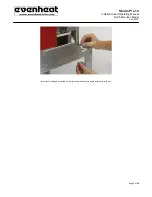
Insert a bolt through each front leg and kiln base and secure with nut.

