Portable Air Conditioner
Model Number A018D-12C
USER MANUAL
AFTER SALES SUPPORT
(AU) 1300 886 649 (NZ) 0800 836 761
Page 1: ...Portable Air Conditioner Model Number A018D 12C USER MANUAL AFTER SALES SUPPORT AU 1300 886 649 NZ 0800 836 761...
Page 2: ...86 649 info tempo org Contents Page 03 Important Safety Instructions 07 R290 Specific Safety Advice 09 Getting Started 10 Product Overview 14 Installation 16 Instructions 19 FAQs Troubleshooting Guide...
Page 3: ...it in a bathroom or laundry or where it can be splashed with water Power supply cord Do not kink or damage the cord Do not pull the cord or place it near a heat source Always unwind the cord complete...
Page 4: ...of experience and knowledge unless they have been given supervision or instruction concerning use of the appliance in a safe way and understand the hazards involved No external timer This appliance is...
Page 5: ...nnect the power supply and move it slowly Keep the unit upward during transport and storage Cleaning and maintenance Disconnect Make sure the appliance is disconnected from the power supply when it wi...
Page 6: ...er to Fig 1 below Maintaining this minimum 30cm clearance is essential failure to keep that distance can result in the unit malfunctioning or causing injury Window application The air exhaust can be i...
Page 7: ...advice in this manual The room in which this air conditioner is installed must have a minimum area of more than 12m2 This unit is designed for use in a room of approximately 18 23m2 size Do not expose...
Page 8: ...er contains a flammable refrigerant which must be removed before disposal Contact your municipal authorities for any codes or regulations concerning the disposal of such materials At the end of its wo...
Page 9: ...ng can be a suffocation hazard for babies and young children so ensure all packaging materials are kept out of their reach and disposed of safely Inspection Unwind the cord fully and inspect it for da...
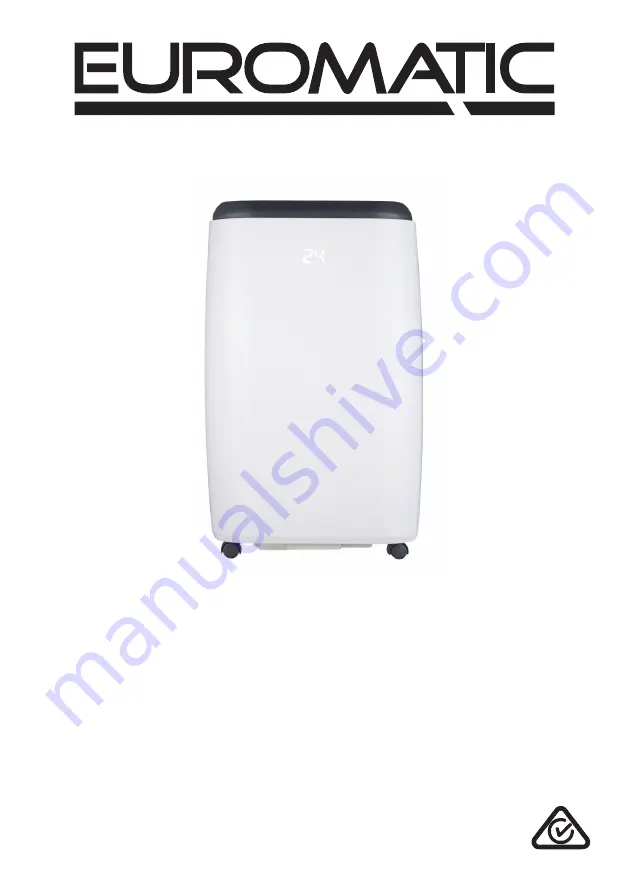
Page 10: ...duct Overview Scope of delivery A Portable air conditioner 1 Louvre 2 Control panel see page 12 for details 3 Front panel 4 Castor wheels 5 Air inlet 6 Drainage outlet 7 Air outlet 8 Power cord and pl...
Page 11: ...ay vary slightly from the product purchased All images in this manual are for reference purposes only Parts are not necessarily pictured to scale Flexible air exhaust hose Exhaust hose connector windo...
Page 12: ...12 After Sales Support 1300 886 649 info tempo org Control panel Fig 6 Product Overview Cont High fan speed Low fan speed...
Page 13: ...3 After Sales Support 1300 886 649 info tempo org Remote control Fig 7 Product Overview Cont NOTE Do not drop the remote control Do not place the remote control in a location exposed to direct sunligh...
Page 14: ...p of the housing connector into the openings at the back of the air conditioner Fig 9 Fit the exhaust hose and housing connectors to the ends of the flexible air exhaust hose twisting them into place...
Page 15: ...improvise modify some aspects of the installation procedure Installation Cont Adjust the window slider to the length of a horizontally or height of a vertically opening window Fig 11 and fix it with a...
Page 16: ...IMPORTANT INFORMATION Room size It is important to use the right size air conditioner in the room you want to cool This appliance is suitable for cooling rooms of 18m2 23m2 size Exhaust hose This MUST...
Page 17: ...he fan motor to low speed and maintain the room temperature at 2 C lower than the current room temperature within the 16 C to 31 C range Instructions Cont Fan mode Press the MODE button until the fan...
Page 18: ...an auto off time Preset OFF Time is displayed on the operation panel Water full alarm Condensation water that forms during cooling will drop into an in built drip tray When the water level in the drip...
Page 19: ...s not level or not flat enough Make sure to place the unit on a flat level ground The sound comes from the refrigerant flowing inside the air conditioner This is normal and no cause for concern E0 Cod...
Page 20: ...se thoroughly Let all parts dry completely in the shade before reinstallation Other Useful Information Care and cleaning Electric shock hazard Before cleaning and servicing ensure the unit is switched...
Page 21: ...e hose to the outside Any condensation water that has accumulated will drain out Operate the unit in fan mode for a few hours to let the drainage pipe dry Switch off the unit and disconnect the plug f...
Page 22: ...back of the remote control and insert 2 AAA batteries making sure to match the polarity markings on the batteries with those inside the compartment Close the battery compartment CAUTION Only use fresh...
Page 23: ...and AS NZS 60335 2 40 The RCM Mark Regulatory Compliance Mark indicates that the product complies with the relevant guidelines of the ACMA as well as corresponding government requirements for the saf...
Page 24: ...his product or if it fails to perform to your expectations make sure to contact our After Sales Support Centre on AU 1300 886 649 or NZ 0800 836 761 for advice Distributed by Tempo Aust Pty Ltd ABN 70...