Operation
|
21
3.
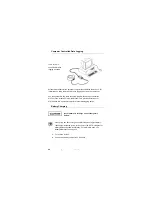
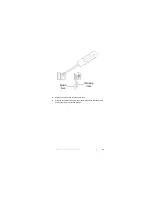
Plug the charger jack completely into the CHARGE connector on the
clamp-on current sensor.
Allow approximately one hour for a full charge cycle. When charging is
complete, the battery charger automatically goes into a trickle charge.
It will remain in trickle charge mode until disconnected from the
HI-3702.
4.
When the charge cycle is complete, remove the charger jack from the
CHARGE connector on the clamp-on current sensor.
5.
Unplug the battery charger from the AC outlet.
6.
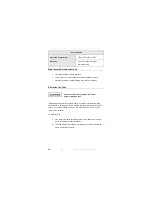
Use the HI-4416 to verify that the battery is charged to approximately
3.8 VDC.
See
Series H-491198-36 Battery Charger
on page 27 for complete information
on the battery charger.
Error Codes
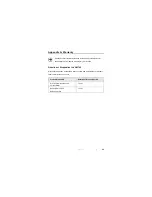
If an error occurs, the probe will respond with one of the following strings. These
strings begin with a colon and end with a carriage return.
E01
Communication error (for example, overflow)
E02
Buffer full error; too many characters contained between the
start character and carriage return sequence
E03
Received command is invalid
E04
Received parameter is invalid
E05
Hardware error (for example, EEPROM failure)
E06
Parity error
E9
Received command is invalid
Summary of Contents for HI-3702
Page 1: ...Model HI 3702 Clamp On Induced Current Meter User Manual ...
Page 15: ...Ranges and Specifications 15 HI 3702 Typical Frequency Response ...
Page 16: ...16 Ranges and Specifications This page intentionally left blank ...
Page 22: ...22 Operation This page intentionally left blank ...
Page 24: ...24 Functional Theory of Operation This page intentionally left blank ...
Page 26: ...26 Warranty This page intentionally left blank ...
Page 32: ...32 Series H 491198 36 Battery Charger This page intentionally left blank ...
Page 34: ...34 EC Declaration of Conformity SERIES H 491198 36 BATTERY CHARGER ...


