


150
2.
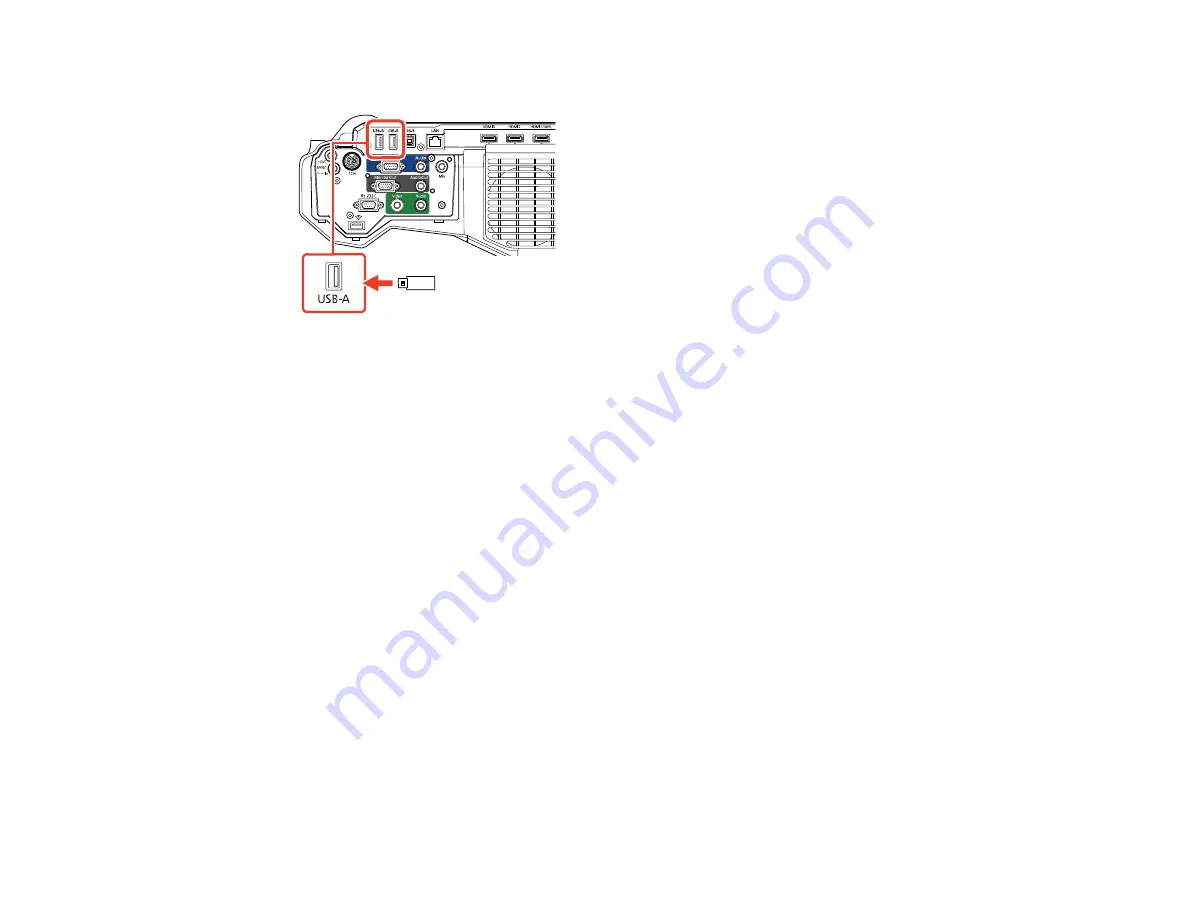
Insert the flash drive into the
USB-A
port.
Note:
Connect the flash drive directly to the projector. Do not use a hub or your settings may not be
saved correctly.
3.
Press and hold the
Esc
button on the control panel or remote control as you connect the power cord
to the projector's power inlet.
4.
When the On/Standby and Status lights are blue, and the Lamp and Temp lights are orange, release
the
Esc
button.
The lights flash to indicate that settings are transferring to the flash drive. When the lights stop
flashing, the On/Standby light turns blue and the projector enters standby mode.
Caution:
Do not unplug the power cord or remove the flash drive while the lights are flashing. This
could damage the projector.
5.
Once the projector enters standby mode, remove the flash drive.
Parent topic:
Copying Menu Settings Between Projectors
Transferring Settings From a USB Flash Drive
After saving projector settings to a USB flash drive, you can transfer them to another projector of the
same model.
Note:
Make sure the USB flash drive contains only a single settings transfer from another projector of
the same model. The settings are contained in a file called
pjconfdata.bin
. If the drive contains other
files, the transfer may not complete correctly.
Summary of Contents for 696Ui
Page 1: ...BrightLink 696Ui User s Guide...
Page 2: ......
Page 29: ...29 Projector Parts Remote Control...
Page 66: ...66 2 Unscrew and remove the cable cover if it is attached screwdriver not included...
Page 233: ...233 2 Slide the air filter cover latch and open the air filter cover...
Page 237: ...237 2 Slide the air filter cover latch and open the air filter cover...
Page 247: ...247 1 Twist off the tip of the pen to remove it...
Page 249: ...249 1 Twist off the tip of the pen to remove it 2 Remove the soft tip...
Page 250: ...250 3 Insert the new tip 4 Twist on the pen tip Parent topic Projector Maintenance...


