1024357-00 / en / 01.2020
Operating instructions
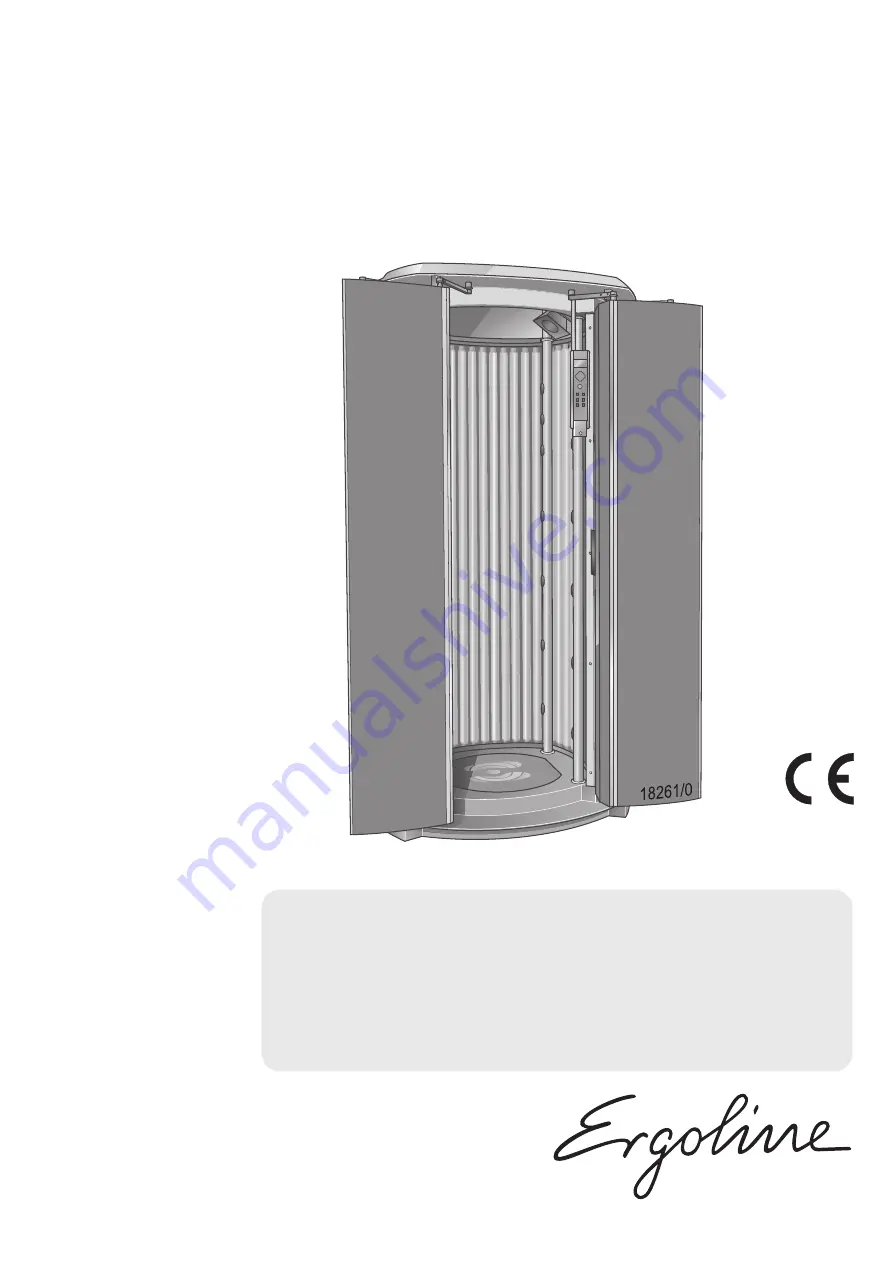
Ergoline Beauty Angel 7200
Translation of the original operating instructions
Page 1: ...1024357 00 en 01 2020 Operating instructions Ergoline Beauty Angel 7200 Translation of the original operating instructions...
Page 2: ...licht de DANGER Failure to observe these instructions can result in serious injury and death can result in damage to the device and the environment Read these instructions carefully before putting th...
Page 3: ...ing 12 1 6 3 Scope of delivery 12 1 6 4 Transport assembly and setup 12 1 6 5 Commissioning 15 1 6 6 Operation and maintenance 15 1 6 7 Decommissioning 16 1 6 8 Storage 16 1 6 9 Disposal 16 1 6 10 Dir...
Page 4: ...4 4 Lamps 41 4 5 Cleaning plan 42 4 6 Maintenance 43 4 7 Maintenance plan 43 4 8 Instructions for replacing the lamps 47 4 8 1 Low pressure lamps 48 4 9 Cleaning or replacing lamps in the doors 49 4...
Page 5: ...operation of the device as well as compliance with the maintenance intervals User A person who uses the device at a commercial location Personnel People who are responsible for the operation cleaning...
Page 6: ...ates the existence of a direct danger to body and life DANGER Type and source of hazard This safety notice warns of dangers to body and life which are caused by electricity WARNING Type and source of...
Page 7: ...ent The usage times given in these operating instructions are valid only for the specified lamp set Any other use shall be considered improper The manufacturer cannot be held liable for damage or inju...
Page 8: ...r persons are permitted in the vicinity of the cabin when using the device ONLY NON UV lamps may be used in this device People under 18 years of age may not use the device 1 4 Beauty system safety inf...
Page 9: ...s the intensity of bright light and these wavelengths during use Always comply with the recommended application times 1 4 3 Vibra Shape Vibration plate Contra indications Risks of damage to health Vib...
Page 10: ...ate may lead to the following side effects Itching in regions of the body being trained Nausea and vertigo Rapid and brief drop in blood pressure Rapid hyperglycaemia in the event of diabetes Diabetic...
Page 11: ...mendations Applications per week PROTECT Light 15 20 min Intensive 15 20 min VITALIZE Light 15 20 min Intensive 15 20 min RENEW Light 15 20 min Intensive 15 20 min Number Number Number Number Number N...
Page 12: ...on chapter operating instructions cleaning and maintenance instructions Please make the instructions and additional information from the manu facturer available to the personnel at their workplace Reg...
Page 13: ...ized personnel Information regarding the disassembly and assembly of the device is availa ble in the separate assembly instructions These assembly instructions are intended solely for use by the manu...
Page 14: ...block the air inflow and outflow to the device or make any unauthorized chang es to the device The manufacturer shall bear no liability for damage or injuries resulting from such actions Observe the v...
Page 15: ...is can for example interfere with the function of night storage heaters If faults occur due to the operation of the devices then the operator is re sponsible for the installation of an audio frequency...
Page 16: ...s and batteries Your local sales agency will be happy to assist you with the disposal of lamps and batteries Inform your local agency of the number of lamps and batteries by tele phone or in writing T...
Page 17: ...t of the studio oper ator towards the organisation responsible for issuing the commercial perfor mance rights For the public use of MP3 music files the same legislation applies as for all other music...
Page 18: ...difications The device has been constructed in accordance with the current state of the art and the applicable safety regulations The illustrations and specifications in these operation instructions a...
Page 19: ...re attached to the device The signs shown below are examples Ensure that the warning signs are always clearly recognisable and legible Any missing warn ing signs or stickers must be replaced 1 3 2 5 7...
Page 20: ...the right side section This sticker also includes the language form 1512793 see accessories Technical Documentation 3 Sticker EMERGENCY OFF 1018687 18465 1 This sticker also includes the language form...
Page 21: ...ting instructions 21 68 5 No export USA Canada sticker 84829 6 Lamp set sticker 19633 0 XXXXXXXXXXXXXXXXXXX XXXXXXXXXXXXXXXXXXX XXXXXXXXXXXXXXXXX XXXXXXX XXXXXXXXXXXXXXXXX XXX XXX XXXXXXX The sticker...
Page 22: ...Safety instructions and warnings 22 68 7 Sticker component control EU 1510515 The sticker is located on the cover of the control box...
Page 23: ...from delivery or from acceptance if an ac ceptance process is required This does not affect the rights of the customer under the existing warranty with regard to any claims that the customer might ha...
Page 24: ...entation 2 1 1 Optional 3D sound AROMA SYSTEM Exhaust air 2 2 Equipment Device equipment varies depending on the model In this description all standard and optional components functions are taken into...
Page 25: ...scription 1 Base plate 2 Foot mat silicone and vibration plate Vibra Shape 3 Low pressure lamps 1 Operating panel 2 Loudspeakers 3 Fans door cooling 4 Door handles outside inside 5 Body cooling air no...
Page 26: ...Description 26 68 2 4 Accessories optional 19630 0 1 AUX port 2 Subwoofer 3 Loudspeakers 4 AROMA SYSTEM...
Page 27: ...as a result of greater moisture and oxygen levels Natural signs of ageing are mitigated the skin s collagen and elastin network strengthened and revitalized A complete treatment consists of at least...
Page 28: ...s the absorption and effect of cosmetic products 3 Refines the pores and improves the complexion 4 Provides the skin with a more lus trous and healthy appearance 5 Increases the resistance to environ...
Page 29: ...wellness The musculature is trained connective tissues become firmer and the complexion improves Regardless of whether young or old With the four customized Whole Body Vibration programmes you rapidly...
Page 30: ...for the lamp set specified in the operating instructions Please observe the safety instructions and warnings in chapter 1 Procedure to be followed before during and after an application No other peop...
Page 31: ...and up straight and in the center of the device during the application Bend knees slightly Use overhead straps for support and to increase muscle tension DANGER Risk of crushing Parts of your body cou...
Page 32: ...pplication time 7 minute vibration programme 1 minute cooling down phase 18470 1 Place your feet on the footmarks 1 Do not completely lock your knees 2 Select Programme 1 as the first application in o...
Page 33: ...STOP button 2 OK button not always visible 3 Audio system pictogram optional 4 Volume pictogram 5 Voice Guide pictogram optional 6 Vibra Shape pictogram optional 7 Body cooling pictogram 8 Left navig...
Page 34: ...ault mode after starting up the beauty device After selecting a function the corresponding indicator flashes for a short time During this time settings may be changed Operation Demonstration mode pres...
Page 35: ...lection Press the plus button Studio channel selection Press the plus button Select own music MP3 player AUX Press the plus button Switch off the audio system Press the minus button The buttons can be...
Page 36: ...control element In this state the dis play indicates that the EMERGENCY OFF button has been pressed The application time is ended The Voice Guide verbally navigates the user through the EMERGENCY OFF...
Page 37: ...24357 00 Operating instructions 37 68 3 6 Start Close the door Press the START STOP button Upon starting the following functions are switched on Beauty Angel lamps Body cooling Audio system optional V...
Page 38: ...he user can connect her his own private MP3 player or smartphone to the device 1 Mat No 1001855 provided for use by the studio operator 1 5 m 2 x 3 5 mm stereo jack plug 2 MP3 player or smartphone con...
Page 39: ...Germany and must be undertaken by appropriately trained specialists If work is to be performed on the devices they must be deenergized That means that all live cables must be switched off Switching o...
Page 40: ...9 4 3 Cleaning DANGER Infections can be spread by skin contact All objects device parts which can come into contact with the user during the application must be disinfected after every application Han...
Page 41: ...t lamps and results in the long term in unserviceable panels Remove fingerprints and other soiling carefully Plastic surfaces For cleaning the remaining painted and unpainted plastic surfaces it is be...
Page 42: ...Handles X Clean and disinfect 40 6 Door handles outside inside X Clean and disinfect 40 Protective goggles X Clean and disinfect 40 AUX cable X Clean and disinfect 40 9 Surfaces X Clean 41 5 Acrylic...
Page 43: ...anager order no 1019970 We point out that the device must be subjected to regular inspections by our customer service or an approved specialized company every 12 months from commissioning to maintain...
Page 44: ...ting hours 1 Low pressure lamps rear door X Replace 49 2 Low pressure lamps side walls X Replace 54 3 Low pressure lamps front doors X Replace 49 1 Acrylic panels rear wall X Inspect and replace as ne...
Page 45: ...ating hours 800 operating hours 1000 operating hours 3000 operating hours 4000 operating hours 2 Acrylic panels side walls X Replace 54 3 Acrylic panels front doors X Replace 49 4 Filter X Replace 56...
Page 46: ...authorized trained and qualified by the manufac turer The correctly carried out maintenance work must be entered and confirmed in checklist 1019858 The maintenance work must be carried out at the fol...
Page 47: ...set of lamps after the specified operating time Call the customer service department to order replacement lamps or with any questions see page 3 Turn 90 and carefully remove from the socket NOTICE Sma...
Page 48: ...tely Always replace the entire set of lamps after the specified operating time Turn 90 and carefully remove from the socket Low pressure lamps possess a reflector which directs the light outwards The...
Page 49: ...e panels is burned in by the hot lamps and results in the long term in unserviceable panels Remove fingerprints and other soiling carefully NOTE There is a risk of damage being caused to the acrylic g...
Page 50: ...Cleaning and maintenance 50 68 Unscrew the screws of the strip Fold down the strip Remove the acrylic glass panel and carefully lay it aside Changing the lamps see page 47...
Page 51: ...instructions 51 68 Remove the magnetic cover Pull the lamps out downwards in order to remove them The assembly is the same process in reverse order During assembling observe Insert the panel carefull...
Page 52: ...68 Close the rear wall against slight resistance Unscrew the screw to lock the door Front doors Unscrew the screws 1 2 Fold the strip away Remove the acrylic glass panel and carefully lay it aside Cha...
Page 53: ...357 00 Operating instructions 53 68 Remove the lamp cover 1 2 Pull the lamps out downwards in order to remove them The assembly is the same process in reverse order During assembling observe Insert th...
Page 54: ...eable panels Remove fingerprints and other soiling carefully NOTE There is a risk of damage being caused to the acrylic glass panels and the operating unit and air ducts Do not knock the acrylic glass...
Page 55: ...ce 01 2020 1024357 00 Operating instructions 55 68 1 2 Remove the acrylic glass panel and carefully lay it aside Changing the lamps see page 47 Remove the lamp cover 1 2 Pull the lamps out downwards i...
Page 56: ...r During assembling observe Insert the panel carefully into the rear guide 4 11 Cleaning the filters DANGER Sharp fan blades Risk of cuts from the edges when fans are exposed The covers on the sides a...
Page 57: ...e degree of soiling Moist cleaning Use water and detergent or put in a dish washer WARNING The device may be damaged by moisture The cleaned filters must be dry before they are replaced Refit the clea...
Page 58: ...uum cleaner depending on the degree of soiling Moist cleaning Water and detergent Do not clean in the dish washer WARNING The device may be damaged by moisture The cleaned filters must be dry before t...
Page 59: ...intenance 01 2020 1024357 00 Operating instructions 59 68 Remove the VITAL scent can Write the current date on the rear of the new scent can Remove the lid from the canister Insert the new scent can R...
Page 60: ...consumption rating 6000 W Rated frequency 50 Hz Rated voltage 400 415 V 3N or 230 240 V 3 Rated fuses 3 x 16 A inactive 3 x 20 A inactive Connecting line H05VV F 5G 2 5 mm H05VV F 4G 4 mm Noise level...
Page 61: ...Operating instructions 61 68 5 2 Dimensions BK 2130 mm B4 580 mm BK1 345 mm B8 1440 mm BK2 345 mm T 1442 mm TK 2150 mm T1 1469 mm TK1 631 mm T3 770 mm TK2 150 mm H 2308 mm B 1242 mm H1 10 mm B6 770 m...
Page 62: ...amp set Number Description Length Power Control Order no a 8 Low pressure lamps Beauty Angel Beauty Light 180W 2 00 m 180 W 180 W 1011136 b 8 Low pressure lamps Beauty Angel Beauty Light 180W 2 00 m 1...
Page 63: ...er Description Order no 1 2 Acrylic panels side panels 1510487 2 2 Acrylic panels doors 1510485 5 1 Acrylic panels door inside 1510486 1 Protective goggles 84592 1 AUX cable 1001855 1 Allen key 83828...
Page 64: ...ndix 6 1 JK timer controls The following coin modules time control systems can be utilized with the Er goline Beauty Angel 7200 series devices 04144 0 MCS III plus Order no 500000456 02508 1 Studiopil...
Page 65: ...ic 17 38 C Care 40 Cellulite 29 Changing the AROMA canister 58 Cleaning 39 40 Filter 56 Filter mats 57 Lamps 41 Cleaning intervals 42 Cleaning or replacing lamps Doors 49 Side walls 54 Cleaning overvi...
Page 66: ...Filter mats cleaning 57 Filter cleaning 56 Foreseeable misuse 8 Functions 35 I Illnesses 30 Intended use 7 Itching 30 L Lamp sets 62 Lamps 7 Control 62 Power levels 62 Rated power 62 Light sensitivit...
Page 67: ...48 Replacing the lamps 47 Restrictions 9 Risk of injury 30 S Safety 13 Safety equipment 23 Safety instructions Device specific safety instructions 8 General safety instructions 12 Scope of delivery 12...
Page 68: ...Index 68 68 V Ventilation 13 Vibra Shape Safety information 9 VibraShape Description 29 Vibration plate 9 29 Vibration programmes Description 29 W Warranty 23 Whole Body Vibration 29...