


145
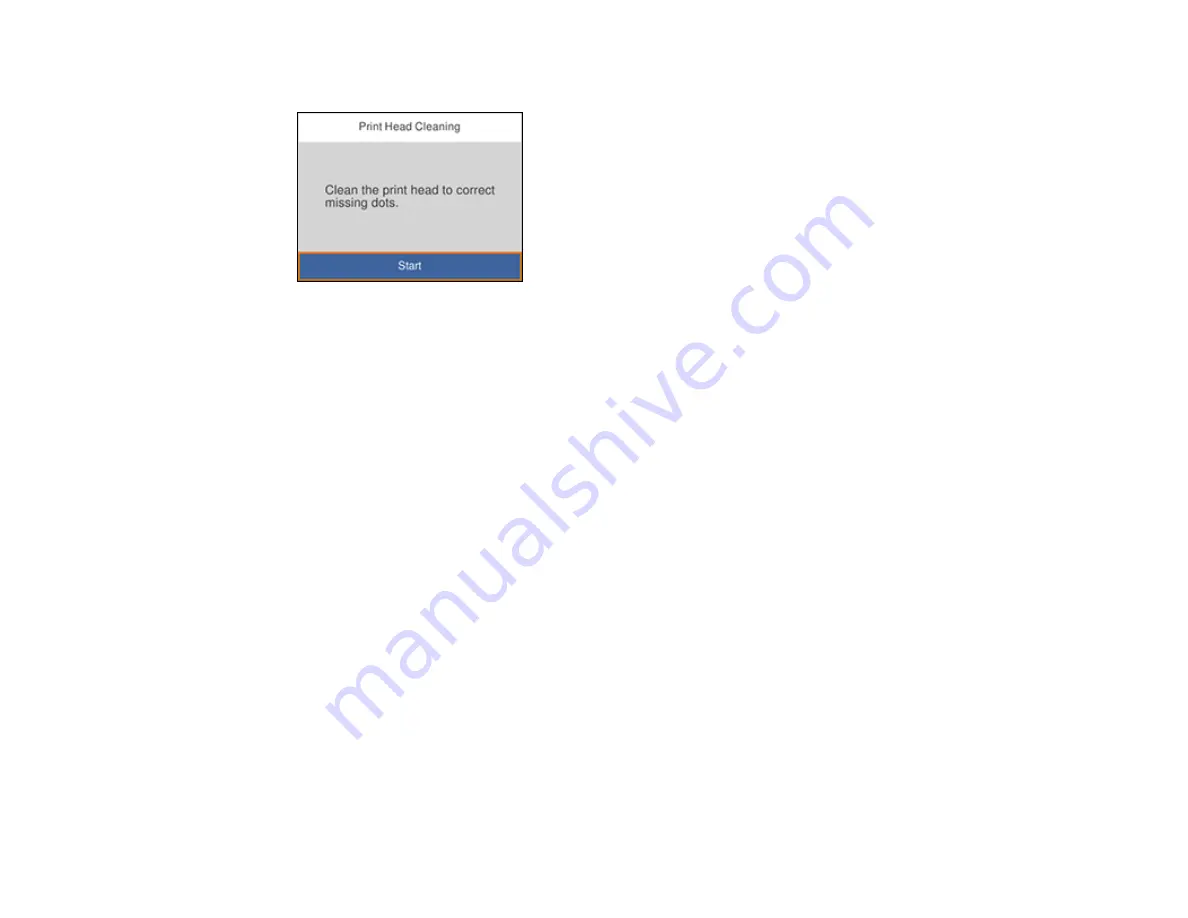
You see a screen like this:
6.
Select
Start
to clean the print head.
When the cleaning cycle is finished, you see a message on the screen.
Caution:
Never turn off the product or open the front cover during a cleaning cycle or you may not
be able to print.
7.
Select
Check
.
8.
Select
to print a nozzle check pattern and confirm that the print head is clean.
If you don’t see any improvement after cleaning the print head up to 3 times, wait at least 6 hours without
printing or longer if printing. Then try cleaning the print head again. If quality still does not improve, one
of the ink cartridges may be old or damaged and needs to be replaced.
Parent topic:
Related tasks
Loading Paper in Cassette
Checking the Nozzles Using the Product Control Panel
Removing and Installing Ink Cartridges
Cleaning the Print Head Using a Computer Utility
You can clean the print head using a utility on your Windows or Mac computer.
1.
Make sure there are no errors on the LCD screen and the CD/DVD tray is not inserted for printing.
2.
Load a few sheets of plain paper in the paper cassette.
Summary of Contents for XP-15000 Series
Page 1: ...XP 15000 User s Guide ...
Page 2: ......
Page 10: ......
Page 43: ...43 3 Pull on the front cover to slide out the paper cassette 4 Slide the edge guides outward ...
Page 76: ...76 You see the maintenance options 4 Click the Extended Settings button ...
Page 142: ...142 You see a window like this 5 Click Print ...


