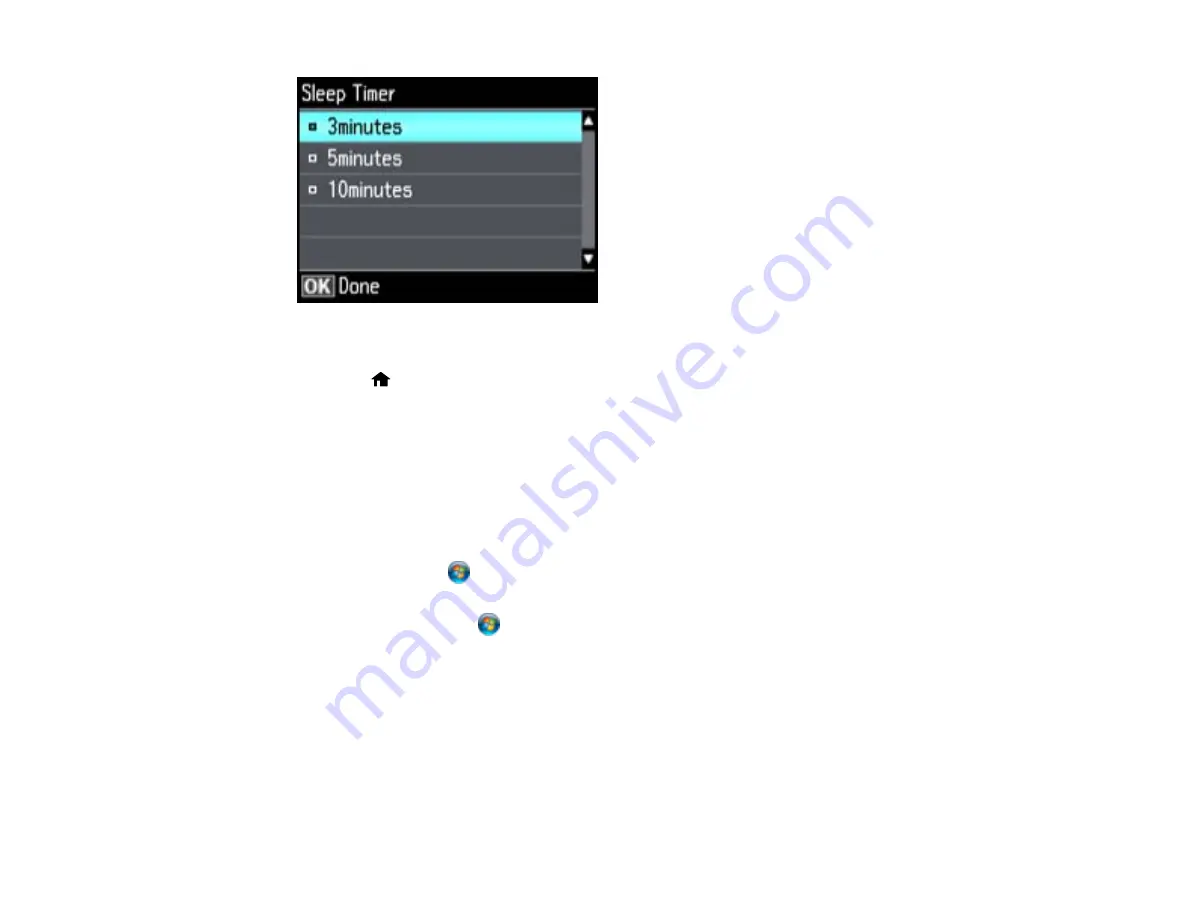
4.
Select the time period you want.
5.
Press the
home button to exit.
Parent topic:
Changing the Sleep Timer Setting - Windows
You can use the printer software to change the time period before the printer enters sleep mode.
1.
Do one of the following:
•
Windows 8
: Open the Charms bar and select
Settings
. Select
Control Panel
and then select
View Devices and Printers
. Right-click your product name and select
Printing Preferences
.
•
Windows 7
: Click
and select
Devices and Printers
. Right-click your product name and select
Printing Preferences
.
•
Windows Vista
: Click
and select
Control Panel
. Click
Printer
under
Hardware and Sound
,
right-click your product name, and select
Printing Preferences
.
•
Windows XP
: Click
Start
and select
Printers and Faxes
. (Or open the
Control Panel
, select
Printers and Other Hardware
if necessary, and select
Printers and Faxes
.) Right-click your
product name and select
Printing Preferences
.
2.
Click the
Maintenance
tab.
3.
Click the
Printer and Option Information
button
You see the Printer and Option Information screen:
22
Summary of Contents for WorkForce WF-3520
Page 1: ...WF 3520 WF 3530 User s Guide ...
Page 2: ......
Page 13: ...WF 3520 WF 3530 User s Guide Welcome to the WF 3520 WF 3530 User s Guide 13 ...
Page 33: ...4 Slide the edge guide to your paper size 33 ...
Page 37: ...2 Pull out the paper cassette 3 Slide the edge guides outward 37 ...
Page 41: ...1 Close the paper stopper and output tray if necessary 2 Pull out the paper cassette 41 ...
Page 65: ...Parent topic Copying 65 ...
Page 103: ...Parent topic Starting a Scan Related topics Selecting Epson Scan Settings 103 ...
Page 122: ...122 ...
Page 149: ...1 Telephone wall jack 2 DSL filter 3 DSL modem ISDN connection one phone number 149 ...
Page 150: ...1 ISDN wall jack 2 Terminal adapter or ISDN router ISDN connection two phone numbers 150 ...
Page 151: ...1 ISDN wall jack 2 Terminal adapter or ISDN router 151 ...
Page 168: ...3 Select Fax Settings for Printer Select your product if prompted You see this window 168 ...
Page 180: ...4 Select Speed Dial Group Dial List You see this window 180 ...
Page 276: ...3 Carefully remove any jammed paper 4 Remove any jammed paper from the duplexer 276 ...
Page 277: ...5 Open the duplexer 277 ...
Page 278: ...6 Carefully remove any jammed paper stuck inside 7 Reattach the duplexer 278 ...
Page 281: ...6 Carefully remove any jammed pages in the direction shown 281 ...


