


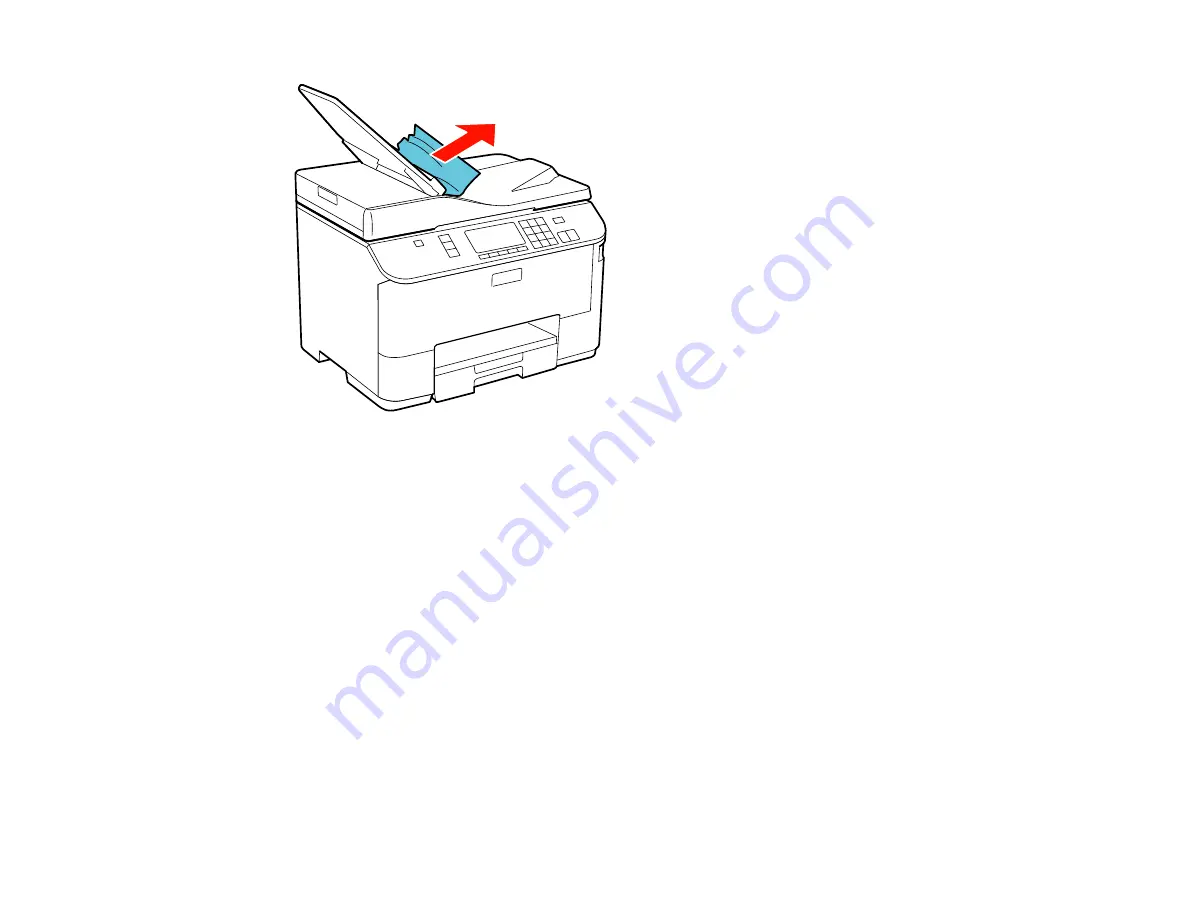
9. Lower the ADF input tray and reload your originals.
Caution:
Make sure you do not load the ADF beyond its capacity for your paper size. Also make sure
the originals you load are not bent, folded, or curled and do not have tape, staples, or other materials
that could obstruct the feeder.
10. Follow the prompts on the LCD screen to clear any error messages.
Parent topic:
Related tasks
Placing Originals in the Automatic Document Feeder
Paper Ejection Problems
If you have problems with paper ejecting properly, try these solutions:
• If paper does not eject fully, you may have set the wrong paper size. Cancel printing to eject the paper.
Select the correct paper size when you reprint.
• If paper is wrinkled when it ejects, it may be damp or too thin. Load new paper and be sure to select
the correct paper type setting when you reprint.
279
Summary of Contents for WorkForce Pro WP-4590
Page 1: ...WorkForce Pro WP 4590 User s Guide ...
Page 2: ......
Page 13: ...WorkForce Pro WP 4590 User s Guide Welcome to the WorkForce Pro WP 4590 User s Guide 13 ...
Page 25: ...4 Click Add a network wireless or Bluetooth printer You see a window like this 25 ...
Page 30: ...8 Click Next You see this window 30 ...
Page 36: ...4 Load a stack of paper printable side down in the cassette as shown 36 ...
Page 62: ...62 ...
Page 68: ...Parent topic Placing Originals on the Product 68 ...
Page 105: ...105 ...
Page 152: ...152 ...
Page 205: ...5 Select Fax Settings for Printer Select your product if prompted You see this window 205 ...
Page 206: ...6 Select Speed Dial Group Dial List You see this window 206 ...
Page 246: ...246 ...
Page 251: ...251 ...
Page 278: ...6 Lower the document cover 7 Raise the ADF input tray 8 Carefully remove the jammed pages 278 ...
Page 328: ...Parent topic Technical Specifications Related references PCL5 Mode Fonts PCL6 Mode Fonts 328 ...


