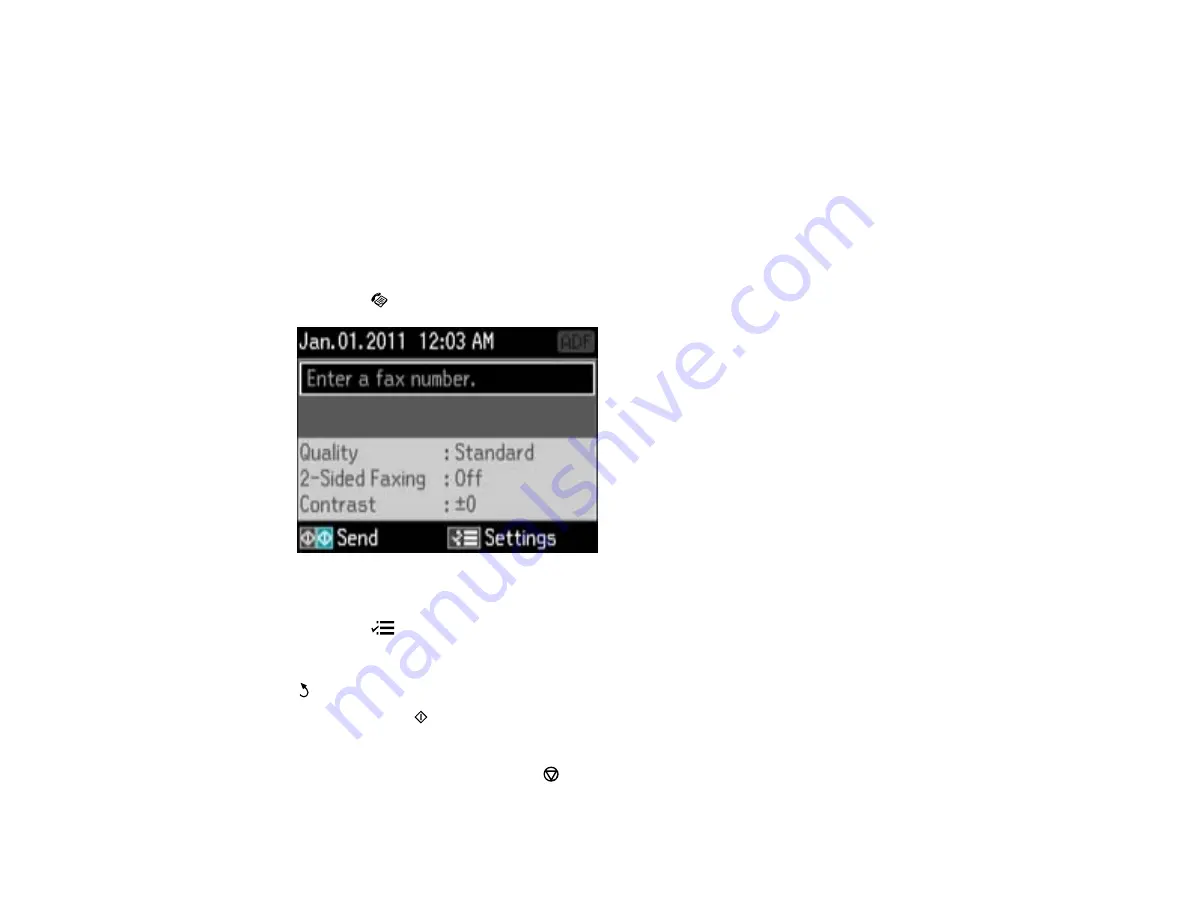
Note:
If the number is busy or there is a communication problem, your product displays a redialing
message and will redial the number in a few minutes.
Parent topic:
Sending Faxes from the Product Control Panel
Sending a Fax at a Specified Time
You can send a fax at a time of your choice.
Note:
You can only send faxes in black-and-white when you use this option.
1.
Place your original on the product for faxing.
2.
Press the
Fax
button.
3.
Enter a phone number or select a number from a speed or group dial list.
4.
Press the
Menu
button, press the arrow buttons to select
Send Fax Later
, and press the
OK
button.
5.
Select
On
, use the number pad to enter your desired time, press the
OK
button, then press the
Back
button.
6.
Press the
B&W
Start
button. If prompted, select where you placed your document (Automatic
Document Feeder or scanner glass).
Note:
To cancel faxing, press the
Stop/Reset
button.
186
Summary of Contents for WorkForce Pro WP-4520
Page 1: ...WorkForce Pro WP 4520 WP 4533 User s Guide ...
Page 2: ......
Page 12: ......
Page 28: ...4 Load a stack of paper printable side down in the cassette as shown 28 ...
Page 50: ...Parent topic Placing Originals on the Product 50 ...
Page 123: ...123 ...
Page 176: ...5 Select Fax Settings for Printer You see this window 176 ...
Page 201: ...3 Open the front cover 4 Push the ink cartridge in then pull it out of the slot 201 ...
Page 214: ...You see one of these windows 214 ...
Page 219: ...You see one of these windows 219 ...
Page 246: ...6 Lower the document cover 7 Raise the ADF input tray 8 Carefully remove the jammed pages 246 ...


