


284
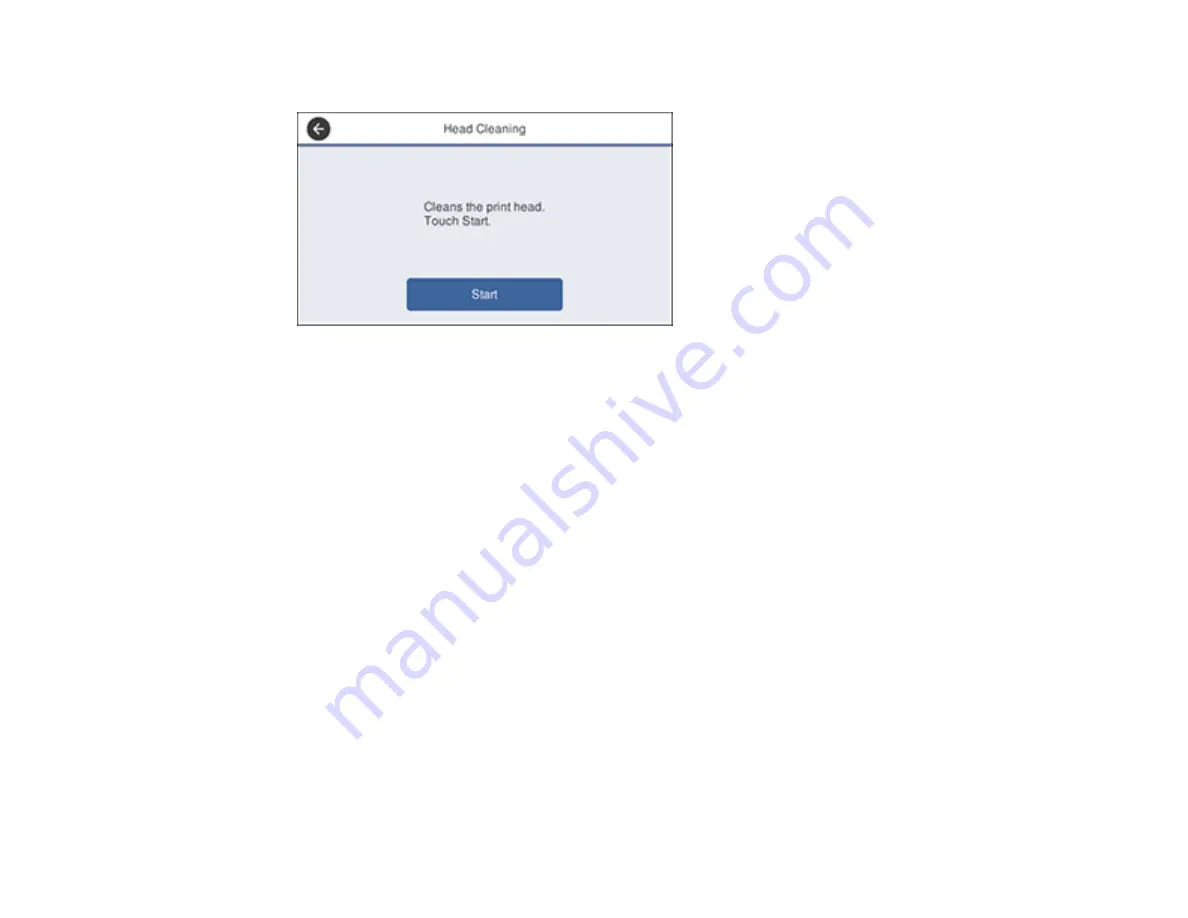
You see a screen like this:
6.
Select
Start
to clean the print head.
When the cleaning cycle is finished, you see a message on the screen.
Caution:
Never turn off the product or open the front cover during a cleaning cycle or you may not
be able to print.
7.
Select
Yes
.
8.
Select
Start
to confirm that the print head is clean.
If you don’t see any improvement after cleaning the print head up to 3 times, turn the product off and wait
at least 12 hours. Then check the print head nozzles and try cleaning the print head again, if necessary.
If quality still does not improve, contact Epson.
Parent topic:
Related tasks
Cleaning the Print Head Using a Computer Utility
You can clean the print head using a utility on your Windows or Mac computer.
1.
Make sure there are no errors on the LCD screen.
2.
Load a few sheets of plain paper in the product.
Summary of Contents for WorkForce Pro WF-C4810 Series
Page 1: ...WF C4810 Series User s Guide ...
Page 2: ......
Page 14: ......
Page 34: ...34 Product Parts Inside 1 Document cover 2 Scanner glass 3 Control panel ...
Page 49: ...49 Related topics Wi Fi or Wired Networking ...
Page 99: ...99 1 Open the ADF document support 2 Slide the ADF edge guide outward ...
Page 173: ...173 You see an Epson Scan 2 window like this ...
Page 175: ...175 You see an Epson Scan 2 window like this ...
Page 189: ...189 You see a screen like this 2 Click the Save Settings tab ...
Page 194: ...194 You see this window ...
Page 248: ...248 Parent topic Printing Fax Reports ...
Page 291: ...291 Related tasks Loading Paper in the Cassette ...
Page 293: ...293 5 Open the document cover ...
Page 295: ...295 8 Open the ADF cover ...
Page 322: ...322 3 Open the ADF cover 4 Carefully remove any jammed pages ...


