


4.
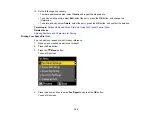
If you want to select a group dial entry, press the
Menu
button.
5.
Select the speed dial or group dial entry you want to fax, then press the
OK
button.
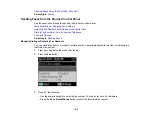
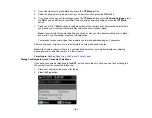
6.
If you need to change any fax settings, press the
Menu
button, select
Fax Send Settings
, press
the
OK
button, and select your settings. When you finish selecting settings, press the
Menu
button.
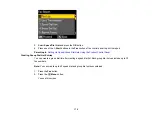
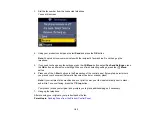
7.
Press one of the
Start
buttons in the
Fax
section of the control panel. If prompted, select where
you placed your document (Automatic Document Feeder or scanner glass).
Note:
If your recipient's fax machine does not print in color, your fax is automatically sent in black-
and-white. To cancel faxing, press the
Stop
button.
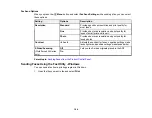
Your product scans your original and prompts you to place additional pages, if necessary.
After scanning your originals, your product dials the number and sends the fax.
Note:
If the number is busy or there is a communication problem, your product displays a redialing
message and will redial the number in a few minutes.
Parent topic:
Sending Faxes from the Product Control Panel
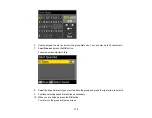
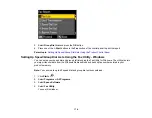
Dialing Fax Numbers from a Connected Telephone
If you have connected a telephone to the
EXT.
port on your product, you can send a fax by dialing the
fax number from the connected telephone.
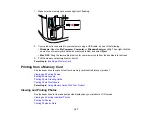
1.
Place your original on the product for faxing.
2.
Press the
Fax
button.
182
Summary of Contents for WorkForce 545
Page 1: ...WorkForce 545 645 Series User s Guide ...
Page 2: ......
Page 13: ...WorkForce 545 645 Series User s Guide Welcome to the WorkForce 545 645 Series User s Guide 13 ...
Page 29: ...4 Slide the edge guide shown below to your paper size 29 ...
Page 34: ...2 Pull out the paper cassette 3 Slide the edge guides outward 34 ...
Page 39: ...2 Pull out the paper cassette 3 Slide the edge guides outward 39 ...
Page 52: ...Parent topic Placing Originals on the Product Related topics Copying Scanning 52 ...
Page 116: ...3 Adjust the scan area as necessary 116 ...
Page 123: ...123 ...
Page 131: ...3 Adjust the scan area as necessary 131 ...
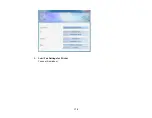
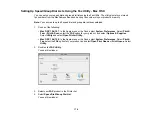
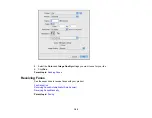
Page 164: ...You see this window 5 Select Fax Settings for Printer You see this window 164 ...
Page 175: ...5 Select Fax Settings for Printer You see this window 175 ...
Page 249: ...249 ...
Page 254: ...254 ...
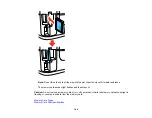
Page 290: ...6 Lower the document cover 7 Raise the ADF input tray 8 Carefully remove the jammed paper 290 ...