


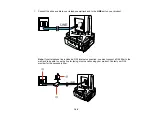


3.
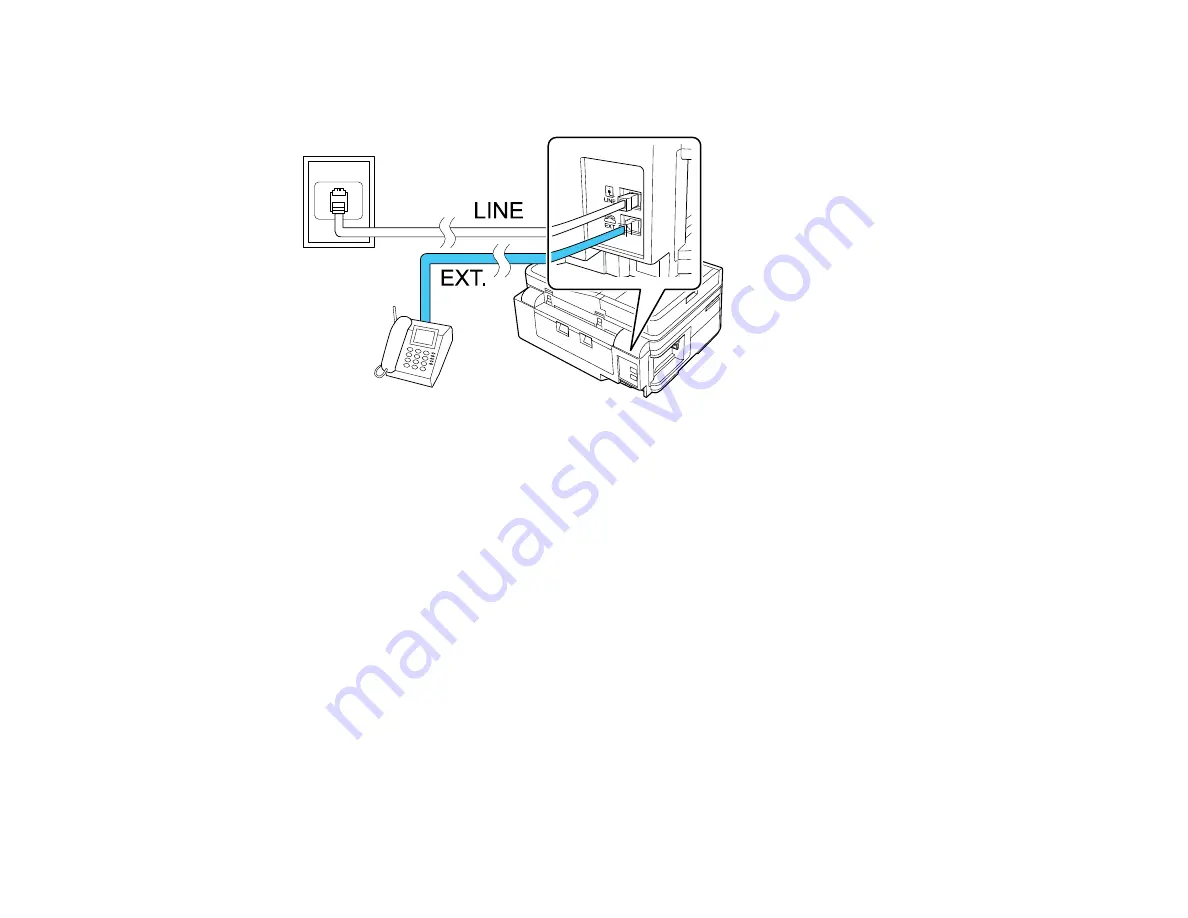
Connect the second phone cable to your telephone or answering machine and to the
EXT
port on
your product.
Note:
If you connect an answering machine and
Auto Answer
is turned on, make sure the product's
Rings to Answer
setting is set higher than the number of rings your answering machine is set to
answer a call.
Any phone or answering machine must be connected to the
EXT
port for your product to detect an
incoming fax call when the phone is picked up. Epson cannot guarantee compatibility with VoIP,
cable phone systems, or fiberoptic digital services such as FIOS.
Parent topic:
Setting Up Fax Features
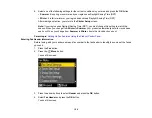
Before faxing with your product, set up your fax header and select the fax features you want to use.
Note:
If you leave your product unplugged for a long period of time, you may need to reset the date and
time settings for faxes.
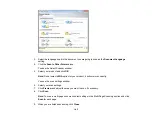
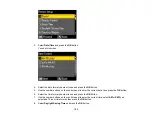
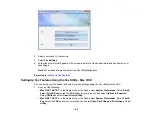
Setting Up Fax Features Using the Product Control Panel
Setting Up Fax Features Using the Fax Utility - Windows
Setting Up Fax Features Using the Fax Utility - Mac OS X
150
Summary of Contents for WorkForce 545
Page 1: ...WorkForce 545 645 Series User s Guide ...
Page 2: ......
Page 13: ...WorkForce 545 645 Series User s Guide Welcome to the WorkForce 545 645 Series User s Guide 13 ...
Page 29: ...4 Slide the edge guide shown below to your paper size 29 ...
Page 34: ...2 Pull out the paper cassette 3 Slide the edge guides outward 34 ...
Page 39: ...2 Pull out the paper cassette 3 Slide the edge guides outward 39 ...
Page 52: ...Parent topic Placing Originals on the Product Related topics Copying Scanning 52 ...
Page 116: ...3 Adjust the scan area as necessary 116 ...
Page 123: ...123 ...
Page 131: ...3 Adjust the scan area as necessary 131 ...
Page 164: ...You see this window 5 Select Fax Settings for Printer You see this window 164 ...
Page 175: ...5 Select Fax Settings for Printer You see this window 175 ...
Page 249: ...249 ...
Page 254: ...254 ...
Page 290: ...6 Lower the document cover 7 Raise the ADF input tray 8 Carefully remove the jammed paper 290 ...