327
Warning:
If ink gets on your skin, wash it thoroughly with soap and water. If ink gets into your eyes,
flush them immediately with water. If ink gets into your mouth, spit it out and see a doctor right away.
Keep the maintenance box out of the reach of children and do not drink the ink.
5.
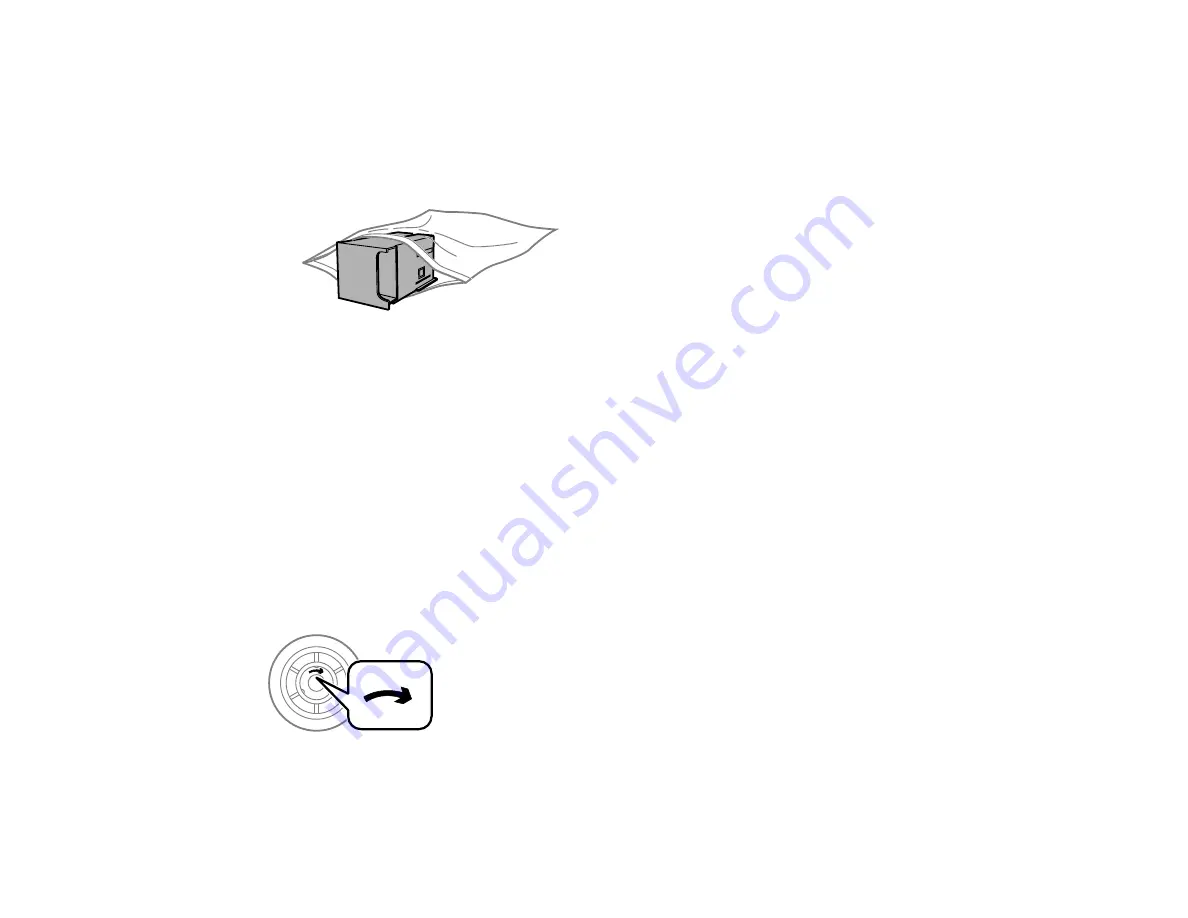
Place the used maintenance box in the plastic bag that came with the new maintenance box. Seal
the bag and dispose of it carefully.
6.
Insert the new maintenance box into the holder and push it all the way in.
7.
Close the rear cover 1 (D1).
Parent topic:
Replacing Ink Supply Units (Ink Packs), Maintenance Boxes, and Cassette Rollers
Related concepts
Purchase Epson Ink Packs and Maintenance Boxes
Replacing the Rollers for Paper Cassette 1
When the rollers in paper cassette 1 need to be replaced, you see a message on the LCD screen. There
are three rollers for paper cassette 1, two on the back of the printer and one on the cassette.
Note:
Check that the arrows on the rollers point clockwise before installing them in paper cassette 1.
There are different rollers for paper cassette 1 and the other paper cassettes.
1.
Turn off the product.
2.
Unplug the power cord.
Summary of Contents for WF-C869R
Page 1: ...WF C869R User s Guide ...
Page 2: ......
Page 20: ...20 8 Attach the front cover to the stands 9 Remove the output tray from the product ...
Page 25: ...25 5 Remove the output tray 6 Remove paper cassette 2 from the product ...
Page 56: ...56 8 Optional cabinet 1 Rear paper feed edge guides 2 Paper support and extension ...
Page 74: ...74 Parent topic Product Basics Related topics Wi Fi or Wired Networking ...
Page 223: ...223 You see an Epson Scan 2 window like this ...
Page 225: ...225 You see an Epson Scan 2 window like this ...
Page 230: ...230 You see this window ...
Page 246: ...246 DSL connection 1 Telephone wall jack 2 DSL filter 3 DSL modem ...
Page 247: ...247 ISDN connection 1 ISDN wall jack 2 Terminal adapter or ISDN router ...
Page 329: ...329 6 Pull out rear cover 2 D2 7 Remove the roller cover inside the printer ...
Page 334: ...334 5 Open the rear cover E that matches with the paper cassette you removed ...
Page 343: ...343 You see a window like this 4 Click Print ...
Page 354: ...354 Parent topic Adjusting Print Quality Related topics Loading Paper ...
Page 388: ...388 3 Carefully remove any jammed paper 4 Pull out rear cover 2 D2 ...
Page 390: ...390 2 Open rear cover E on the optional paper cassette unit with the jammed paper ...
Page 393: ...393 4 Carefully remove any jammed pages ...
Page 394: ...394 5 Close the ADF cover then raise the document cover ...
Page 395: ...395 6 Carefully remove any jammed pages 7 Lower the document cover ...


