


❏
Paper Type: Plain paper 1, Plain paper 2, Letterhead, Recycled, Color, Preprinted, High Quality Plain Paper,
Thick paper 1, Thick paper 2, Thick paper 3 or Thick paper 4
❏
Quality:
Standard
or a higher quality
❏
Print Color:
Color
❏
Applications: Microsoft® Office 2007 or later
❏
Text Size: 96 pts or smaller
1.
On the printer driver's
More Options
tab, click
Image Options
in the
Color Correction
setting.
2.
Select an option from the
Color Universal Print
setting.
3.
Enhancement Options
to make further settings.
4.
Set the other items on the
Main
,
Finishing
or
More Options
tabs as necessary, and then click
OK
.
5.
Click
.
Note:
❏
Certain characters may be altered by patterns, such as "+" appearing as "±".
❏
Application-specific patterns and underlines may alter content printed using these settings.
❏
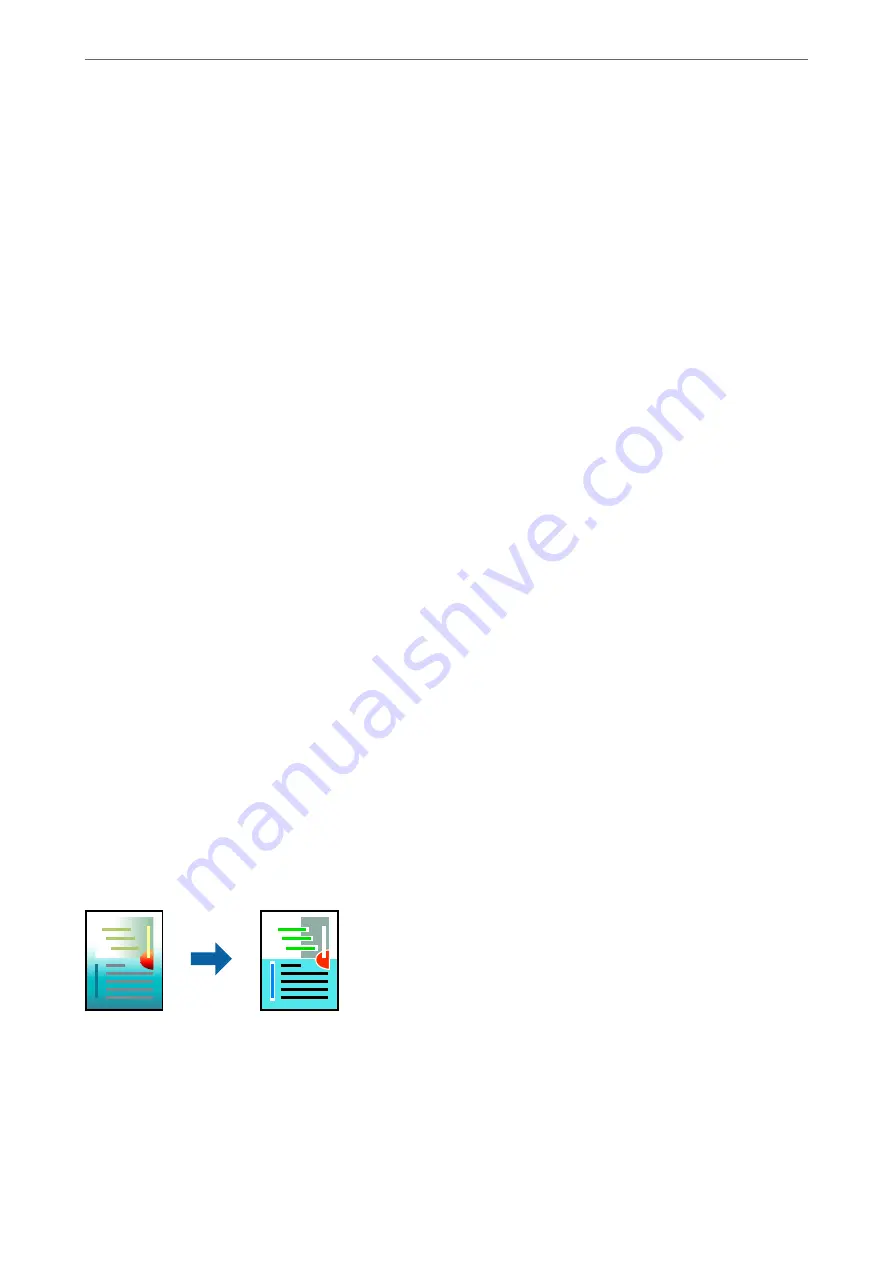
Print quality may decrease in photos and other images when using Color Universal Print settings.
❏
Printing is slower when using Color Universal Print settings.
Related Information
&
&
“Printing Using Easy Settings” on page 48
Adjusting the Print Color
You can adjust the colors used in the print job. These adjustments are not applied to the original data.
PhotoEnhance
produces sharper images and more vivid colors by automatically adjusting the contrast, saturation,
and brightness of the original image data.
Note:
PhotoEnhance
adjusts the color by analyzing the location of the subject. Therefore, if you have changed the location of the
subject by reducing, enlarging, cropping, or rotating the image, the color may change unexpectedly. If the image is out of
focus, the tone may be unnatural. If the color is changed or becomes unnatural, print in a mode other than
PhotoEnhance
.
>
>
Printing from a Computer - Windows
72


