


187
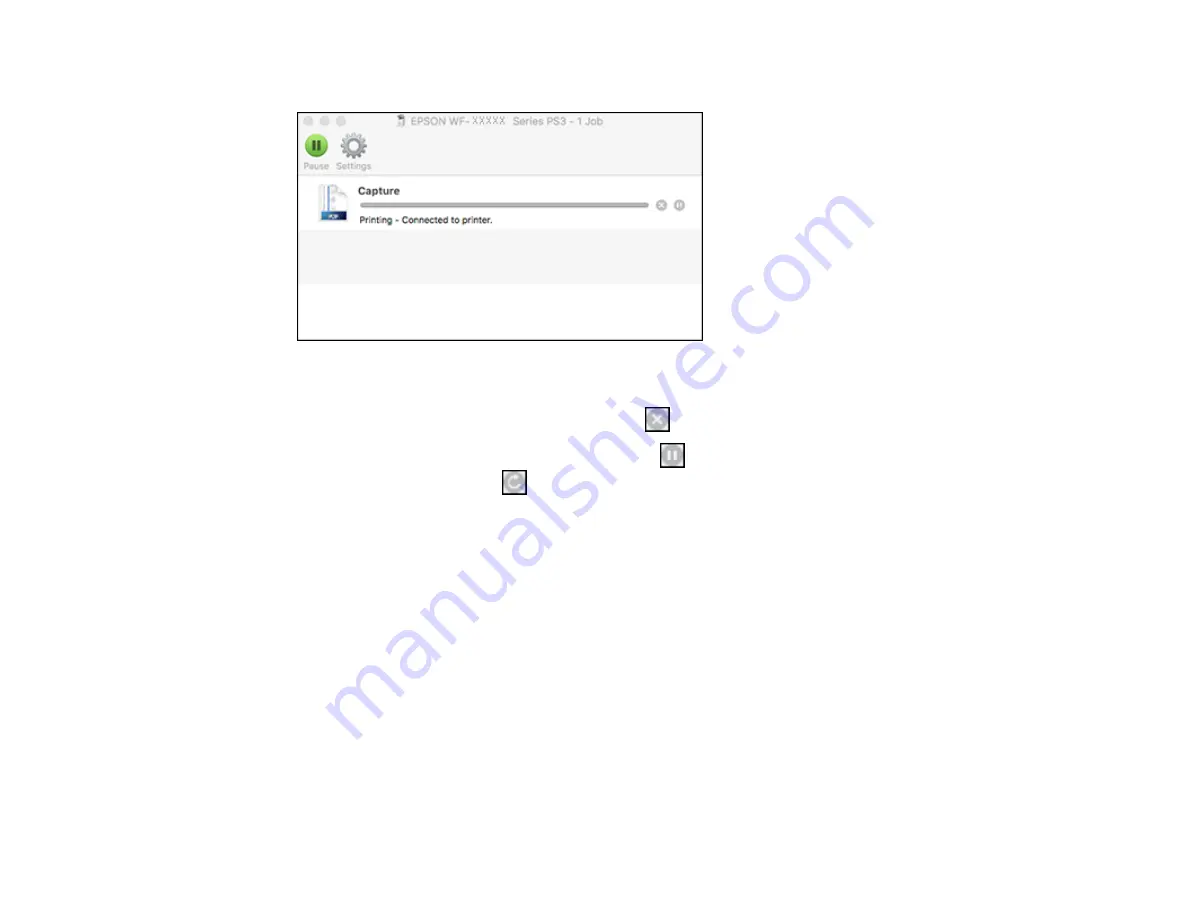
You see the print status window:
2.
Select the following options as necessary for your Mac OS version:
• To cancel printing, click the print job and click
or
Delete
.
• To pause a print job, click the print job and click
or
Hold
. To resume a print job, click the
paused print job and click
or
Resume
.
• To pause printing for all queued print jobs, click
Pause
or
Pause Printer
.
• To display other printer information, click
Settings
or
Supply Levels
.
Parent topic:
Printing Your Document or Photo - PostScript Printer Software - Mac
Cancelling Printing Using the Product Control Panel
If you need to cancel printing, select
Cancel
on the LCD screen, then select
Cancel
again to confirm.
Parent topic:
Summary of Contents for WF-C20590 Series
Page 1: ...WF C20590 User s Guide ...
Page 2: ......
Page 14: ......
Page 28: ...28 You see the Basic Settings screen 4 Select Date Time Settings ...
Page 80: ...80 You see a screen like this 5 Select PDL Print Configuration ...
Page 89: ...89 You see this screen 2 Select Load Paper under the How To options ...
Page 90: ...90 You see this screen 3 Select one of the options ...
Page 91: ...91 You see this screen 4 Select How To ...
Page 99: ...99 You see a screen like this 2 Select the paper source you want to select settings for ...
Page 110: ...110 Parent topic Placing Originals on the Product Related topics Copying Scanning Faxing ...
Page 191: ...191 You see a screen like this 4 Select Email ...
Page 200: ...200 You see an Epson Scan 2 window like this ...
Page 202: ...202 You see an Epson Scan 2 window like this ...
Page 207: ...207 You see this window ...
Page 223: ...223 DSL connection 1 Telephone wall jack 2 DSL filter 3 DSL modem ...
Page 224: ...224 ISDN connection 1 ISDN wall jack 2 Terminal adapter or ISDN router ...
Page 246: ...246 You see a screen like this 3 Select the Recipient tab ...
Page 251: ...251 You see a screen like this 3 Select the Recipient tab 4 Select Add New 5 Select Add Group ...
Page 311: ...311 You see a screen like this 6 Select Print Head Nozzle Check ...
Page 318: ...318 5 Open the interior of the document cover ...


