


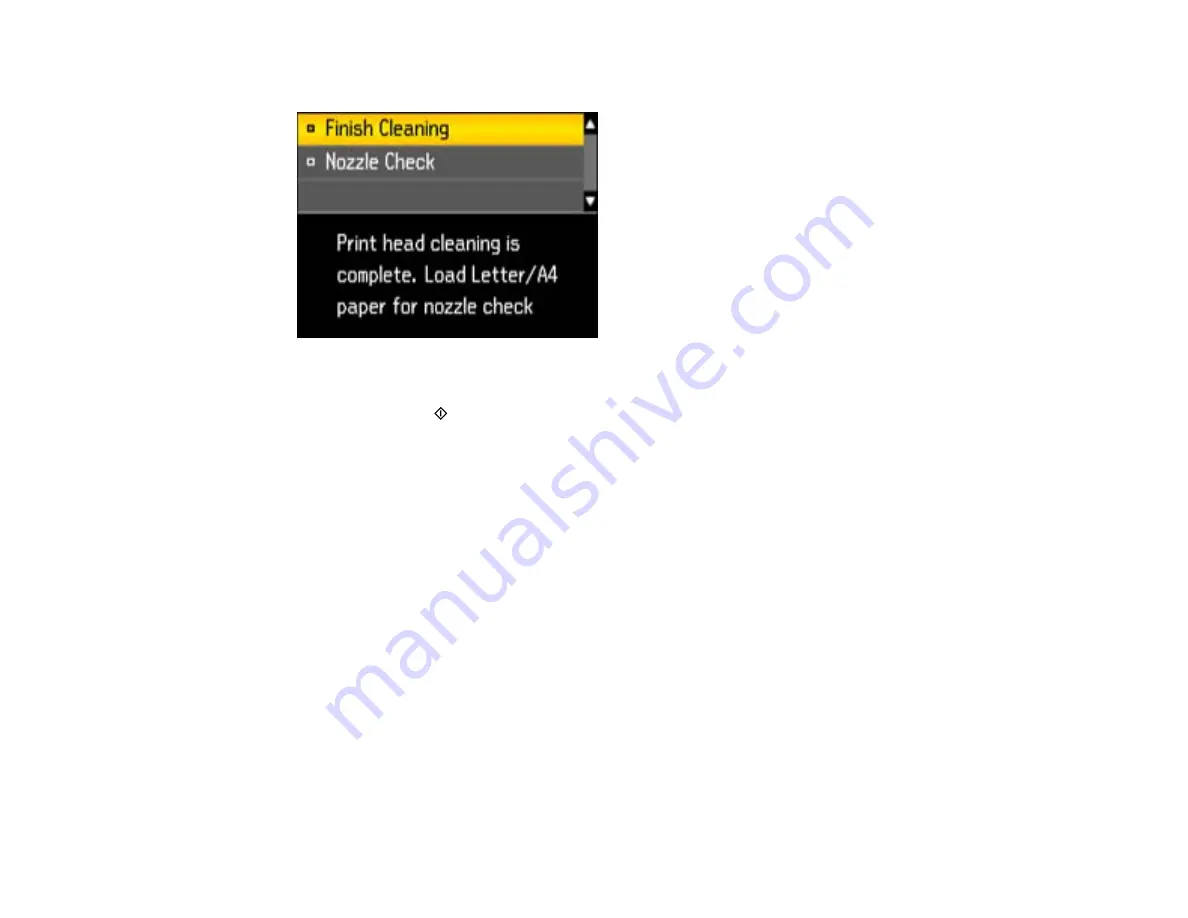
When the cleaning cycle is finished, you see this screen:
7.
Select
Nozzle Check
and press the
OK
button.
8.
Press either of the
Start
buttons to confirm that the print head is clean.
If you don’t see any improvement after cleaning the print head up to 4 times, wait at least 6 hours. Then
try cleaning the print head again. If quality still does not improve, the ink may be old and needs to be
replaced.
Parent topic:
Related topics
Replacing Ink and Maintenance Boxes
Cleaning the Print Head Using the Product Software
You can clean the print head using a utility on your Windows computer.
1.
Load a few sheets of plain paper in the product.
2.
Right-click the product icon in the Windows taskbar.
3.
Select
Head Cleaning
.
4.
Select the cleaning cycle you want to run, based on the nozzle check pattern.
5.
Click
Start
to begin the cleaning cycle.
The light flashes throughout the cleaning cycle and stays on when the cleaning cycle is finished.
Caution:
Never turn off the product during a cleaning cycle or you may damage it.
144
Summary of Contents for WF-BM4590
Page 1: ...WF BM4590 User s Guide ...
Page 2: ......
Page 10: ......
Page 11: ...WF BM4590 User s Guide Welcome to the WF BM4590 User s Guide 11 ...
Page 18: ...Printer Parts Inside 1 Front cover 2 Print head Parent topic Product Parts Locations 18 ...
Page 21: ...5 Print from your mobile device to your Epson product Parent topic Product Basics 21 ...
Page 24: ...4 Load a stack of paper printable side down in the cassette as shown 24 ...
Page 42: ...3 Select the Paper Source 4 Click the Advanced button You see this window 42 ...
Page 47: ...47 ...
Page 52: ...Parent topic Placing Originals on the Product 52 ...
Page 73: ...73 ...
Page 91: ...Parent topic Starting a Scan Related topics Selecting Epson Scan Settings 91 ...
Page 110: ...110 ...
Page 130: ...Related topics Starting a Scan Selecting Epson Scan Settings 130 ...
Page 173: ...6 Lower the document cover 7 Raise the ADF input tray 8 Carefully remove the jammed pages 173 ...


