4.
To print more than one copy, press the up or down arrow buttons to select the number (up to 99).
5.
If you need to adjust the darkness of your copy, press the left or right arrow buttons to change the
Density
setting.
6.
To change any of the print settings displayed on the LCD screen, press the
Menu
button, select
Paper and Copy Settings
, press the
OK
button, and select the necessary settings.
7.
When you are ready to copy, press either of the
Start
buttons.
Note:
To cancel printing, press the
Stop/Reset
button.
Parent topic:
Paper Type Settings - Copying
Select a
Paper Type
setting that matches the paper you loaded.
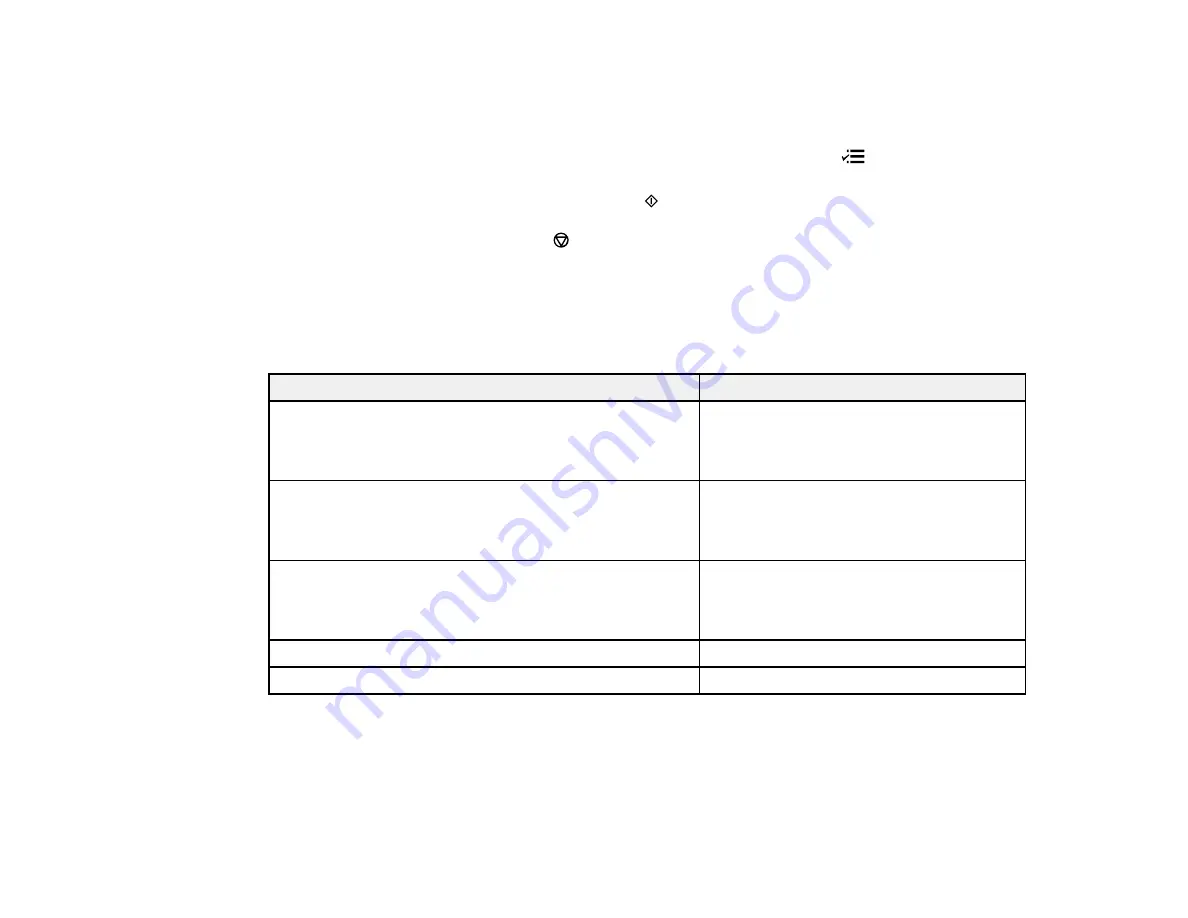
Paper type loaded
Paper Type setting
Plain paper
Plain Paper
Epson Bright White Paper
Epson Presentation Paper Matte
Epson Premium Presentation Paper Matte
Matte
Epson Ultra Premium Presentation Paper Matte
Epson High Quality Ink Jet Paper
Epson Premium Photo Paper Glossy
Prem. Glossy
Epson Premium Photo Paper Semi-gloss
Epson Ultra Premium Photo Paper Luster
Epson Ultra Premium Photo Paper Glossy
Ultra Glossy
Epson Photo Paper Glossy
Glossy
Parent topic:
50
Summary of Contents for WF-B4533
Page 1: ...WF B4533 User s Guide ...
Page 2: ......
Page 11: ...WF B4533 User s Guide Welcome to the WF B4533 User s Guide 11 ...
Page 27: ...4 Load a stack of paper printable side down in the cassette as shown 27 ...
Page 47: ...Parent topic Placing Originals on the Product 47 ...
Page 72: ...Parent topic Starting a Scan Related topics Selecting Epson Scan Settings 72 ...
Page 91: ...91 ...
Page 136: ...3 Select Fax Settings for Printer Select your product if prompted You see this window 136 ...
Page 137: ...4 Select Speed Dial Group Dial List You see this window 137 ...
Page 182: ...3 Remove any paper inside including torn pieces 4 Close the front cover 182 ...
Page 190: ...6 Lower the document cover 7 Raise the ADF input tray 8 Carefully remove the jammed pages 190 ...


