53
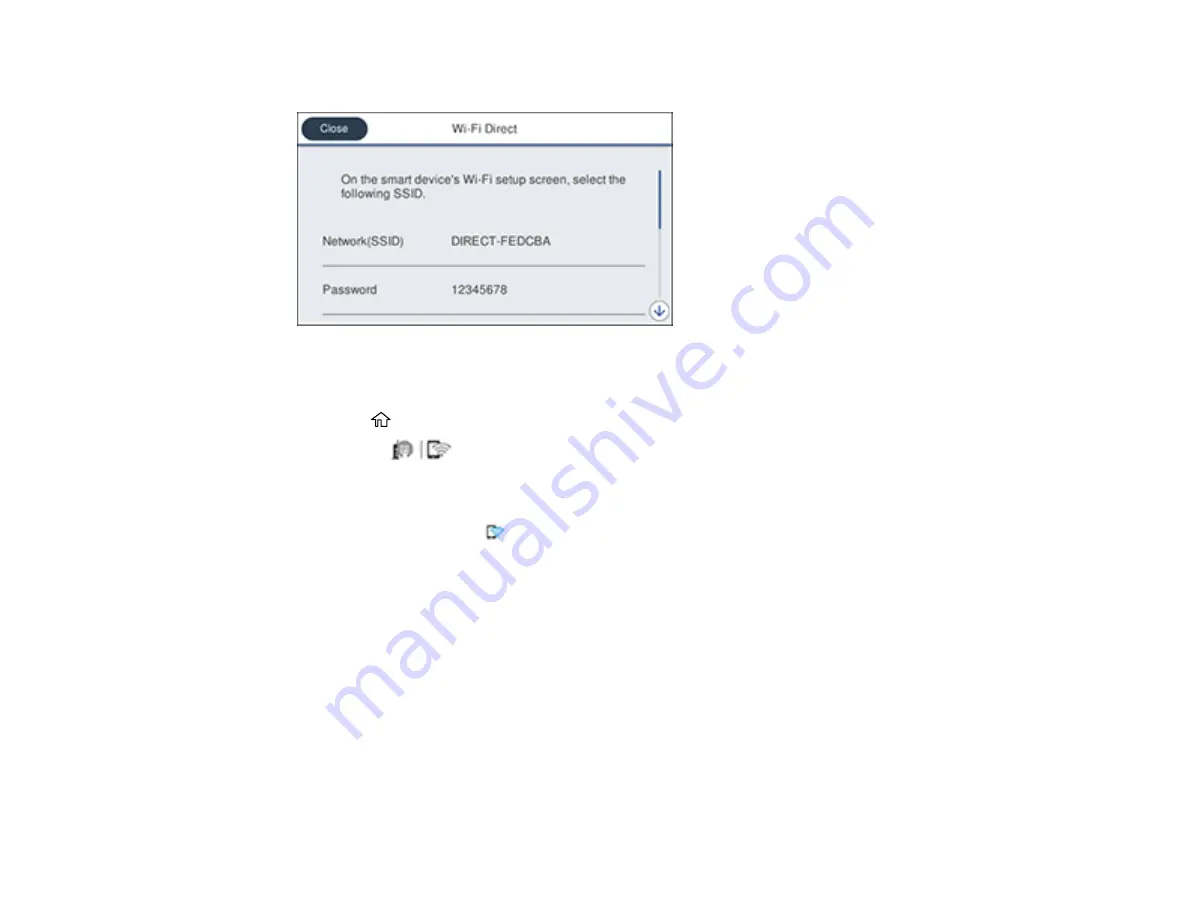
You see a screen like this:
4.
Use your computer or wireless device to select the Wi-Fi network name (SSID) displayed on the
LCD screen, then enter the password shown.
5.
Press the
home button to exit.
You see the
icon on the LCD screen and should be able to connect to your product directly
from your computer or device, and then print. If you are printing from a computer, make sure you
installed the network software as described on the
Start Here
sheet.
Note:
If you don't see the
icon on the LCD screen, you may have selected the wrong network
name or entered the password incorrectly. Repeat these steps to try again.
Parent topic:
Related references
Wi-Fi Protected Setup (WPS)
If your network uses a WPS-enabled wireless router or access point, you can quickly connect your
product to the network using Wi-Fi Protected Setup (WPS).
Note:
To check if your router is WPS-enabled, look for a button labeled
WPS
on your router or access
point. If there is no hardware button, there may be a virtual WPS button in the software for the device.
Check your network product documentation for details.
Summary of Contents for WF-7710 series
Page 1: ...WF 7710 WF 7720 User s Guide ...
Page 2: ......
Page 67: ...67 3 Slide the edge guides outward 4 Slide the edge guide to your paper size ...
Page 76: ...76 3 Open the rear paper feed slot and push it back 4 Slide out the edge guides ...
Page 94: ...94 4 Slide the ADF edge guide against the originals but not too tightly ...
Page 152: ...152 You see an Epson Scan 2 window like this ...
Page 154: ...154 You see an Epson Scan 2 window like this ...
Page 156: ...156 1 Start Epson Scan 2 You see this window ...
Page 167: ...167 DSL connection 1 Telephone wall jack 2 DSL filter 3 DSL modem ...
Page 168: ...168 ISDN connection 1 ISDN wall jack 2 Terminal adapter or ISDN router ...
Page 248: ...248 You see a window like this 5 Click Print ...
Page 286: ...286 Front 6 Open the duplexer ...
Page 287: ...287 7 Carefully remove any jammed paper stuck inside 8 Reinstall the duplexer ...


