


277
Replacing the Maintenance Box
If the maintenance box is full, a message appears on your product's LCD screen. Select
How To
and
follow the steps on the LCD screen to replace the maintenance box.Make sure you have a new
maintenance box before you begin.
Note:
In some print cycles a small amount of surplus ink may be collected in the maintenance box. To
prevent ink leakage from the maintenance box, the product is designed to stop printing when the
absorbing capacity of the maintenance box has reached its limit. Whether and how often this is required
will vary according to the number of pages you print, the type of material you print on and the number of
cleaning cycles that the printer performs.
Caution:
Do not reuse a maintenance box that has been removed and left uninstalled for more than a
week. Keep the maintenance box away from direct sunlight.
1.
Make sure the product is not printing.
2.
Remove the new maintenance box from its package.
Caution:
Do not touch the green chip on the maintenance box.
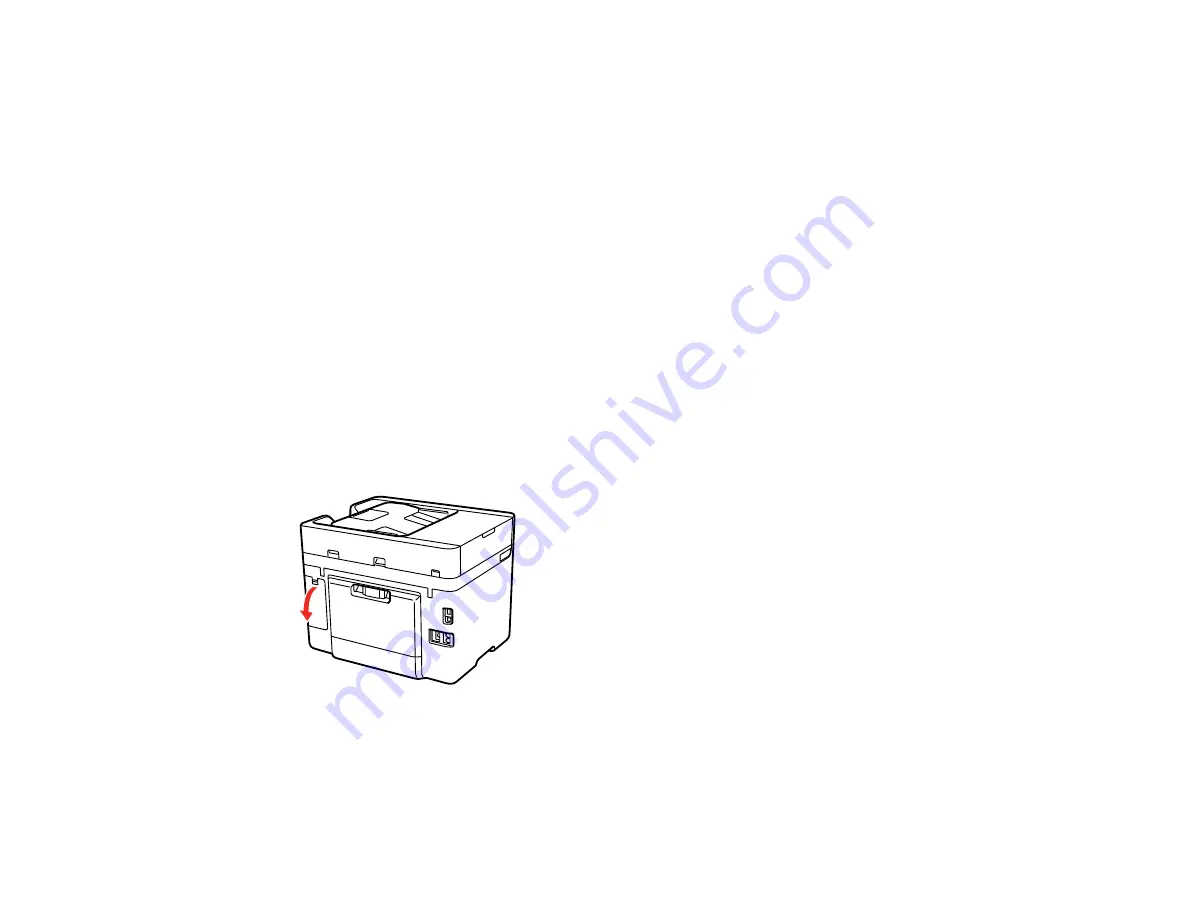
3.
Press the tab on the maintenance box cover and remove it.
Summary of Contents for WF-4820 Series
Page 1: ...WF 4820 WF 4830 Series User s Guide ...
Page 2: ......
Page 14: ......
Page 34: ...34 Product Parts Inside 1 Document cover 2 Scanner glass 3 Control panel ...
Page 49: ...49 Related topics Wi Fi or Wired Networking ...
Page 97: ...97 1 Open the document cover ...
Page 160: ...160 3 Select Scan You see a screen like this 4 Select Computer You see a screen like this ...
Page 176: ...176 You see an Epson Scan 2 window like this ...
Page 178: ...178 You see an Epson Scan 2 window like this ...
Page 192: ...192 You see a screen like this 2 Click the Save Settings tab ...
Page 197: ...197 You see this window ...
Page 251: ...251 Parent topic Printing Fax Reports ...
Page 293: ...293 Related tasks Loading Paper in the Cassette ...
Page 295: ...295 5 Open the document cover ...
Page 297: ...297 8 Open the ADF cover ...
Page 324: ...324 3 Open the ADF cover 4 Carefully remove any jammed pages ...


