


222
1.
In the Apple menu or the Dock, select
System Preferences
. Select
Print & Fax
,
Print & Scan
, or
Printers & Scanners
, select the
FAX
option for your product, and select
Options & Supplies
.
Select
Utility
and select
Open Printer Utility
.
2.
Double-click
FAX Utility
, if necessary.
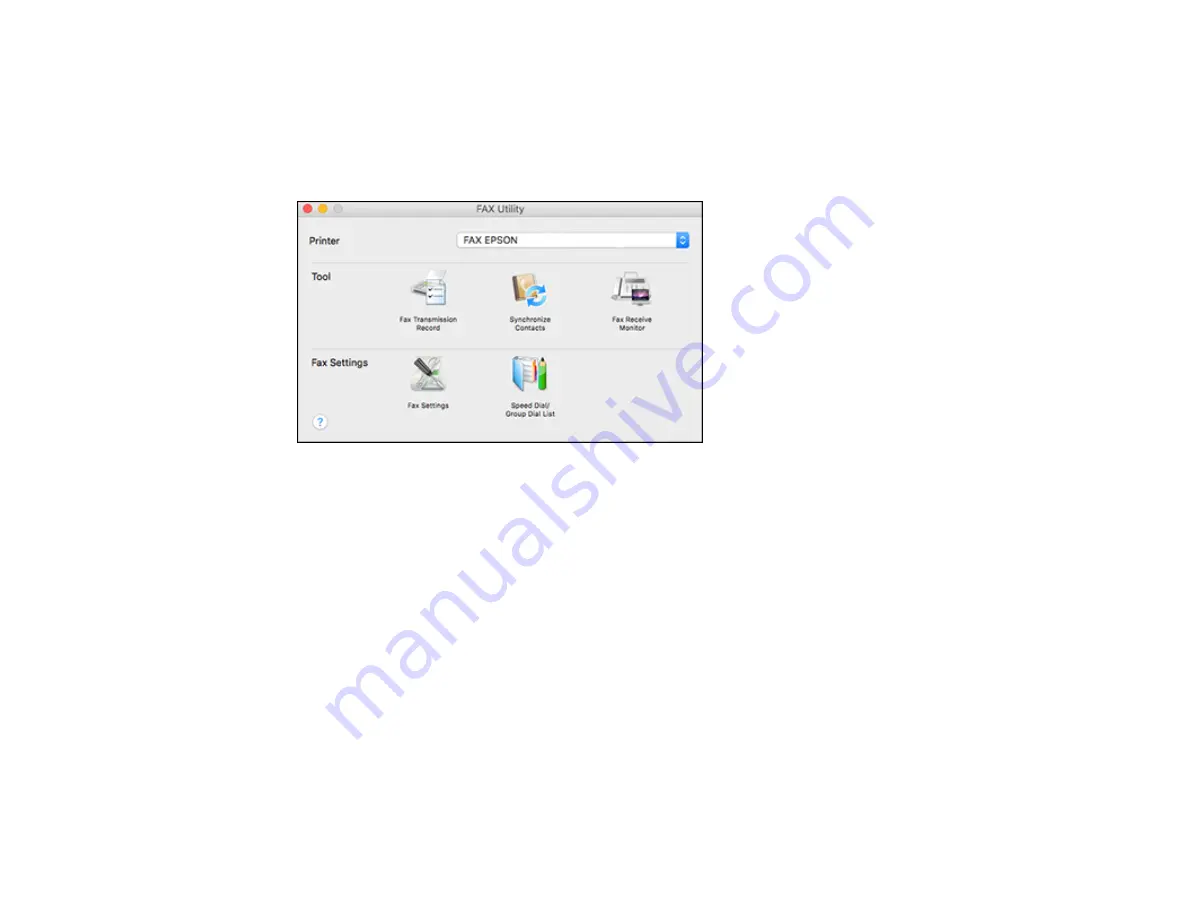
You see this window:
3.
Select your
FAX
product in the Printer list.
4.
Select
Fax Settings
.
5.
Follow the prompts that appear on the screen to enter your fax header information and select your
fax settings.
Note:
For detailed information, select the FAX Utility
?
icon.
Parent topic:
Setting Up Contacts and Contact Groups
You can set up a list of contacts and their fax numbers so you can quickly select them for faxing. You
can also set up contact groups to send a fax message to multiple contacts.
Note:
Contacts can be locked by an administrator. If you cannot access or change contacts, contact
your administrator for assistance.
Summary of Contents for WF-4820 Series
Page 1: ...WF 4820 WF 4830 Series User s Guide ...
Page 2: ......
Page 14: ......
Page 34: ...34 Product Parts Inside 1 Document cover 2 Scanner glass 3 Control panel ...
Page 49: ...49 Related topics Wi Fi or Wired Networking ...
Page 97: ...97 1 Open the document cover ...
Page 160: ...160 3 Select Scan You see a screen like this 4 Select Computer You see a screen like this ...
Page 176: ...176 You see an Epson Scan 2 window like this ...
Page 178: ...178 You see an Epson Scan 2 window like this ...
Page 192: ...192 You see a screen like this 2 Click the Save Settings tab ...
Page 197: ...197 You see this window ...
Page 251: ...251 Parent topic Printing Fax Reports ...
Page 293: ...293 Related tasks Loading Paper in the Cassette ...
Page 295: ...295 5 Open the document cover ...
Page 297: ...297 8 Open the ADF cover ...
Page 324: ...324 3 Open the ADF cover 4 Carefully remove any jammed pages ...


