19
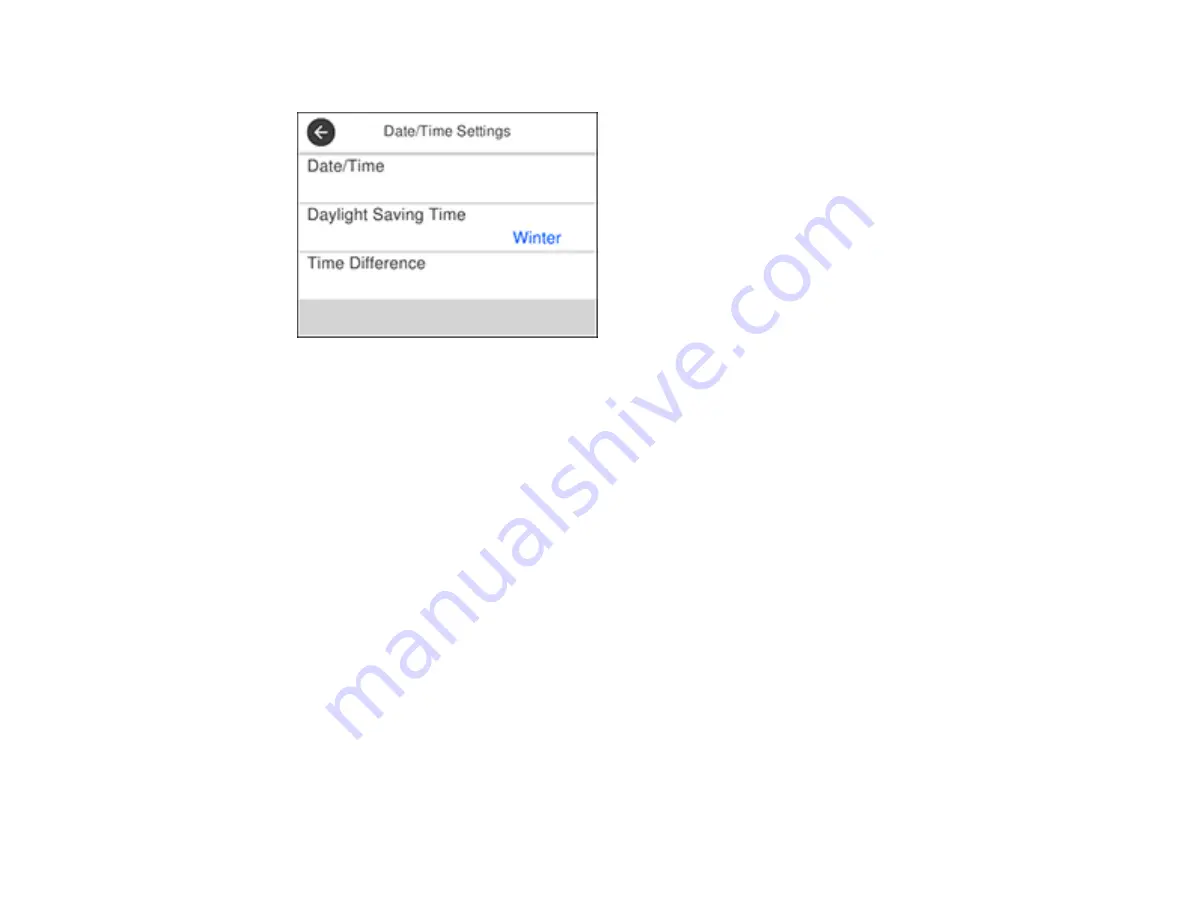
You see a screen like this:
6.
Select
Daylight Saving Time
.
7.
Select the setting that applies to your area:
•
Winter
: it is winter or your region does not use Daylight Saving Time (DST)
•
Summer
: it is spring or summer and your region uses Daylight Saving Time (DST)
Note:
If your region uses Daylight Saving Time (DST), you must change this setting to match the
season. When you change from
Winter
to
Summer
, your product automatically sets its clock ahead
one hour. When you change from
Summer
to
Winter
, it sets its clock back one hour.
8.
Select
Date/Time
.
9.
Select the date format you want to use.
10. Use the numeric keypad to enter the current date.
11. Select the time format you want to use.
12. Use the numeric keypad to enter the current time.
Parent topic:
Using Presets
You can save frequently used copy, fax, and scan settings as presets. This lets you easily reuse them
whenever necessary.
Summary of Contents for WF-3720 series
Page 1: ...WF 3720 WF 3730 WF 4720 WF 4730 Series User s Guide ...
Page 2: ......
Page 18: ...18 3 Select General Settings 4 Select Basic Settings 5 Select Date Time Settings ...
Page 29: ...29 Product Parts Inside 1 Document cover 2 Scanner glass 3 Control panel ...
Page 68: ...68 1 Pull out the paper cassette 2 Slide the edge guides outward ...
Page 86: ...86 1 Open the document cover ...
Page 152: ...152 You see an Epson Scan 2 window like this ...
Page 154: ...154 You see an Epson Scan 2 window like this ...
Page 156: ...156 You see this window ...
Page 254: ...254 Related tasks Loading Paper in the Cassette ...
Page 256: ...256 5 Open the document cover ...
Page 258: ...258 8 Open the ADF cover ...


