67
Paper Source Options
Select the paper source options you want to use for all print jobs.
Paper Source
option
Available settings
Description
A4/Letter Auto
Switching
On (Auto)
If Letter or A4-size paper is selected for printing and the
selected paper size is not loaded, the product attempts to
print on an alternate paper size (Letter for A4, or A4 for
Letter).
Off
Error Notice
Paper Size Notice
Select
On
to display an error message when the paper size
and type settings and the copy/print settings in each mode
do not match.
Paper Type Notice
Parent topic:
Selecting the Paper Settings - Control Panel
Selecting Universal Print Settings
You can change the default universal print settings using the product control panel.
1.
Press the up or down arrow buttons, select
Setup
, and press the
OK
button.
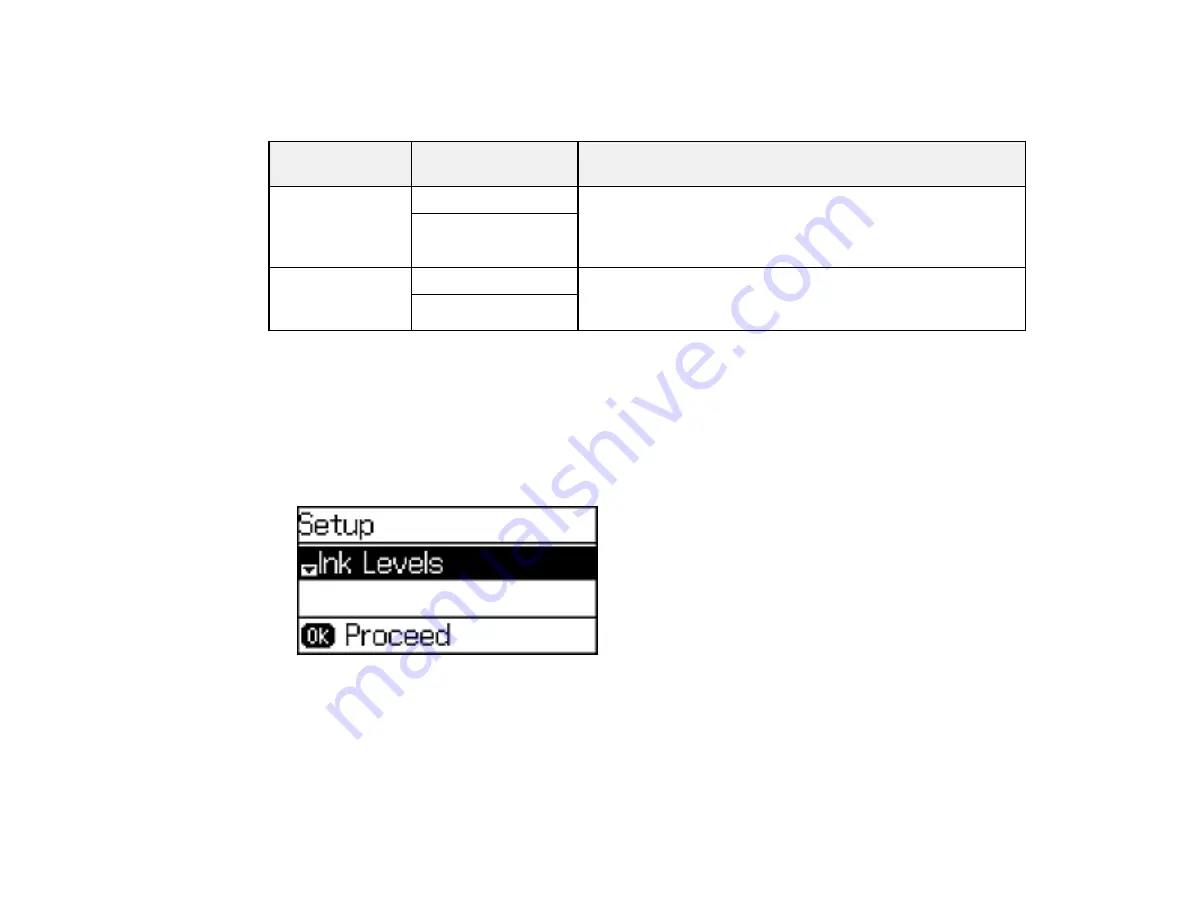
You see this screen:
2.
Press the down arrow button, select
Universal Print Settings
, and press the
OK
button.
Summary of Contents for WF-2750
Page 1: ...WF 2750 User s Guide ...
Page 2: ......
Page 12: ......
Page 21: ...21 1 Document cover 2 Scanner glass 3 Control panel Parent topic Product Parts Locations ...
Page 35: ...35 Related topics Wi Fi Networking ...
Page 48: ...48 2 Pull out the paper cassette 3 Slide the edge guides outward ...
Page 54: ...54 2 Pull out the paper cassette 3 Slide the edge guides outward ...
Page 130: ...130 You see this window ...
Page 151: ...151 DSL connection 1 Telephone wall jack 2 DSL filter 3 DSL modem ...
Page 152: ...152 ISDN connection 1 ISDN wall jack 2 Terminal adapter or ISDN router ...
Page 177: ...177 You see this window 3 Select Fax Settings for Printer Select your product if prompted ...
Page 178: ...178 You see this window 4 Select Speed Dial Group Dial List ...
Page 214: ...214 You see a window like this 4 Click Print ...
Page 229: ...229 Related concepts Print Head Cleaning Print Head Alignment ...
Page 245: ...245 2 Pull out the paper cassette 3 Carefully remove any paper jammed inside the product ...
Page 250: ...250 4 Carefully remove any jammed paper 5 Close the ADF cover ...
Page 251: ...251 6 Open the document cover ...
Page 252: ...252 7 Carefully remove any jammed paper in the direction shown 8 Close the document cover ...


