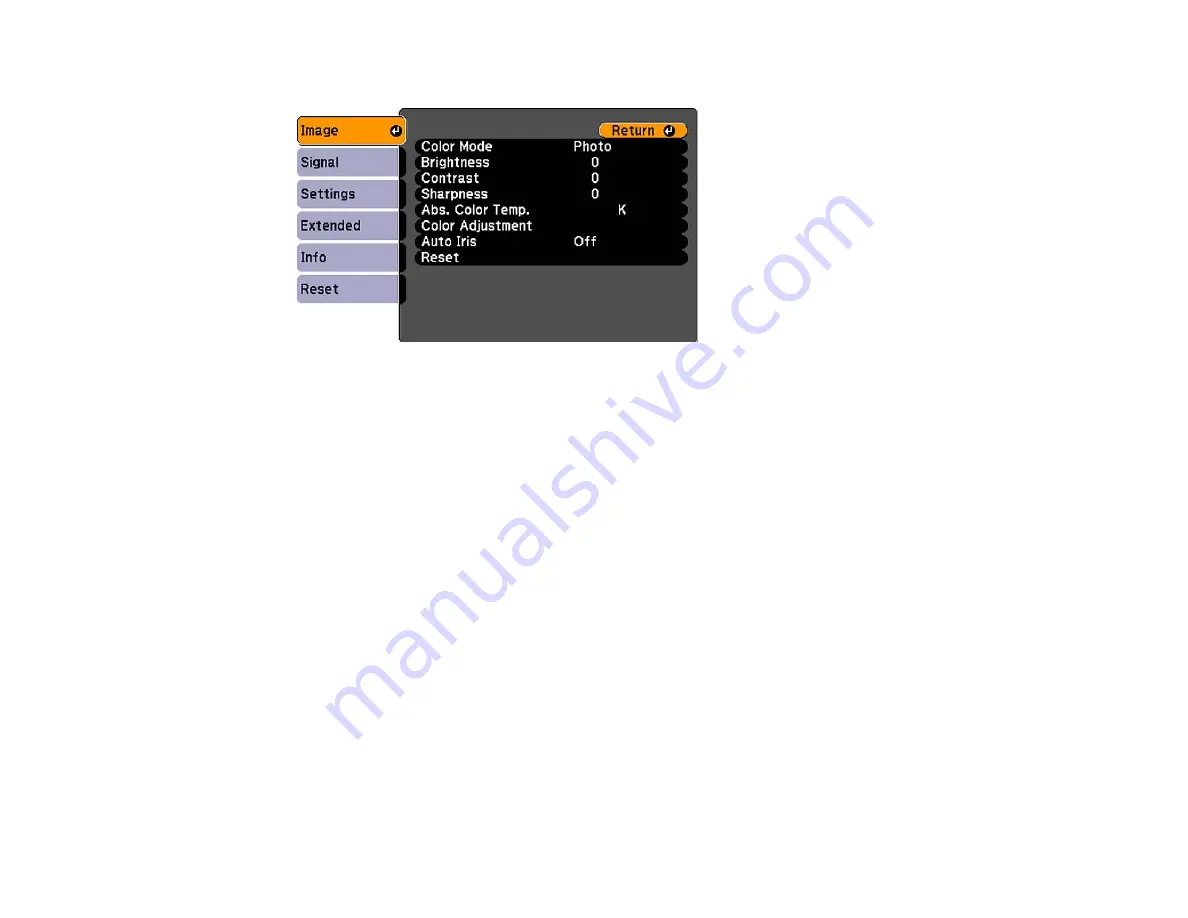
You see the menu screen displaying the Image menu settings.
2.
Press the up or down arrow buttons to move through the menus listed on the left. The settings for
each menu are displayed on the right.
Note: The available settings depend on the current input source.
3.
To change settings in the displayed menu, press Enter.
4.
Press the up or down arrow button to move through the settings.
5.
Change the settings using the buttons listed on the bottom of the menu screens.
6.
To return all the menu settings to their default values, select Reset.
7.
When you finish changing settings on a menu, press Esc.
8.
Press Esc or Menu to exit the menu system.
Parent topic:
Image Quality Settings - Image Menu
Settings on the Image menu let you adjust the quality of your image for the input source you are currently
using. The available settings depend on the currently selected input source.
Computer input source
68
Summary of Contents for VS400
Page 1: ...VS400 Projector User s Guide ...
Page 2: ......
Page 15: ...Related references Projector Light Status Projector Parts Remote Control 15 ...
Page 18: ...Front Rear Ceiling 18 ...
Page 29: ...1 Open the battery cover as shown 2 Insert the batteries with the and ends facing as shown 29 ...
Page 31: ...Parent topic Setting Up the Projector 31 ...
Page 67: ...1 Press the Menu button on the control panel or remote control 67 ...
Page 71: ...Computer RGB video input source Component video input source Composite video input source 71 ...
Page 79: ...Video input source USB input source 79 ...


