>
Removing Dust Marks
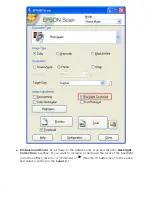
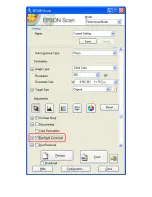
Using the
Dust Removal
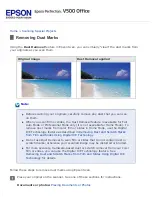
feature in Epson Scan, you can virtually “clean” the dust marks from
your originals as you scan them.
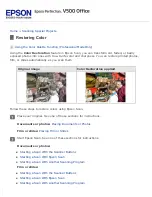
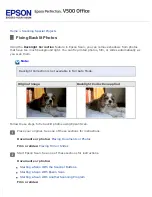
Original image
Dust Removal applied
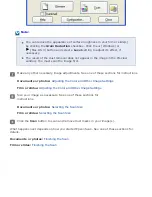
Note:
Before scanning your originals, carefully remove any dust that you can see
on them.
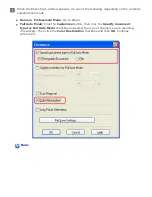
When you scan film or slides, the Dust Removal feature is available for Full
Auto Mode or Professional Mode only (it is not available for Home Mode). To
remove dust marks from color film or slides in Home Mode, use the Digital
ICE Technology feature as described in
Removing Dust and Scratch Marks
from Film and Slides Using Digital ICE Technology
.
Do not use Dust Removal to scan film or slides that do not contain dust or
scratch marks; otherwise your scanned image may be distorted or blurred.
For more accurate, hardware-based dust or scratch removal from your color
film or slides, you can use the Digital ICE Technology feature. See
Removing Dust and Scratch Marks from Film and Slides Using Digital ICE
Technology
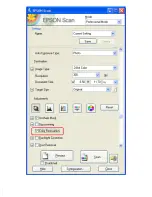
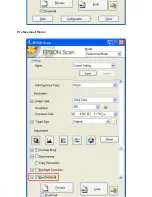
Follow these steps to remove dust marks using Epson Scan.
Place your original on the scanner. See one of these sections for instructions.
Documents or photos:
Summary of Contents for V500
Page 27: ...c scanner transportation lock d USB interface connector e cover cable ...
Page 34: ...Open the scanner cover Pull the scanner cover straight up and off the scanner ...
Page 47: ...Top ...
Page 64: ......
Page 69: ...Thumbnail preview ...
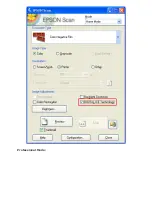
Page 78: ...Professional Mode ...
Page 98: ...Professional Mode ...
Page 99: ...Before you scan your film or slides you need to select these basic settings ...
Page 121: ......
Page 131: ...Professional Mode ...
Page 135: ...Professional Mode ...
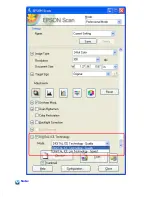
Page 136: ...Note ...
Page 142: ......
Page 149: ...Click the Settings button You see the Scan to PDF Settings window ...
Page 157: ...Click the File Save Settings button The File Save Settings window appears ...
Page 183: ...Pull the scanner cover straight up and off the scanner ...

