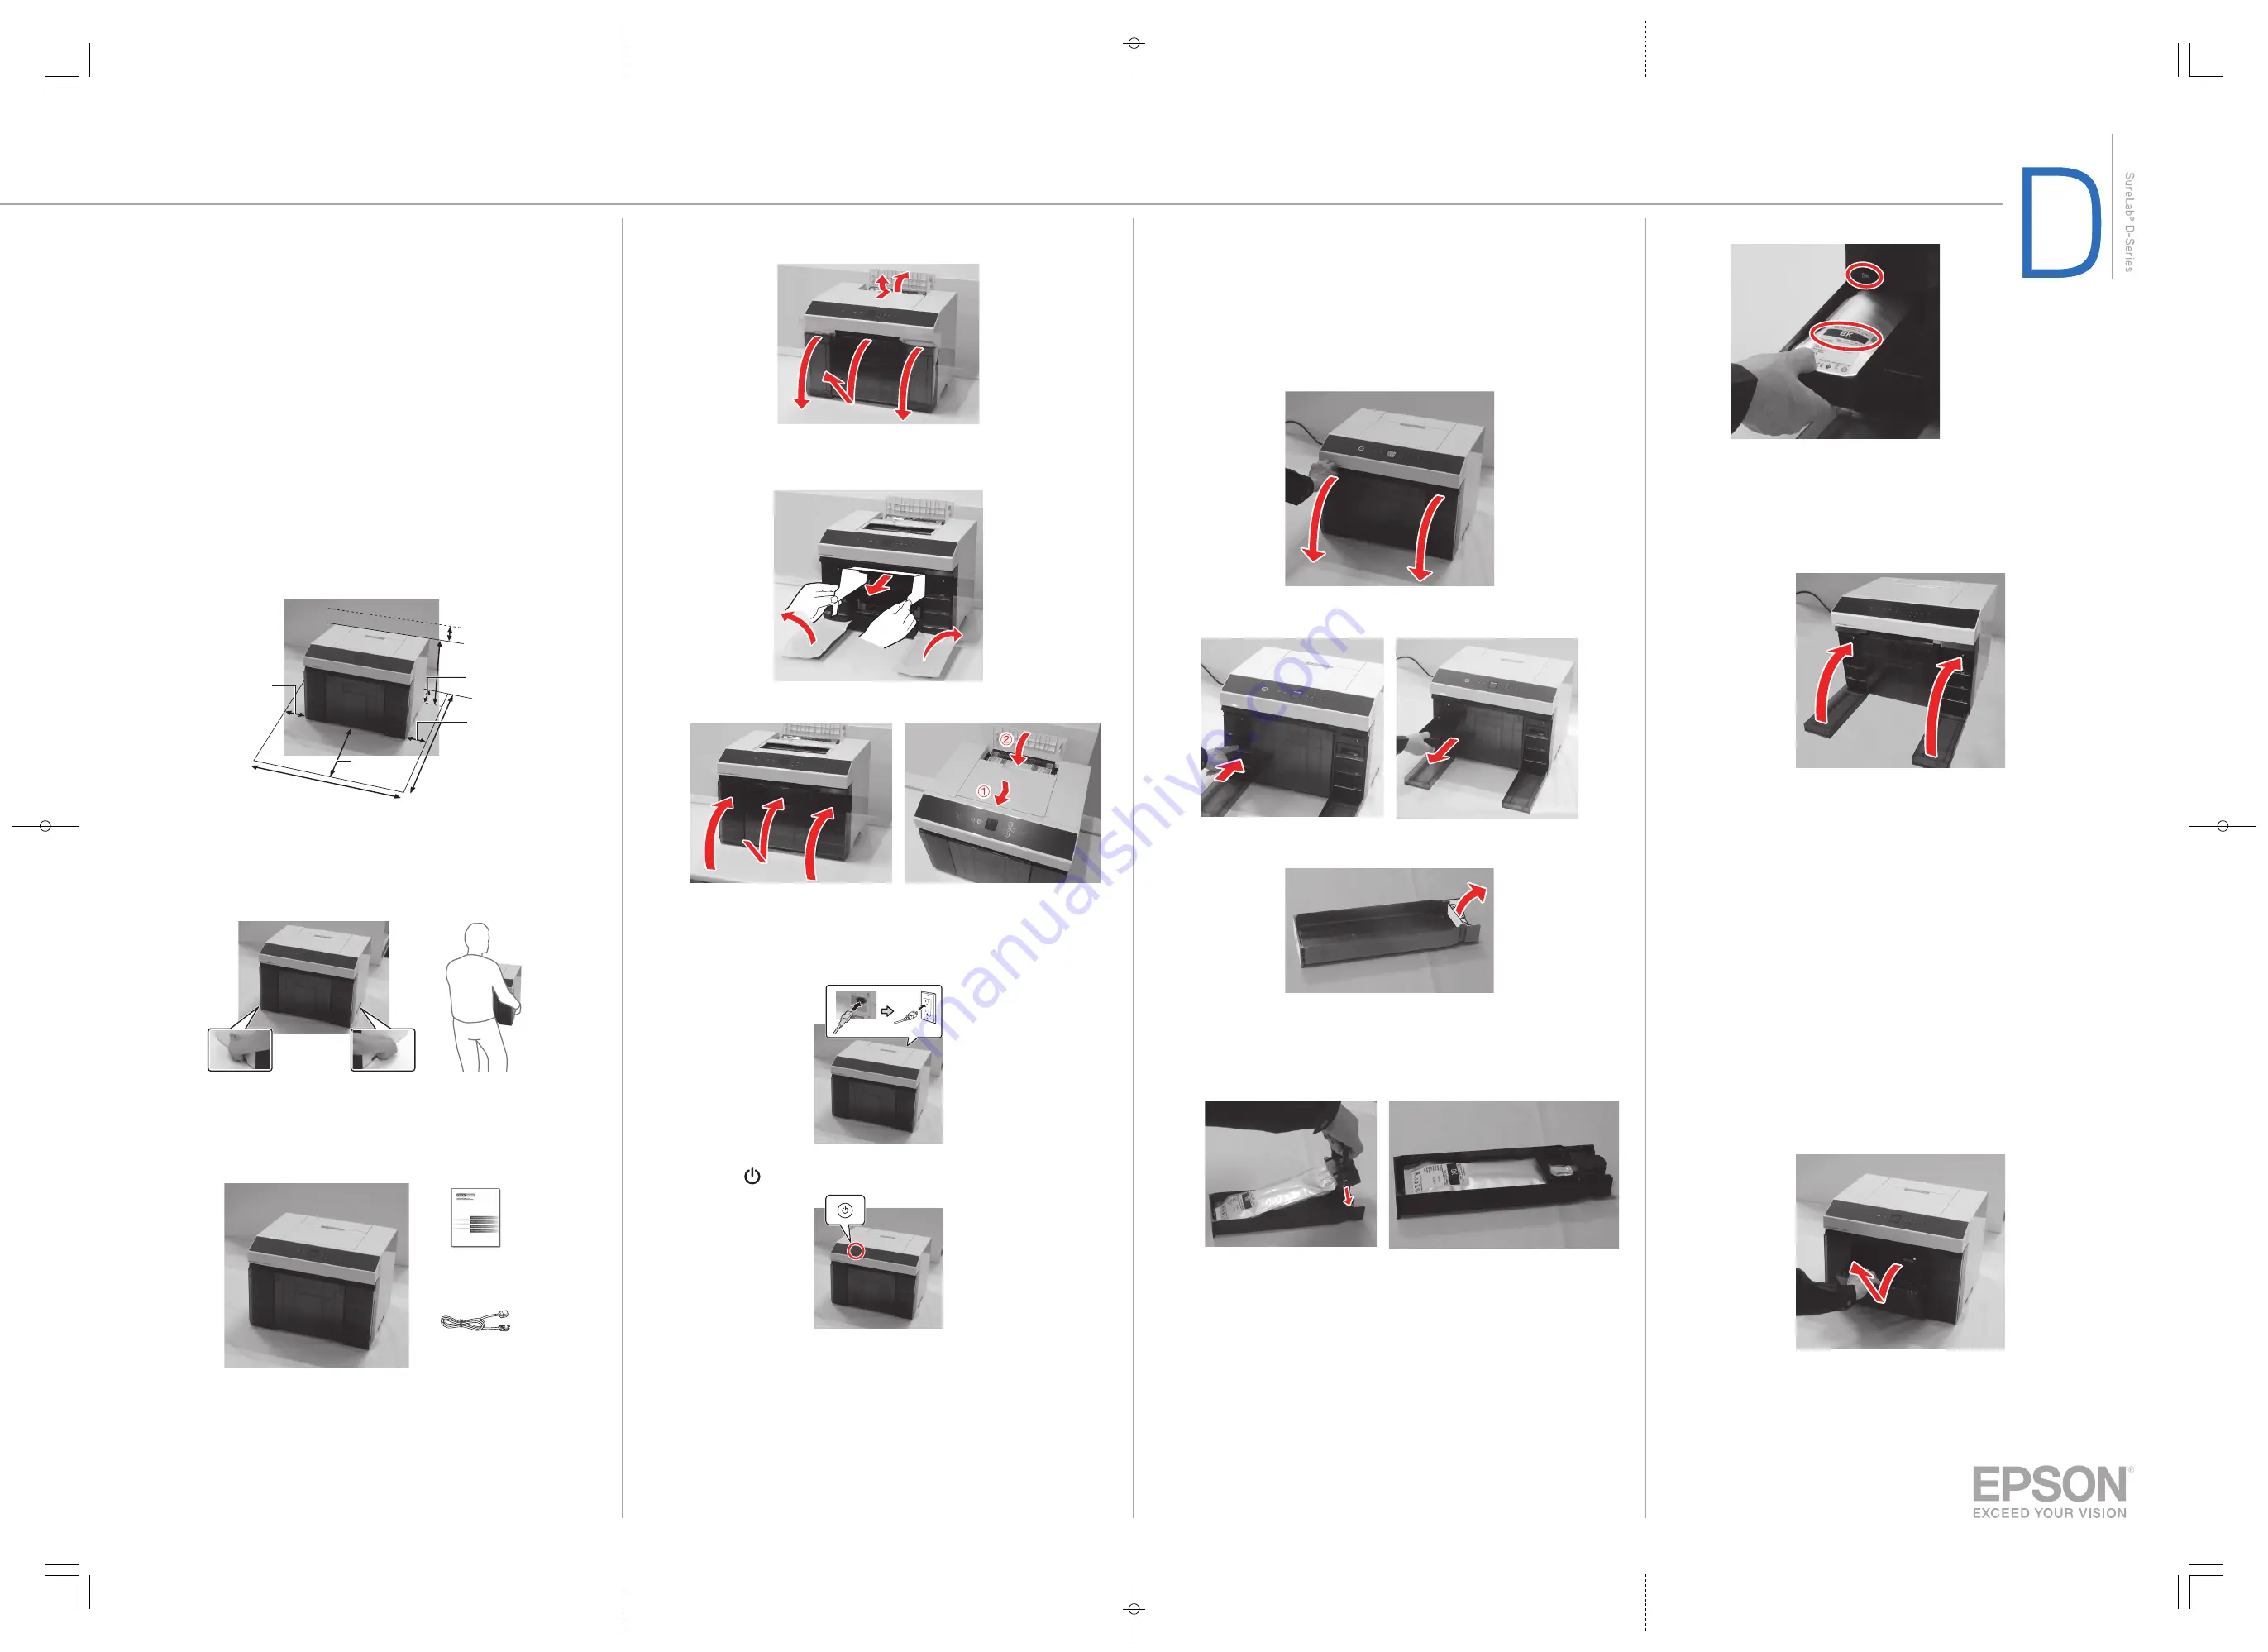
Install the ink supply units (ink packs)
Follow the instructions on the LCD screen to install the ink packs and charge
the ink. The steps involved are shown below.
Caution:
Keep the ink packs out of the reach of children and do not drink the ink.
Note:
Make sure you have ink packs available before starting the setup process.
1
Open the ink pack covers.
2
Press an ink pack tray to release it, then pull the tray out.
3
Remove and discard the protective piece from the ink pack tray.
Note:
Liquid may have dripped into the ink trays. This is excess fluid
discharged from the ink nozzles and does not indicate a malfunction.
4
Move the handle forward, place the ink pack into the ink pack tray until
it clicks, then move the handle back to its original position.
Note:
Make sure the ink pack is fully inserted and level with the top of the ink
pack tray.
Epson
®
SureLab
®
D1070/D1070DE
Start Here
IMPORTANT: Before using this product, make sure you read these instructions
and the online Safety Instructions.
Choose a location for the printer
Choose a location for the printer that is near a wall outlet where the power cord
can be easily unplugged. Avoid places subject to rapid changes in temperature
and humidity. Also keep the printer away from direct sunlight, strong light, or
heat sources.
For the environmental specifications for your printer, see the online User’s
Guide. Make sure the environmental conditions are suitable for the loaded paper
as well.
Make sure to place the printer on a flat, stable surface with enough space on
all sides.
*
13.5 in.
(343 mm)
2.0 in.
(50 mm)
20.5 in.
(520 mm)
12.0 in.
(306 mm)
1.2 in.
(30 mm)
28.7 in.
(730 mm)
1.2 in.
(30 mm)
* The rear paper feed requires an additional vertical clearance of 7.0 inches (180 mm) when
inserting letter- or A4-sized paper.
Caution:
When lifting the printer, carry it from the front of the printer as shown. Carry
the printer using the indicated handholds or your fingers may be injured when setting
the printer down.
Unpack
1
Make sure you have these items:
Power cord
Printer
Limited
warranty
Note
:
• Ink supply units (ink packs) are not included.
• The SureLab D1070DE includes a duplex unit in a separate box.
2
Remove all of the packaging materials and tape from the outside of the
printer.
3
Open the covers and remove all of the protective tape from inside the
printer.
4
Remove the packaging material from the roll paper spindle and the
material inside the ink pack covers.
5
Close all covers on the printer.
Turn on and configure
1
Make sure the printer covers are closed, and connect the power cord.
2
Press the power button on the printer.
3
Follow the instructions on the LCD screen to select your printer
settings. When you see a screen directing you to install the ink packs, go
to the next section.
5
Insert the ink pack tray into the printer.
Note:
The ink packs are keyed to fit into the correct color slot. If you cannot
insert the ink pack tray all the way, do not force it. Make sure the ink pack
color matches the color slot on the product.
6
Repeat steps 2 to 5 to install the other ink packs.
7
After all of the ink packs are installed, close the ink pack covers.
8
Press the OK button on the printer to start charging the ink. After the
ink charging is complete, press the OK button again to display the
home screen.
Caution:
While the ink is charging, do not turn off or unplug the printer, open
the ink tray covers, or remove the scrap paper box.
Note:
The first time you install ink packs, the printer uses some ink to
charge the printing system, so print yields may be lower with the first packs.
Subsequent ink packs will last for their full rated yield.
Load paper
The printer can be used with both roll paper and cut sheets. For instructions on
loading cut sheets or additional information on loading roll paper, see the online
User's Guide.
1
Make sure the printer is on and that the LCD screen indicates that the
printer is ready to print.
2
Remove the scrap paper box.


