


162
Note:
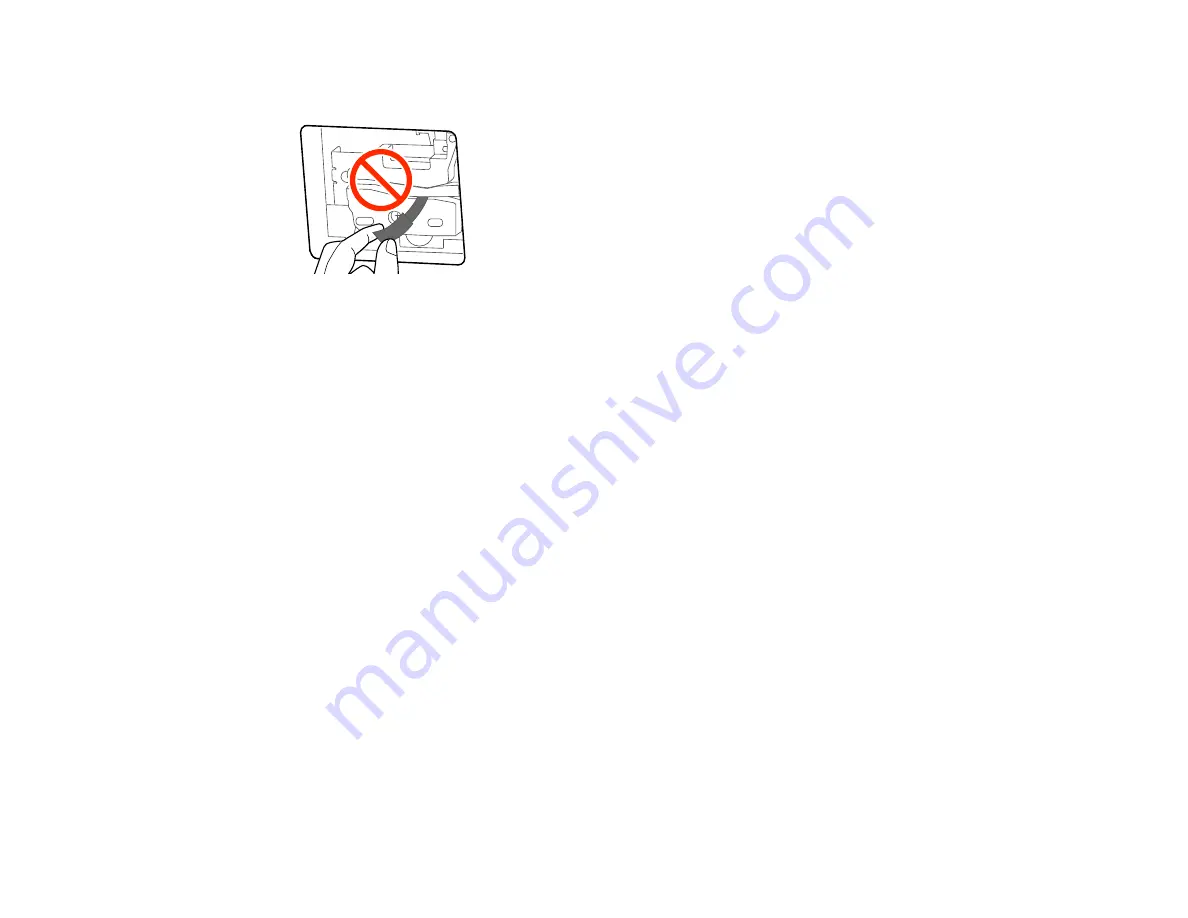
Do not remove the protective piece shown here.
7.
Select
OK
.
The cutter moves into position and cuts off the protective piece. Remove the protective piece from
the printer.
8.
Close the cutter cover.
Parent topic:
Maintenance and Transportation
Related references
Optional Equipment and Replacement Parts
Moving or Transporting Your Product
If you need to move or transport your product, prepare it as described here.
Caution
: During transportation and storage, follow these guidelines:
• Avoid tilting the product, placing it vertically, or turning it upside down; otherwise ink may leak.
• Leave the ink cartridges installed. Removing the cartridges can dry out the print head and may prevent
the product from printing, or ink may leak.
Note:
Before storing your product for a long period, replace low, expended, or expired ink to help
prevent the print head from drying out. Store your product in a cool, dry place.
1.
Remove all the paper from the product.
2.
Turn off the product.
3.
Unplug the power cable.
4.
Disconnect any connected cables.
Summary of Contents for SureColor T2170
Page 1: ...Epson SureColor T2170 T3170 T5170 User s Guide ...
Page 2: ......
Page 23: ...23 1 Make sure you have all of these items for assembly 1 Left mounting bracket ...
Page 60: ...60 5 Slide the edge guides out 6 Load paper printable side up into the auto sheet feeder ...
Page 62: ...62 1 Slide out the edge guides and remove the paper from the auto sheet feeder ...
Page 63: ...63 2 Fold down and push in the paper support extensions and close the auto sheet feeder ...
Page 78: ...78 You can also place the same print data multiple times as shown here ...
Page 148: ...148 You see a window like this 4 Click Print The nozzle pattern prints ...