


133
Maintenance Menu
Select
Settings
>
Maintenance
to run nozzle checks, cleaning cycles, and other maintenance
operations.
Caution:
Follow the instructions in the topic links below the table to use these menu settings correctly.
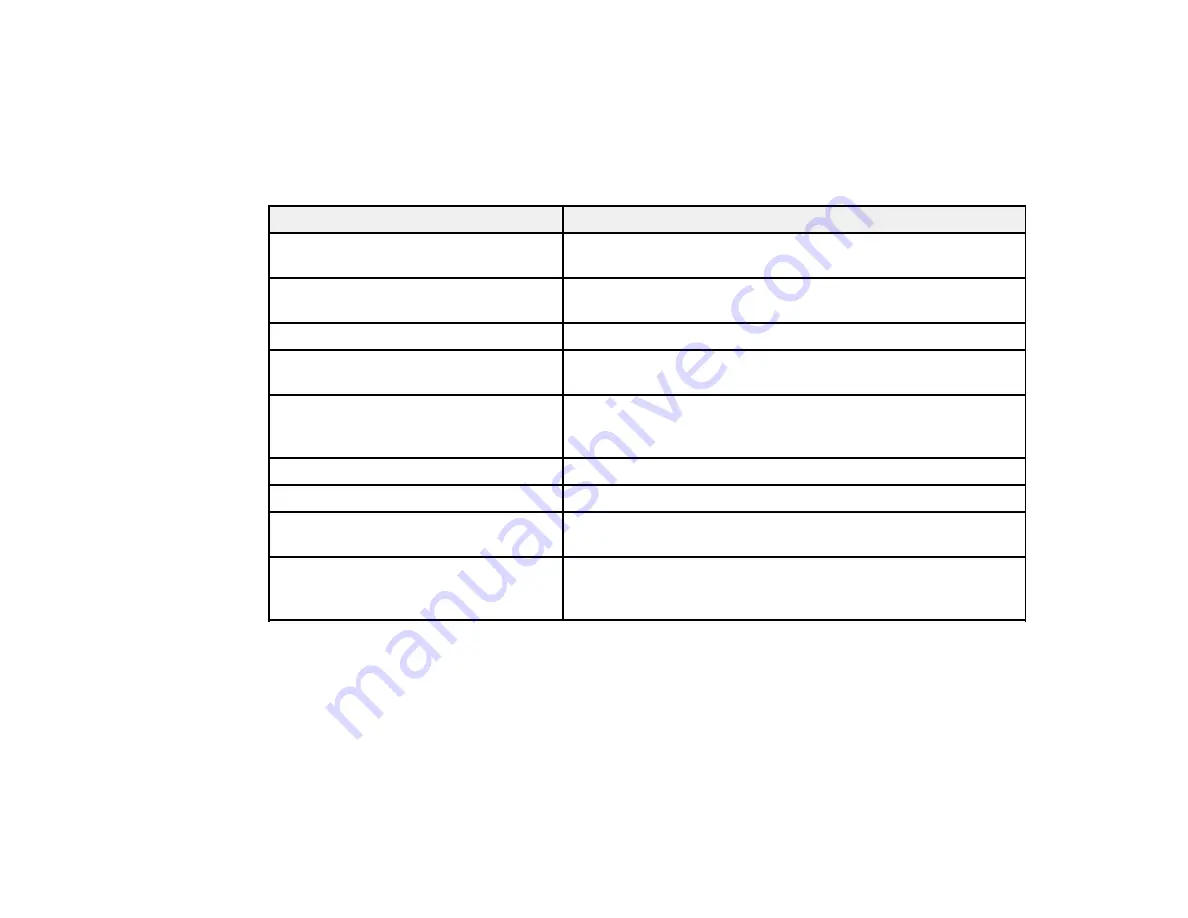
Setting
Description
Print Quality Adjustment
Perform when there are streaks in printouts, ruled lines are
duplicated, or text is blurred
Print Head Nozzle Check
Prints a nozzle check pattern so you can check for clogged
nozzles
Head Cleaning
Perform if the nozzle check pattern has faint or missing areas
Paper Guide Cleaning
Perform if printouts are smeared when printing from the auto
sheet feeder
Ink Cartridge(s) Replacement
Moves the print head to the correct position so you can
replace ink cartridges. Displays the ink cartridge replacement
procedure.
Replace Maintenance Box
Displays the maintenance box replacement procedure
Replace Cutter
Displays the cutter replacement procedure
Powerful Cleaning
*
Perform if the nozzle check pattern still has faint or missing
areas after performing a head cleaning three times in a row
Discharging/Charging Ink
*
Perform if you are transporting or storing the printer in 14°F
(–10°C) or lower temperatures. Follow the prompts to eject the
ink. The printer turns off automatically after the procedure.
*The
Powerful Cleaning
and
Discharging/Charging Ink
settings can be locked by an administrator. If
you cannot access or change these settings, contact your administrator for assistance.
Parent topic:
Related tasks
Checking the Nozzles Using the Product Control Panel
Cleaning the Print Head Using the Product Control Panel
Using the Powerful Cleaning Utility
Adjusting Print Quality Using the Product Control Panel
Summary of Contents for SureColor T2170
Page 1: ...Epson SureColor T2170 T3170 T5170 User s Guide ...
Page 2: ......
Page 23: ...23 1 Make sure you have all of these items for assembly 1 Left mounting bracket ...
Page 60: ...60 5 Slide the edge guides out 6 Load paper printable side up into the auto sheet feeder ...
Page 62: ...62 1 Slide out the edge guides and remove the paper from the auto sheet feeder ...
Page 63: ...63 2 Fold down and push in the paper support extensions and close the auto sheet feeder ...
Page 78: ...78 You can also place the same print data multiple times as shown here ...
Page 148: ...148 You see a window like this 4 Click Print The nozzle pattern prints ...


