Printing with Windows
19
EPSON Stylus Pro 3800
User’s Guide
Making Advanced setting
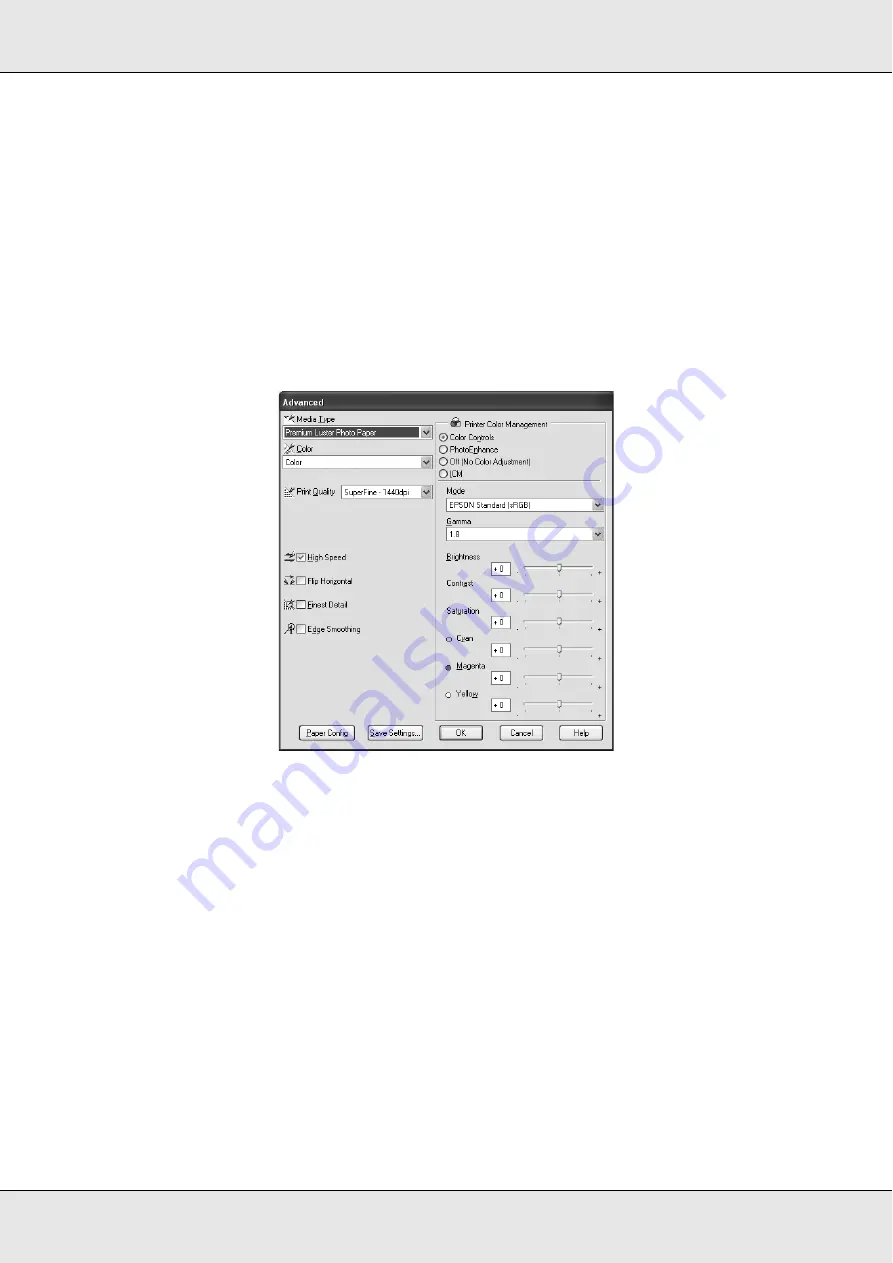
The Advanced setting gives you complete control over your printing environment. Use
these settings to experiment with new printing ideas, or to fine-tune a range of print settings
to meet your individual needs. Once you are satisfied with your new settings, you can give
them a name and add them to the Custom Settings pull-down menu.
To make Advanced settings, follow the steps below.
1. Select
Custom
from the Main menu, and then click
Advanced
. The Advanced dialog
box appears.
2. Make sure a media matching the media loaded in the printer is selected. See “Media
Type setting list” on page 15.
3. Make the Color setting. Select
Color
to print color or monochrome photos, or
Black
to
print a draft or black text only. If you want to print advanced monochrome photos, select
Advanced B&W Photo
.
Note:
When printing on any media, we recommend
Color
even if the data to print is black.
4. Select a Print Quality setting.
5. If you are using non-Epson special media, click the
Paper Config
button, and then
make settings as needed. For details, see “Paper Configuration” on page 20.


