Connecting Your Camera Directly
41
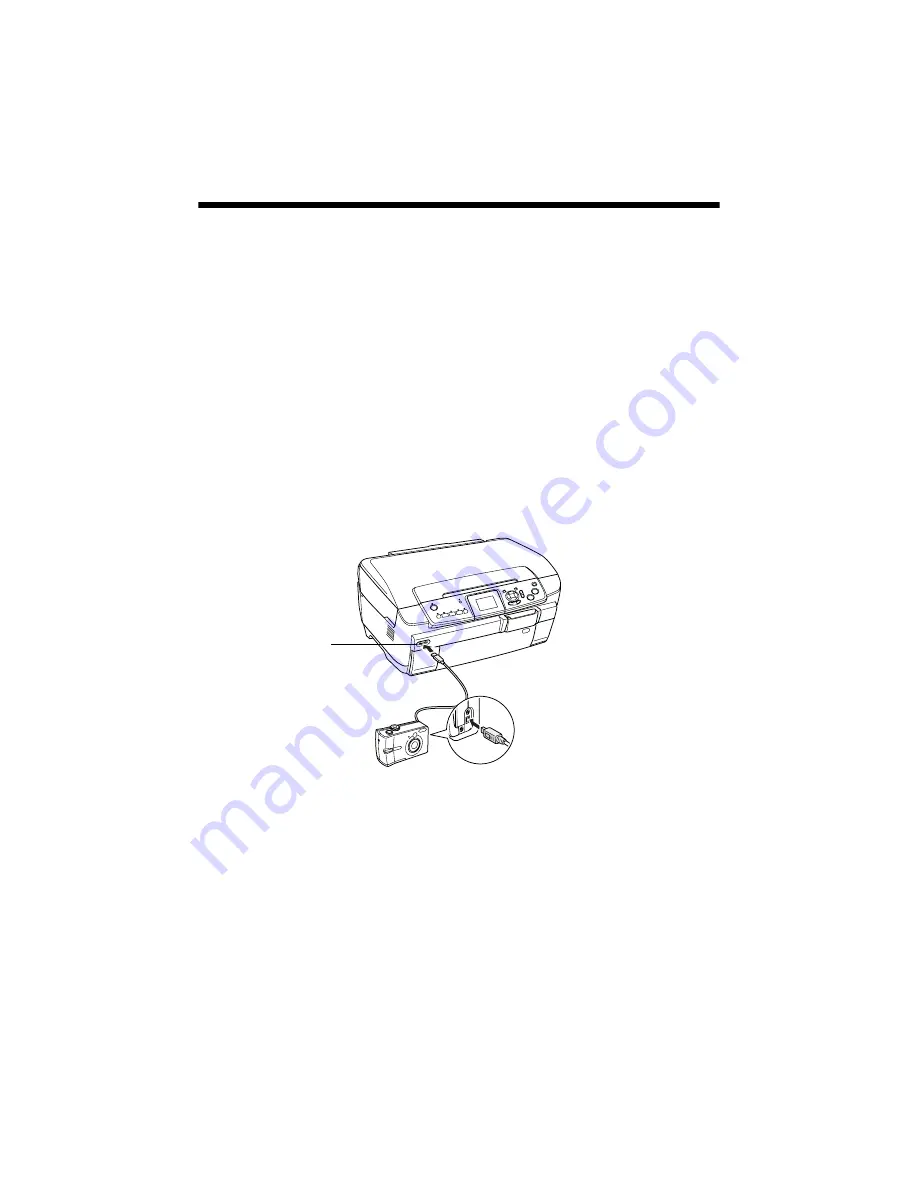
Connecting Your Camera Directly
PictBridge and USB Direct Print let you print your photos by connecting your
digital camera directly to the Stylus Photo RX700.
Make sure your photos meet these requirements:
■
JPEG files or uncompressed Tiff files only
■
Resolutions ranging from 120 × 120 to 4600 × 4600 pixels
■
No more than 999 photos on your camera (you can have additional photos,
but the printer can read only the first 999)
1. Remove any memory cards from the RX700. (If you leave a card in the
RX700, photos will be read from that card instead of the card in your camera.)
2. Connect the USB cable that came with your camera to the
EXT. I/F
port on
the front of the Stylus Photo RX700.
3. If necessary, turn on the Stylus Photo RX700 and your camera. After a
moment, the RX700 reads and counts your photos.
4. Load the type of paper you want to print on (see page 31).
5. Press the
Setup
button.
6. Use the
d
button to highlight
PictBridge Setup
or
Direct Print Document
Setup
(depending on how your camera is enabled), then press
OK
.
7. Use the RX700 screen to select default print settings, such as
Paper Type
,
Paper Size
, and
Quality
. You may have to scroll down to see all the settings.
EXT. I/F port
Summary of Contents for Stylus Photo RX700 Series
Page 1: ...RX700 ALL IN ONE PHOTO CENTER ALL IN ONE PHOTO CENTER Basics ...
Page 6: ...6 Contents ...
Page 60: ...60 Printing on CDs and DVDs ...
Page 92: ...92 Notices ...


