Restoring Color From Faded Slides, Negatives, and Photos
25
7. Use the
l
and
r
buttons to select the photo you want to crop, then press
OK
.
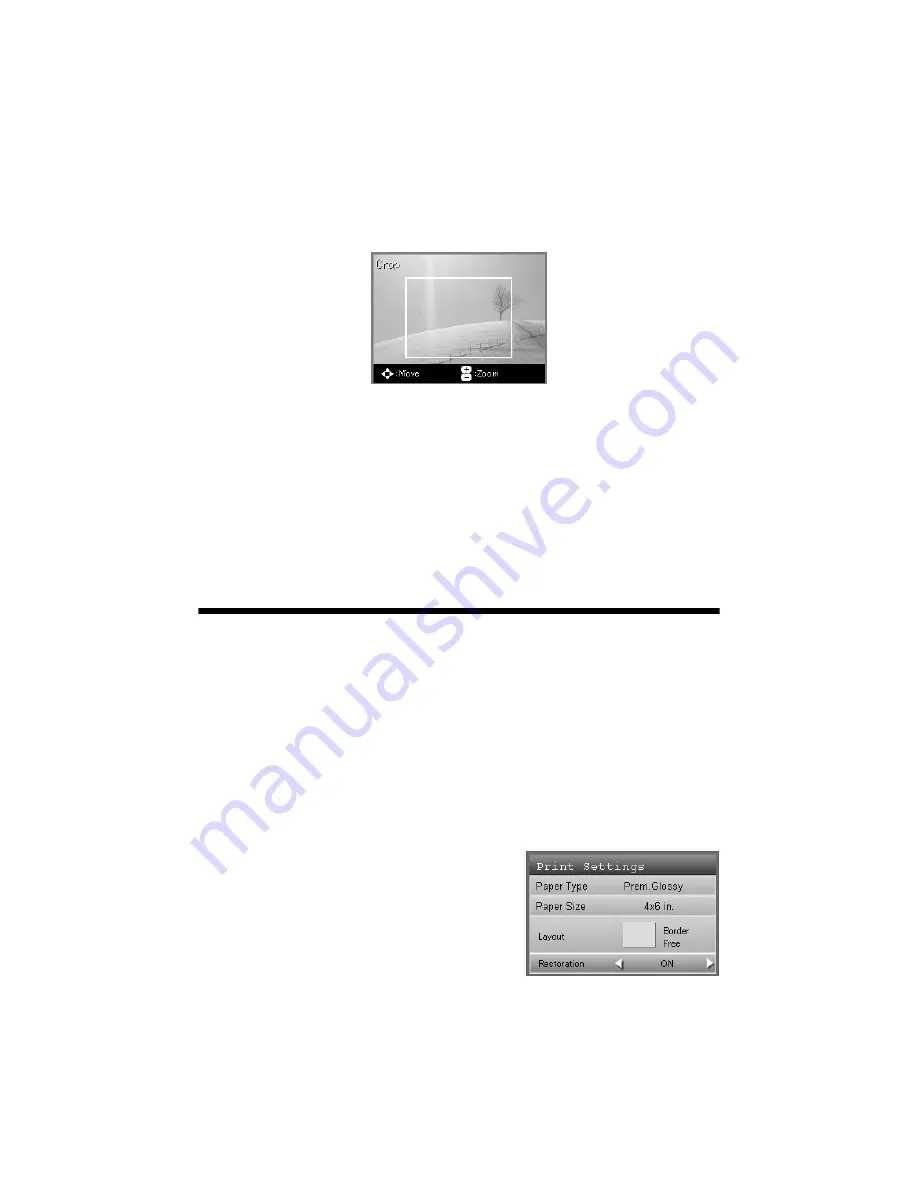
You see the cropping screen:
8. Select the area you want to crop:
■
Use the
+
and
–
buttons to resize the frame.
■
Use the
u
,
d
,
l
,
r
arrow buttons to reposition the frame.
Press
OK
when done.
9. On the preview screen, use the
+
and
–
buttons to select the number of copies,
then press the
x
Color
button to start printing.
Restoring Color From Faded Slides,
Negatives, and Photos
If you have slides, negatives, or 4 × 6-inch photos that have become faded over
time, you can restore their color with Color Restoration.
Note:
You can also restore color to photos as large as letter size when you scan them to your
computer. See your on-screen
Reference Guide
for details.
Restoring Slides or Negatives
To restore color from faded slides or negatives,
follow the instructions on page 19 to place your
film on the scanner and adjust the settings for the
type of paper you’ve loaded.
Before printing, make sure
Restoration
is set to
On
, as shown.
Summary of Contents for Stylus Photo RX700 Series
Page 1: ...RX700 ALL IN ONE PHOTO CENTER ALL IN ONE PHOTO CENTER Basics ...
Page 6: ...6 Contents ...
Page 60: ...60 Printing on CDs and DVDs ...
Page 92: ...92 Notices ...


