


Uni-D (Unidirectional Printing) Alignment Adjustment
The unidirectional alignment is required when the printer mechanism, main board, or printhead
(board) is replaced, or when the carriage mechanism is disassembled. Performing this adjustment
sets a compensation value to correct for deviations in the print position. This deviation can be
caused by the speed of printing, by tolerances in the mechanical components, and by differences in
print timing between odd- and even-numbered lines in unidirectional printing. The printer stores
the compensation data in the EEPROM on the C172 MAIN board and refers to this data to perform
unidirectional printing. Make the adjustment using the adjustment program, and set the
Adjustment mode to Pattern 2 (400 cps) on the control panel. (See page 1-22.)
1.
Connect a PC to the target printer via port LPT1 using a parallel interface cable, and turn the
printer on.
2.
Load GW-BASIC on the PC and run the program ST1500.BAS. Then the main menu appears,
as shown below:
Customer Data
Printer Setting
[********]
3.
Using Table 4-3, input the appropriate 8-digit ID number for the destination as the printer
setting for “Customer Data.” (For example, the U.S. market, or EAI: 20000A00 ). Then the
main menu appears, as shown below.
Stylus 1500
Customer Data <********> 95/**/**
<< Menu 1 >>
<<Menu 2>>
Head Data Writing
--------------
-----------------
--------------
Black Head Angle Adj.
END
Uni-D Adj.
Destination Data Writing only
Bi-D Adj.
Initial Ink Charging
Color Head Angle Adj.
Black - Color HV Adj.
Head Gap Adj.
--------------t
Select:<Up> or <Down> Go:<SPACE> or <ENTER> Change menu:<1> or <2>
4.
Move the cursor to "Uni-D Adj." by pressing 1, 2,
↑
, and
↓
.
5.
Press SPACE and ENTER to enter the adjustment mode. The printer prints out an adjustment
pattern, and the adjustment selection menu appears, as shown below.
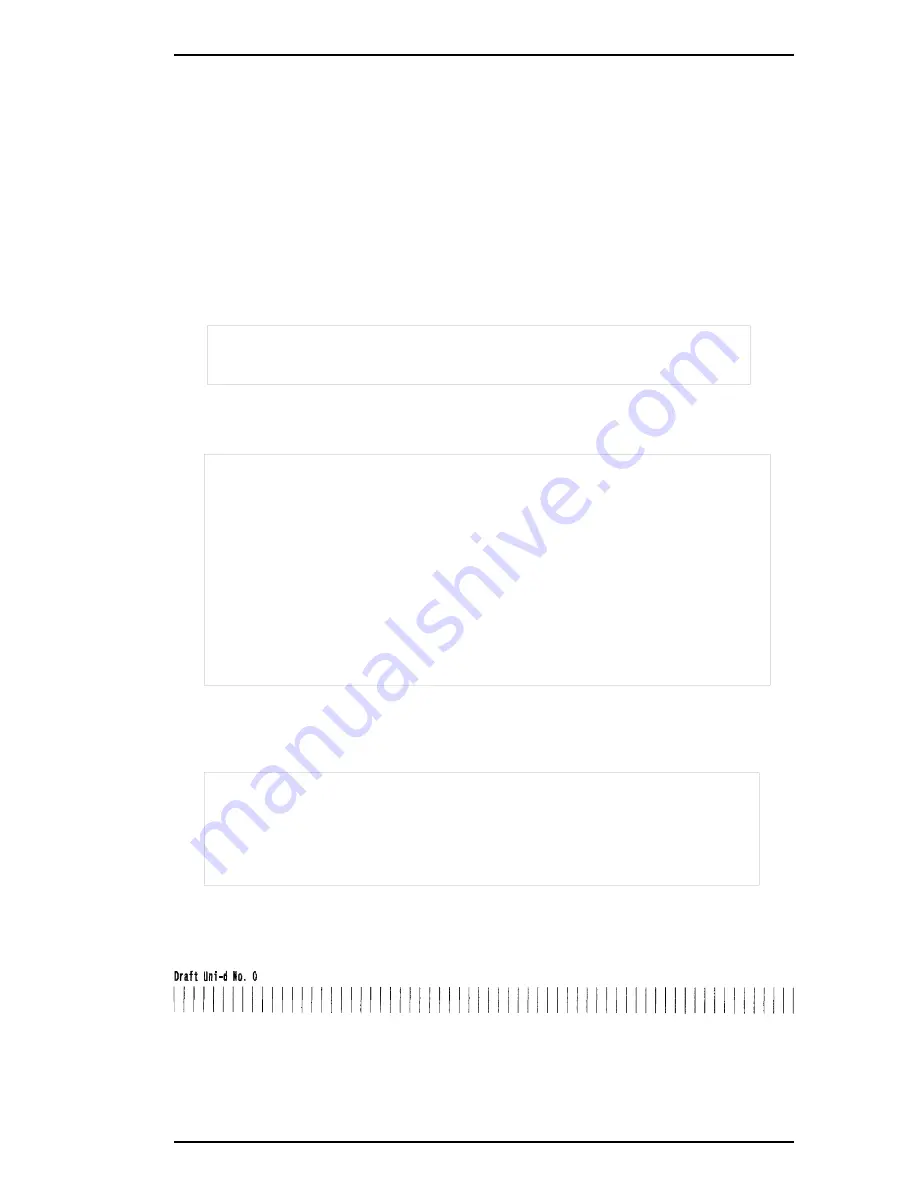
< Draft Uni-D >
DATA : ** n
Select: Cursor<Up> or <Down> Print:<SPACE> OK:<ENTER>
Figure 4-11. Uni-D Adjustment Pattern
Adjustments
EPSON Stylus 1500 Service Manual
4-17
Summary of Contents for Stylus 1500
Page 1: ...EPSON AMERICA INC Stylus 1500 EPSON Service Manual TM STYLUS15 ...
Page 2: ...EPSON Stylus 1500 Service Manual Revision Date 1st Printing 1 25 96 ...
Page 3: ...ii EPSON Stylus 1500 Service Manual ...
Page 105: ...Adjustments 4 2 EPSON Stylus 1500 Service Manual ...
Page 132: ...Troubleshooting 5 2 EPSON Stylus 1500 Service Manual ...
Page 149: ...Maintenance 6 2 EPSON Stylus 1500 Service Manual ...
Page 156: ...Appendix A 2 EPSON Stylus 1500 Service Manual ...
Page 166: ...Appendix A 12 EPSON Stylus 1500 Service Manual ...
Page 167: ...Figure A 3 C172 MAIN Board Circuit Diagram 2 Appendix EPSON Stylus 1500 Service Manual A 13 ...
Page 168: ...Appendix A 14 EPSON Stylus 1500 Service Manual ...
Page 172: ...Figure A 7 C172 MAIN Board Component Layout Appendix A 18 EPSON Stylus 1500 Service Manual ...
Page 174: ...Figure A 9 C172 PNL Board Component Layout Appendix A 20 EPSON Stylus 1500 Service Manual ...
Page 175: ...Figure A 10 Stylus 1500 Exploded Diagram 1 Appendix EPSON Stylus 1500 Service Manual A 21 ...
Page 178: ...Appendix A 24 EPSON Stylus 1500 Service Manual ...


