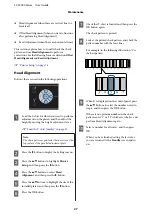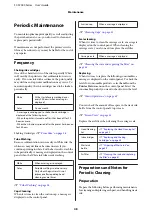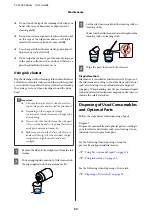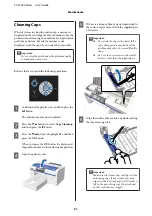
B
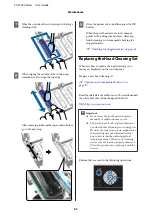
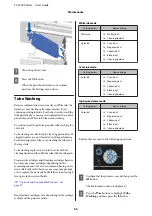
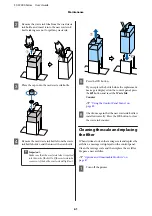
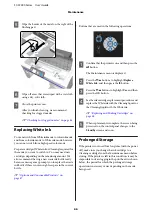
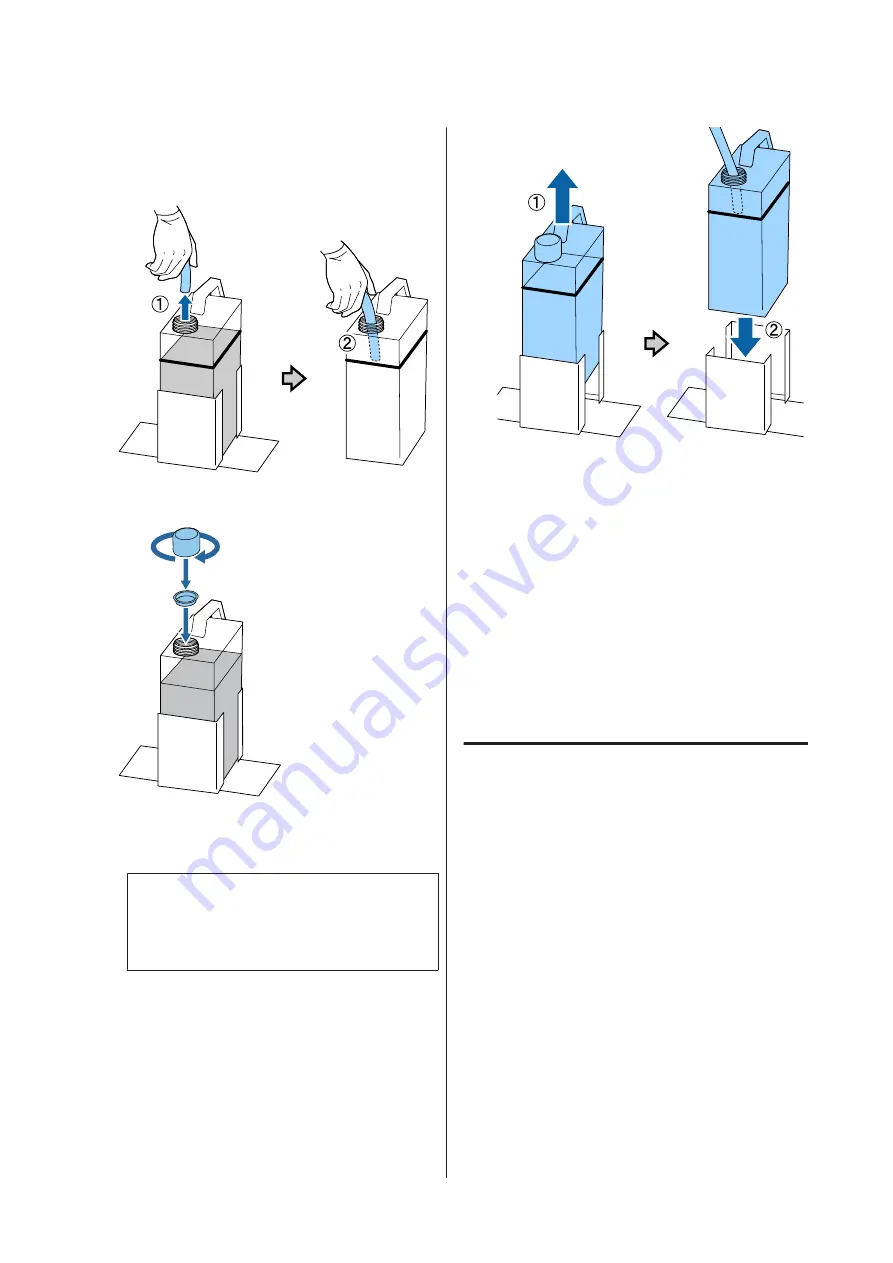
Remove the waste ink tube from the used waste
ink bottle, and insert it into the new waste ink
bottle taking care not to spill any waste ink.
C
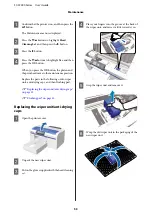
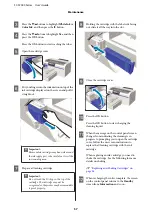
Place the caps onto the used waste ink bottle.
D
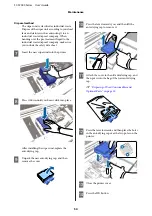
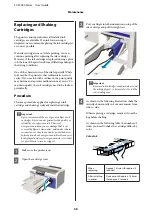
Remove the used waste ink bottle from the waste
ink bottle holder, and then insert the new bottle.
c
Important:
Make sure that the waste ink tube is inserted
into the neck of the bottle. If the waste ink tube
comes out of the bottle, waste ink will spill out.
E
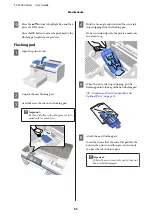
Press the
Z
button.
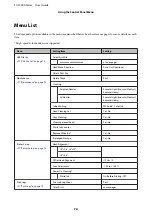
If you replace the bottle before the replacement
message is displayed on the control panel, press
the
-
button and reset the
Waste Ink
Counter
.
U
“Using the Control Panel Menu” on
F
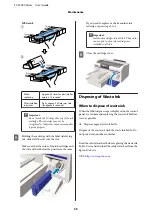
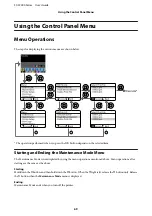
Check once again that the new waste ink bottle is
installed correctly. Press the
Z
button to clear
the waste ink counter.
Cleaning the scale and replacing
the filter
When it is time to clean the carriage scale and replace the
air filter, a message is displayed on the control panel.
Clean the carriage scale and then replace the air filter.
Prepare a new air filter.
U
“Options and Consumable Products” on
A
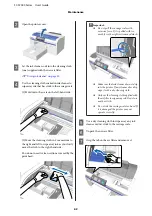
Turn off the printer.
SC-F2000 Series User’s Guide
Maintenance
61

