


14
Copying
8. Press
x
Menu
and change the settings
(
&
“Print settings for Reprint/Restore
Photos” on page 45). Then press
OK
.
9. Press
x
Start
.
Copying Documents
Tip:
By using the Auto Duplexer you can copy and
print on both sides of your paper. For details on
setting it up, see your online
User's Guide
.
1. Press
r
Copy
.
2. Select the copy settings.
3. Press
x
Menu
to change the settings
(
&
“Print settings for Copy mode” on
OK
.
Tip:
When
CD/DVD Copy
is selected as the
Layout
, try printing a test sample on paper
first. Select
Plain Paper
as the
Paper Type
setting and load plain paper.
4. Press
x
Start
.
Note:
❏
If you select
2-up Copy
,
Book/2-up
, or
Double Side 2-up
as the
Layout
setting ,
scan one original at a time.
❏
If the edges of the copy are cropped off, move
the original away from the corner slightly.
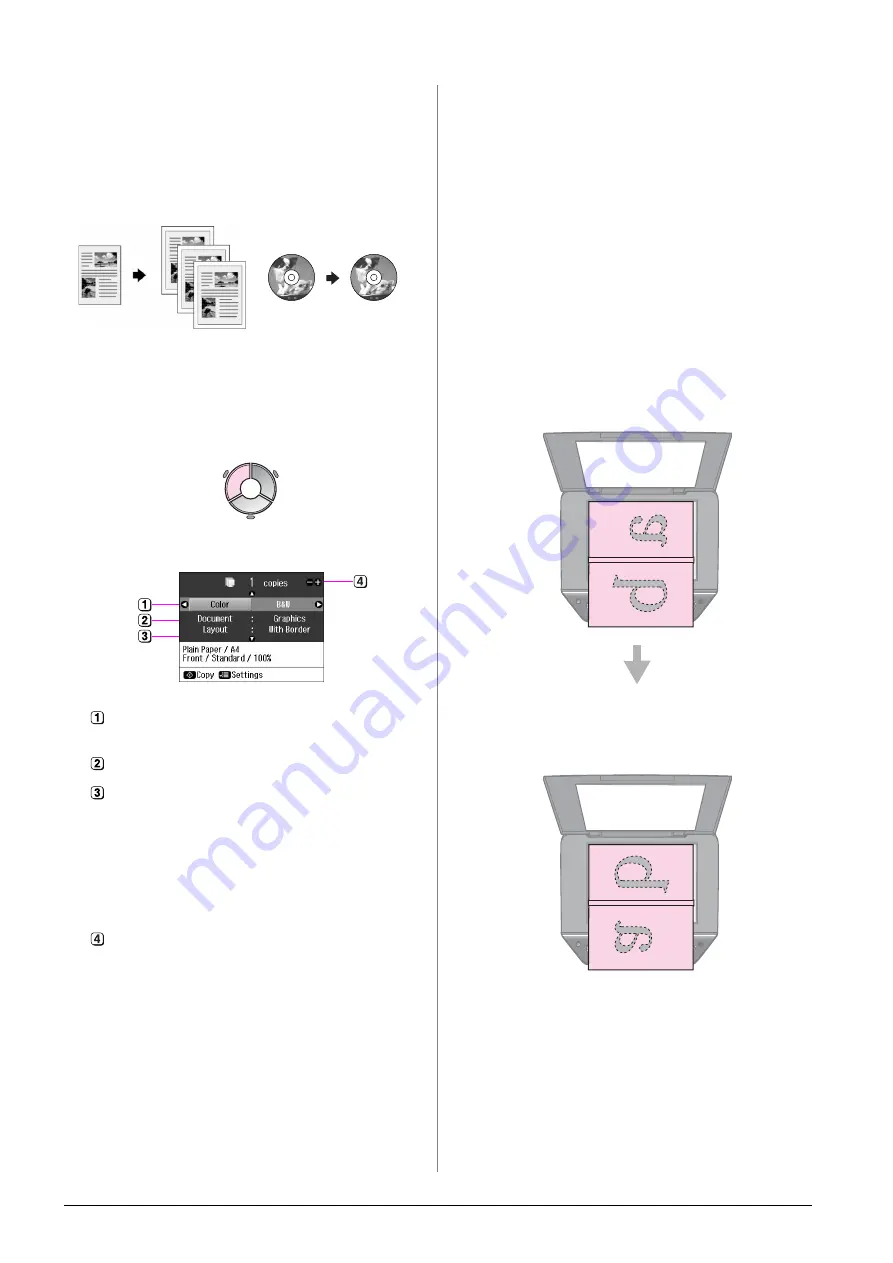
Copying books
When you select
Book/2-up
or
Book/Double Side
as the
Layout
setting,
place the original on the document table as
shown in the following illustration.
Open the book to the first page you want to
copy and then place it on the document
table.
When you have finished scanning the first
page, turn the book around, and then place
it on the document table.
Select
Color
for color copies or
B&W
for black-and-white copies.
Select the type of document.
Select a layout option (
&
Note:
When copying onto both sides of the
paper using the optional Auto Duplexer,
select
Double Side 1-up
,
Book/Double
Side
or
Double Side 2-up
as the layout.
Set the number of copies.


