


Selecting Copy Settings
17
Print Settings for Copying
You can choose from various sizes and types of Epson paper and other settings to
get just the results you want.
1. Press the
Copy
mode button.
2. Press the
x
Print Settings
button.
3. Press
u
or
d
to select a menu item, then press the
r
button.
4. Press
u
or
d
to select one of the following print settings, then press
OK
.
■
Zoom
: Select
Actual
to print your photo at its original size. You can
reduce or enlarge your original by a specific percentage using the
Copies
+
or
–
buttons. Or select
Auto Fit Page
for borderless printing and
resizing the image to fit standard paper sizes.
■
Paper Type
: Select the type of paper you loaded. See page 28 for a list of
Epson papers and the corresponding Paper Types.
■
Paper Size
: Select the paper size you loaded.
■
Quality
: Select
Draft
,
Standard
or
Best
Quality.
■
Copy Density
: Make your copies darker or lighter.
■
Expansion
: When you print borderless photos, your image is slightly
expanded and cropped to fill the sheet of paper.
If too much of your photo edges are cut off, select
Mid
or
Min.
If you see
a white edge on your photo, leave it set on
Standard
.
Repeat Copy
Prints a photo at actual size as many times as it will
fit on one sheet.
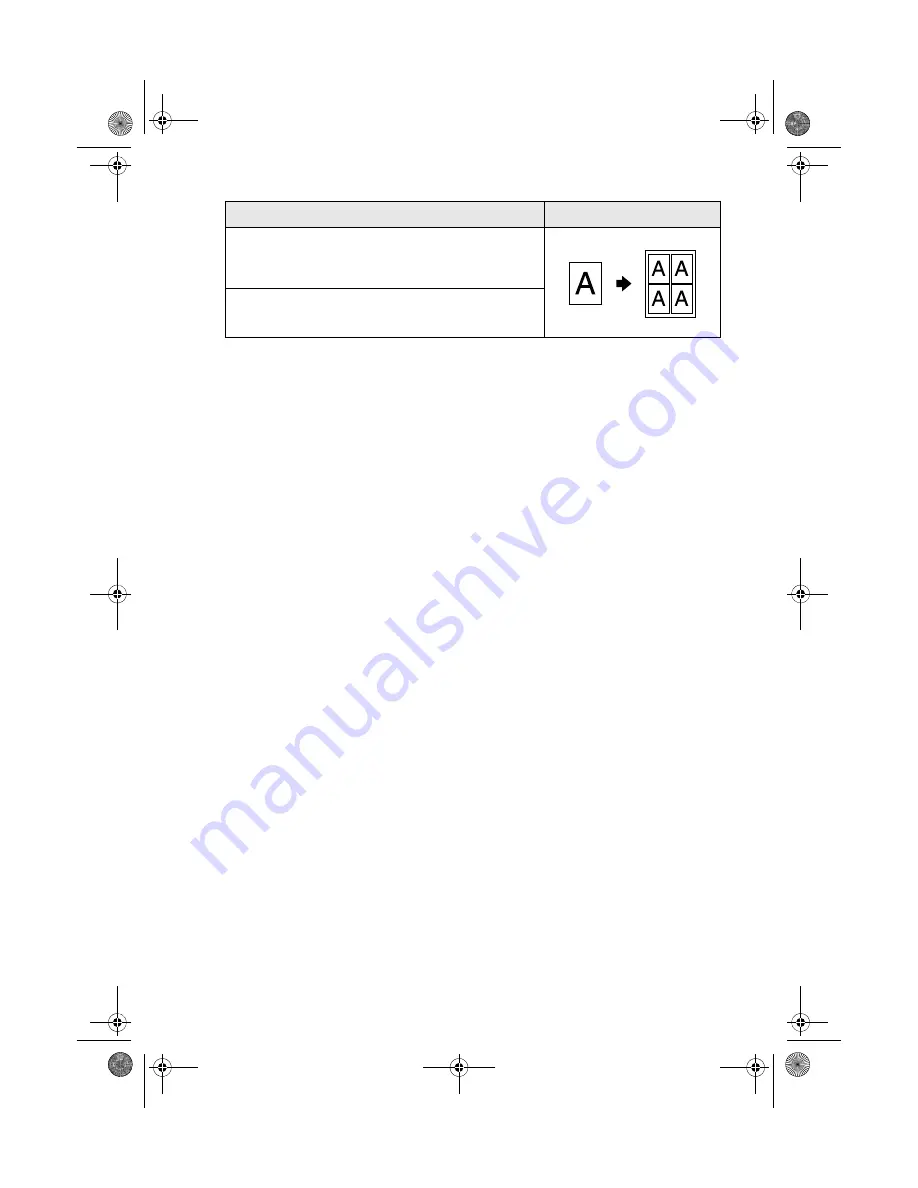
Repeat-4
Prints a photo four times on one sheet.
Layout Setting for Copying
Result
RX580.book Page 17 Thursday, July 27, 2006 4:04 PM


