211
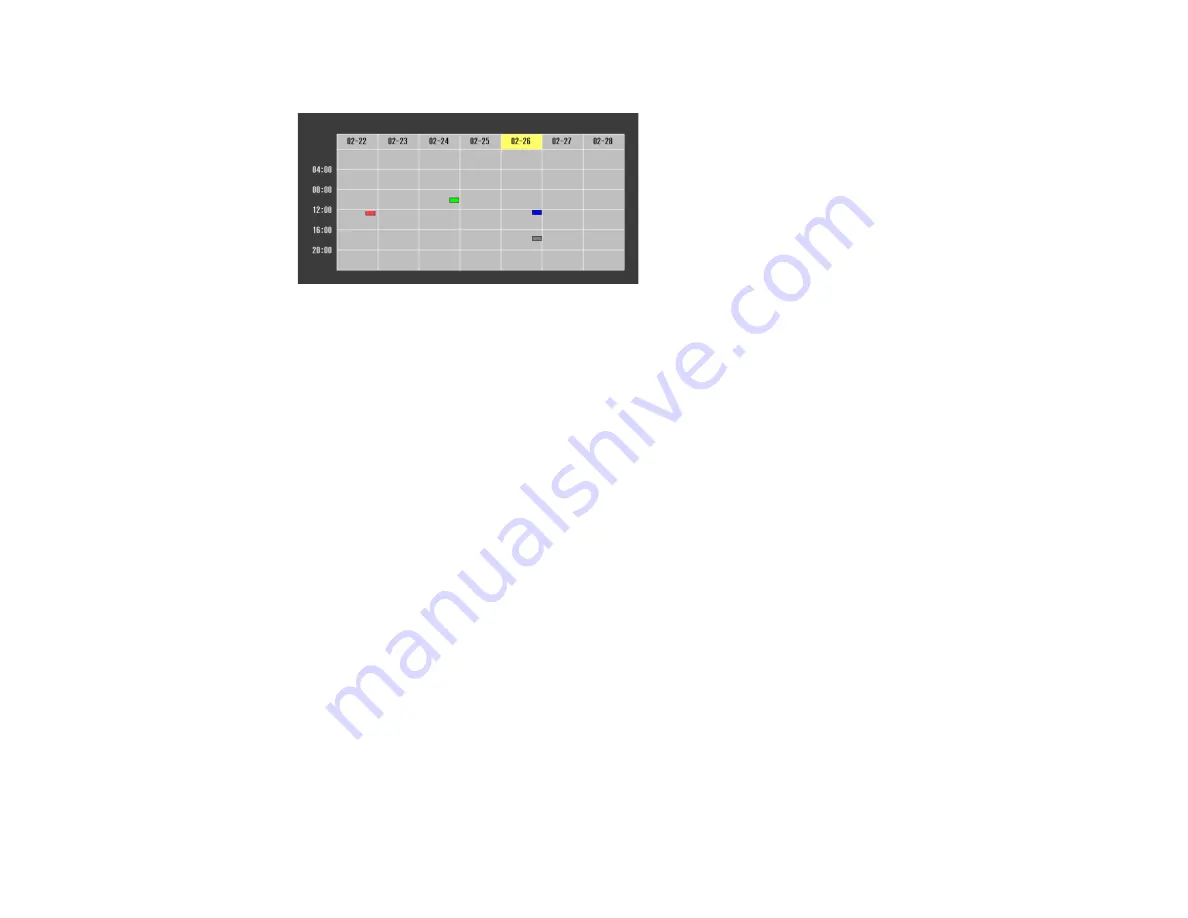
You see a screen like this:
4.
Press the left or right arrow buttons to highlight the date on the calendar containing the scheduled
event you want to edit.
5.
Press the up or down arrow buttons to highlight the event you want to edit, and press
Esc
.
6.
Select one of the following:
•
On/Disabled
to enable or disable the selected event.
•
Edit
to edit the settings for the selected event.
•
Clear
to delete the selected event.
•
Add New
to add a new scheduled event.
7.
When you are finished, select
Return
and press
Enter
.
8.
Select
Setup complete
and select
Yes
to save your changes.
Note:
To delete all scheduled events, select
Schedule Reset
and select
Yes
.
Parent topic:
Copying Menu Settings Between Projectors
After you select menu settings for your projector, you can transfer them to another projector of the same
model.
Note:
Copy the projector's settings before you adjust the projected image using the projector's Geometry
Correction settings. Any saved User's Logo setting on the projector will transfer to the other projector.
Summary of Contents for Pro L1060U
Page 2: ......
Page 10: ...10 A Note Concerning Responsible Use of Copyrighted Materials 315 Copyright Attribution 315 ...
Page 29: ...29 Rear Front ceiling Rear ceiling ...
Page 49: ...49 3 Pull the lens cover off of the projector 4 Remove the stopper if necessary ...
Page 252: ...252 Parent topic Adjusting the Menu Settings Related tasks Running Light Source Calibration ...


