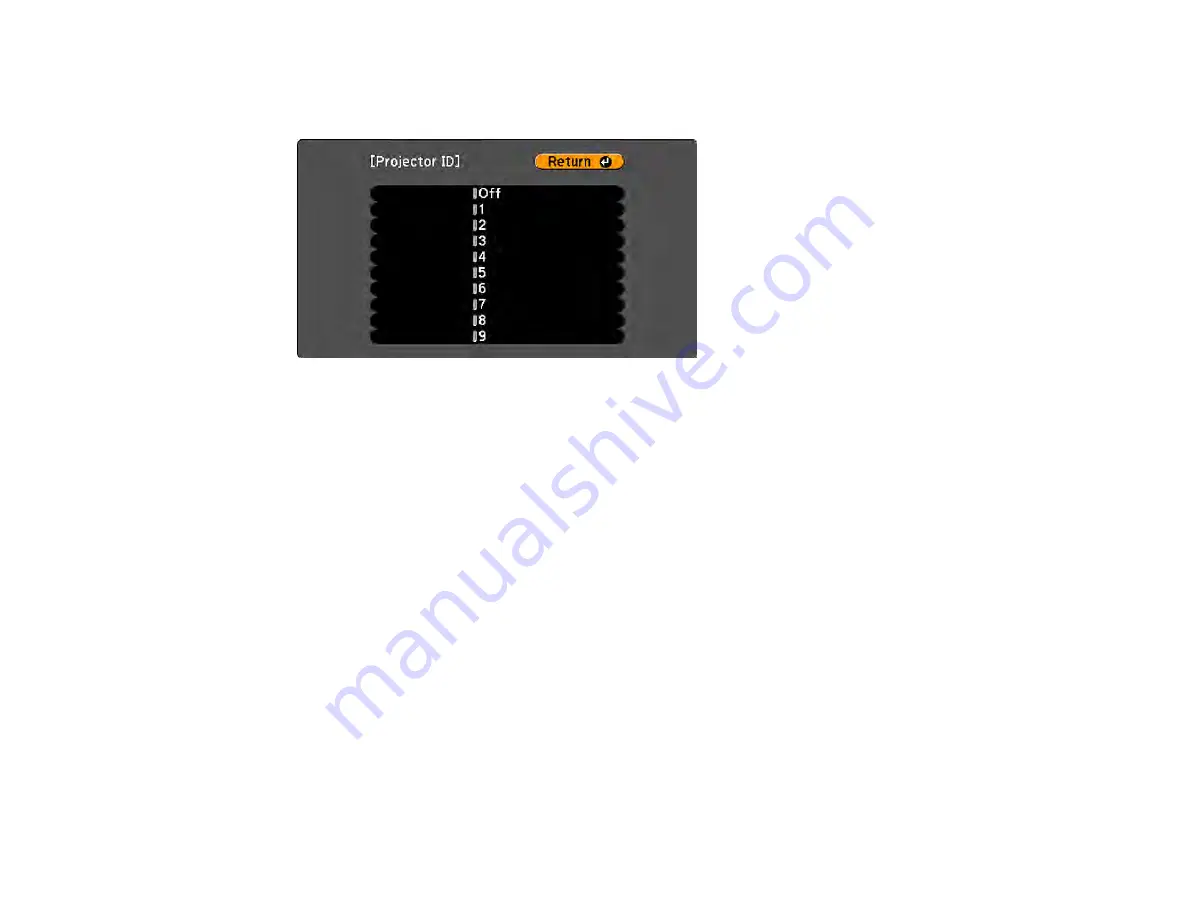
135
3.
4.
Select
Projector ID
and press
Enter
.
5.
Repeat these steps for all the other projectors you want to operate from one remote control.
Note:
If you don't know the projector's ID, aim the remote control at the projector and press the
ID
button
to temporarily display the projector's ID on the screen.
Parent topic:
Projector Identification System for Multiple Projector Control
Setting the Remote Control ID
The remote control's ID is set to zero by default so it can operate any compatible projector. If you want to
set the remote control to operate only a particular projector, you need to set the remote control's ID to
match the projector's ID.
1.
Turn on the projector you want the remote control to operate with exclusively.
2.
Make sure you know the projector's ID number as set in the Extended menu
Projector ID
setting.
Note:
If you have forgotten the projector's ID, aim the remote control at the projector and press the
ID
button to temporarily display the projector's ID on the screen.
3.
Aim the remote control at that projector.
Summary of Contents for PowerLite Home Cinema 2040
Page 1: ...PowerLite 975W 2040 2055 2065 2140W 2155W 2165W 2245U 2250U 2255U 2265U User s Guide ...
Page 2: ......
Page 10: ......
Page 20: ...20 Projector Parts Front Top PowerLite 2040 2140W ...
Page 21: ...21 PowerLite 975W 2055 2065 2155W 2165W ...
Page 27: ...27 Projector Parts Remote Control 1 Power button ...
Page 51: ...51 1 Remove the battery cover 2 Insert the batteries with the and ends facing as shown ...
Page 178: ...178 PowerLite 2040 2140W ...
Page 184: ...184 PowerLite 2040 2140W 9 Replace the lamp cover and tighten the screw to secure it ...


