


6.
Use the arrow buttons on the projector or the remote control to select the corner or side of the image
you want to adjust. Then press
Enter
.
7.
Press the arrow buttons to adjust the image shape as necessary.
8.
When you are finished, press
Esc
.
Parent topic:
Related references
Projector Feature Settings - Settings Menu
Related tasks
Correcting Image Shape with Point Correction
You can use the projector's Point Correction feature to adjust the image via points on a grid.
1.
Press the
Menu
button.
2.
Select the
Settings
menu and press
Enter
.
3.
Select the
Geometric Correction
setting and press
Enter
.
4.
Select the
Point Correction
setting and press
Enter
.
Note:
If you see a confirmation message to continue, press
Enter
again.
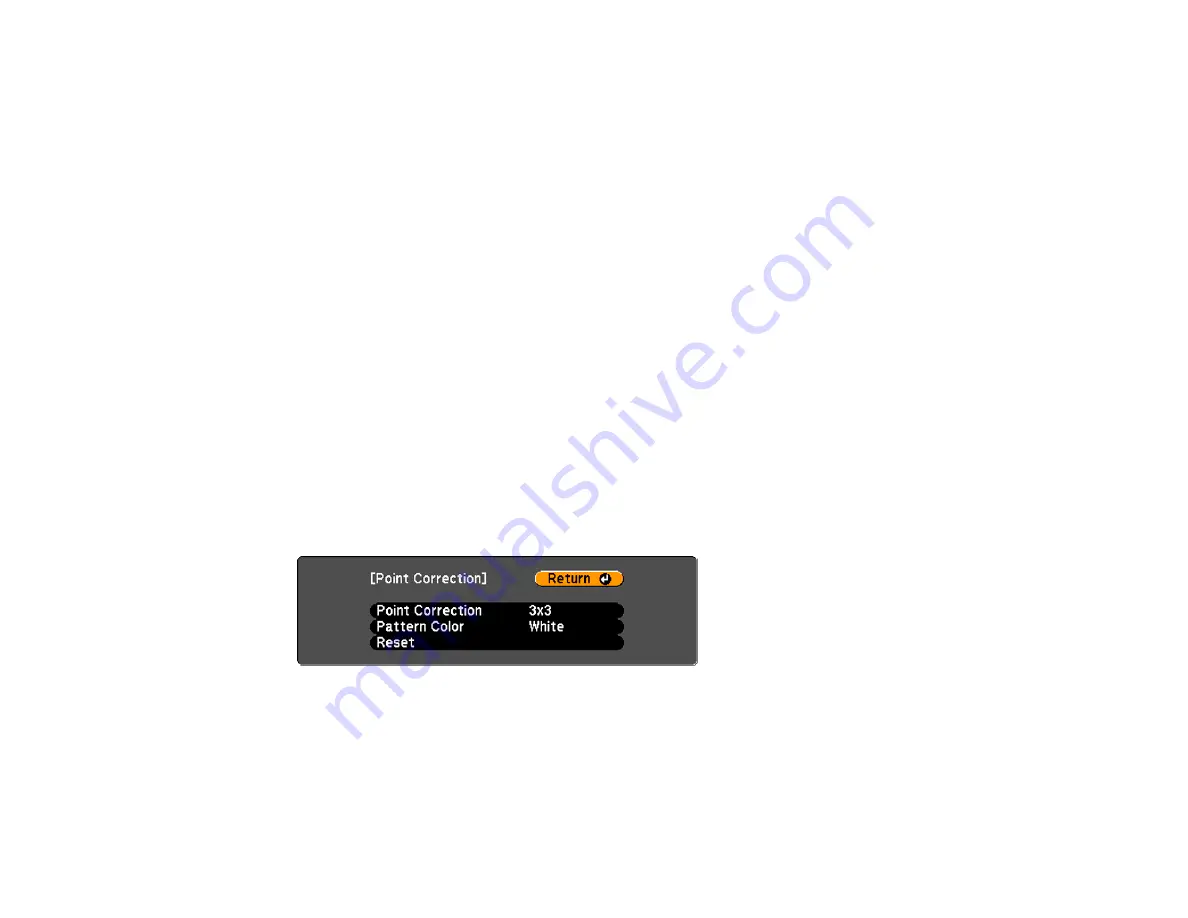
You see this screen:
5.
Select the
Point Correction
setting and press
Enter
.
6.
Select the number of grid lines to display and press
Enter
.
85