Setting Up the Projector
17
Try to place the projector directly in front of the center of the screen,
facing it toward the screen squarely. If the projector isn’t positioned
this way, the image will be “keystone” shaped, instead of square or
rectangular.
If you place the projector below the level of the screen, you’ll have to
tilt it up by extending the front adjustable foot, as described on
page 38. This also causes the image to lose its rectangular shape, but
the Auto Keystone feature corrects the distortion automatically. If the
image does not regain its rectangular shape, the tilt angle is greater
than 30° or the Auto Keystone feature may have been disabled. To
turn it on, see page 61. To adjust it manually, see page 39.
Other Installations
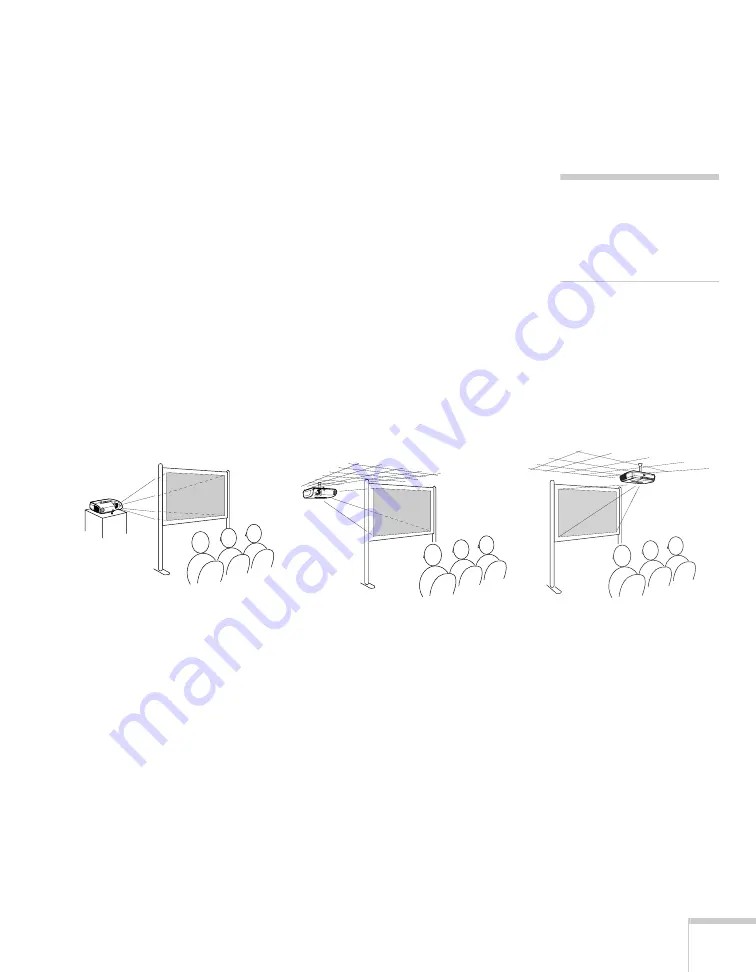
You can also project from behind the screen or from the ceiling, with
the projector mounted upside-down:
To project from overhead, you’ll need the optional ceiling mount
hardware. (See page 13 for ordering information.) You’ll also need to
select
Front/Ceiling
or
Rear/Ceiling
for the Projection option in the
Extended menu. To project from the rear, select
Rear
more information.
note
The Auto Keystone feature
corrects vertical distortion
automatically. For more
information, see page 39.
Front/ceiling projection
Rear projection (using a
translucent screen)
Rear/ceiling projection (using
a translucent screen)
Summary of Contents for PowerLite 82c
Page 1: ...Epson PowerLite 62c 82c Multimedia Projector User sGuide ...
Page 14: ...14 Welcome ...
Page 44: ...44 Projecting ...
Page 72: ...72 Fine tuning the Projector ...
Page 112: ...112 Index ...
Page 113: ......


