106
Fine-Tuning the Projector
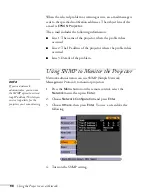
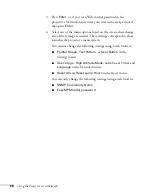
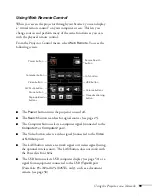
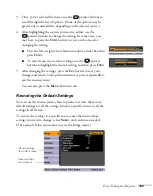
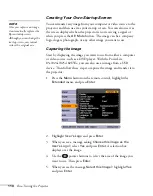
Adjusting Signal Settings
Although the projector normally detects and optimizes the input
signal automatically, you can use the Signal menu to make manual
adjustments. In addition to changing the position of the projected
image, you can correct tracking and sync for computer images, or
change the aspect ratio to widescreen format for video images.
1. Press the
Menu
button, select the
Signal
menu, and press
Enter
.
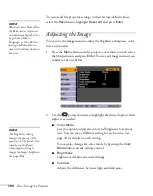
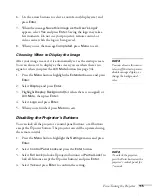
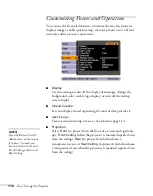
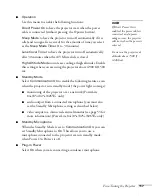
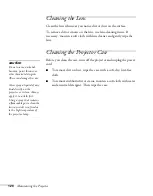
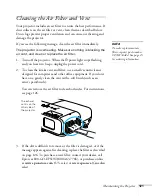
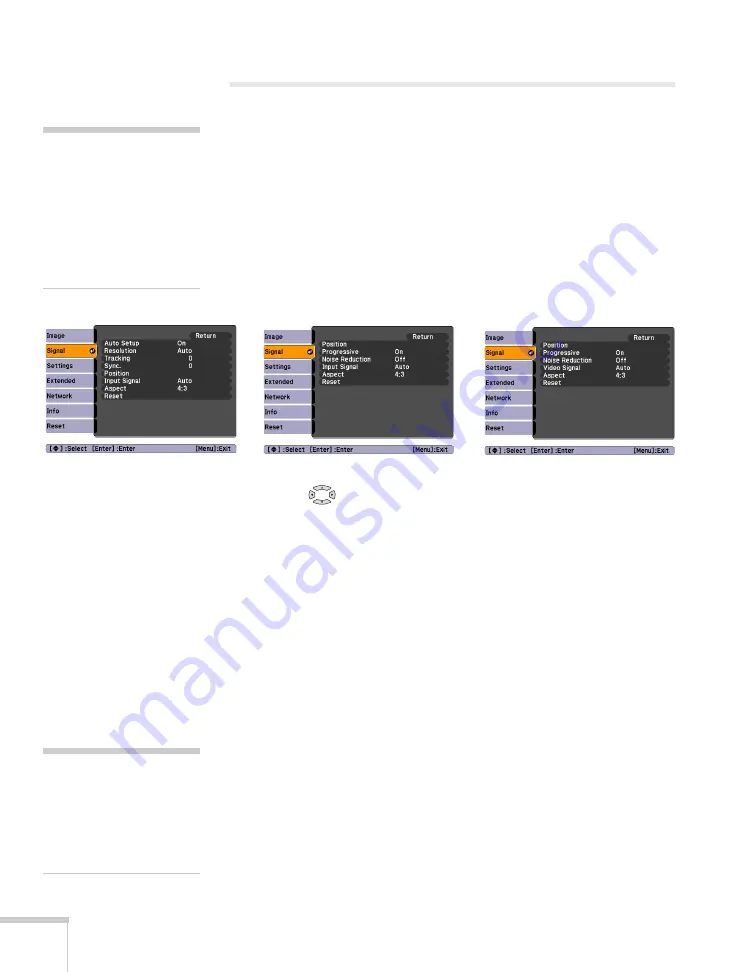
You see a screen similar to one of those below. (The settings will
be different depending on the source you are projecting from.)
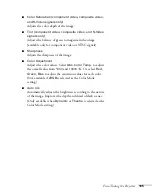
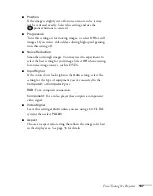
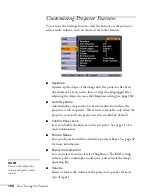
2. Use the
pointer buttons to highlight the desired option, then
adjust it as needed:
■
Auto Setup
Leave this setting on to automatically optimize the image
when
Computer
is selected as the source. Turn it off if you
want to save adjustments you have made to the video settings.
■
Resolution
When set to
Auto
, the resolution (size) of a computer image
is automatically detected so it can be scaled to fit in the
projection area. If the image doesn’t display properly after
you adjust the aspect ratio setting (see page 36), select
Wide
to project from a computer with a wide-panel display, or
Normal
for a computer with a 4:3 or 5:4 display.
■
Tracking
Adjust this value to eliminate vertical stripes in the image.
■
Sync
Adjust this value if the image appears blurry or flickers.
note
You can also use the remote
control’s Auto button to
automatically reset the
projector’s tracking, sync,
resolution, and position
settings. See page 30 for
details.
Computer image
Composite video/S-Video
Component video
tip
Before adjusting tracking or
sync, fill the screen with an
image containing fine
detail, such as black text on
a white background.
Summary of Contents for PowerLite 825
Page 1: ...PowerLite 84 85 824 825 826W Multimedia Projector User sGuide ...
Page 14: ...14 Welcome ...
Page 62: ...62 Connecting to Computers USB Devices and Other Equipment ...
Page 130: ...130 Maintaining the Projector ...
Page 192: ...192 Notices ...
Page 199: ......


